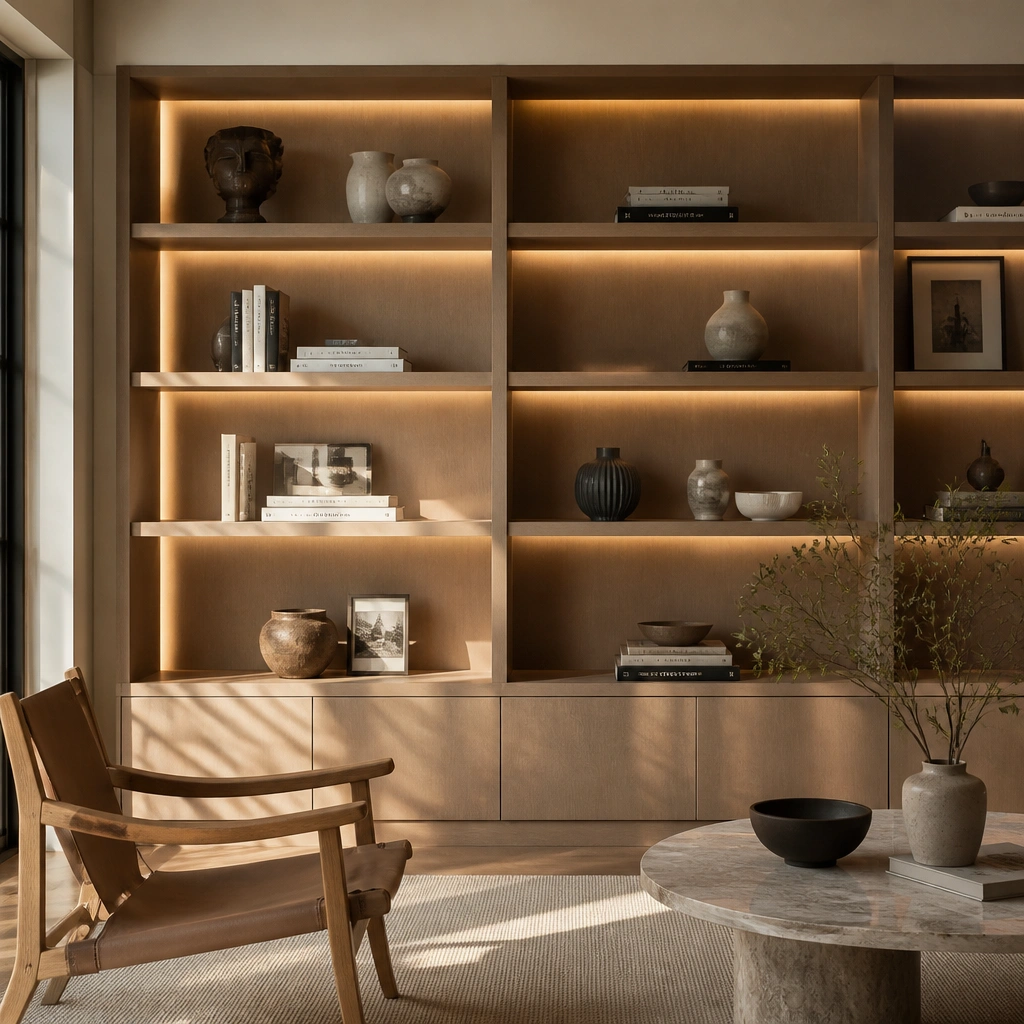
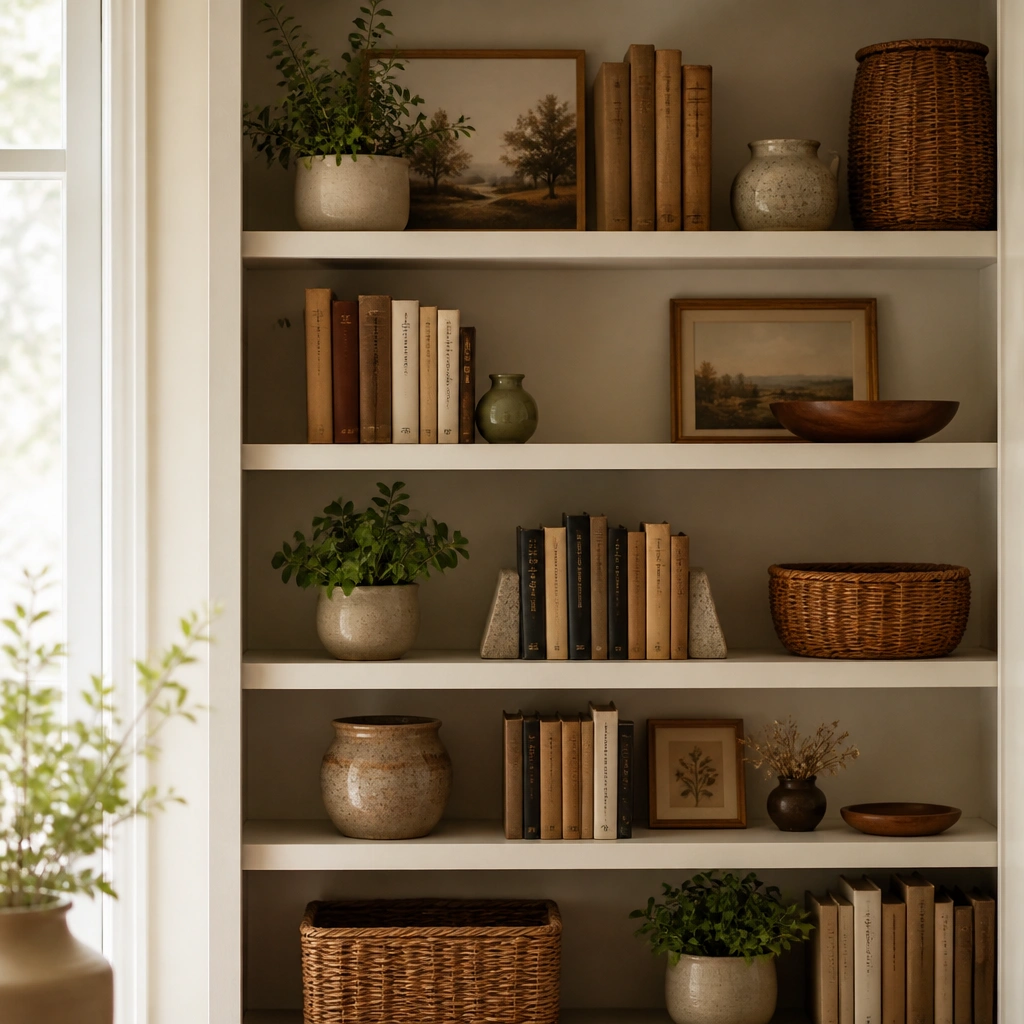
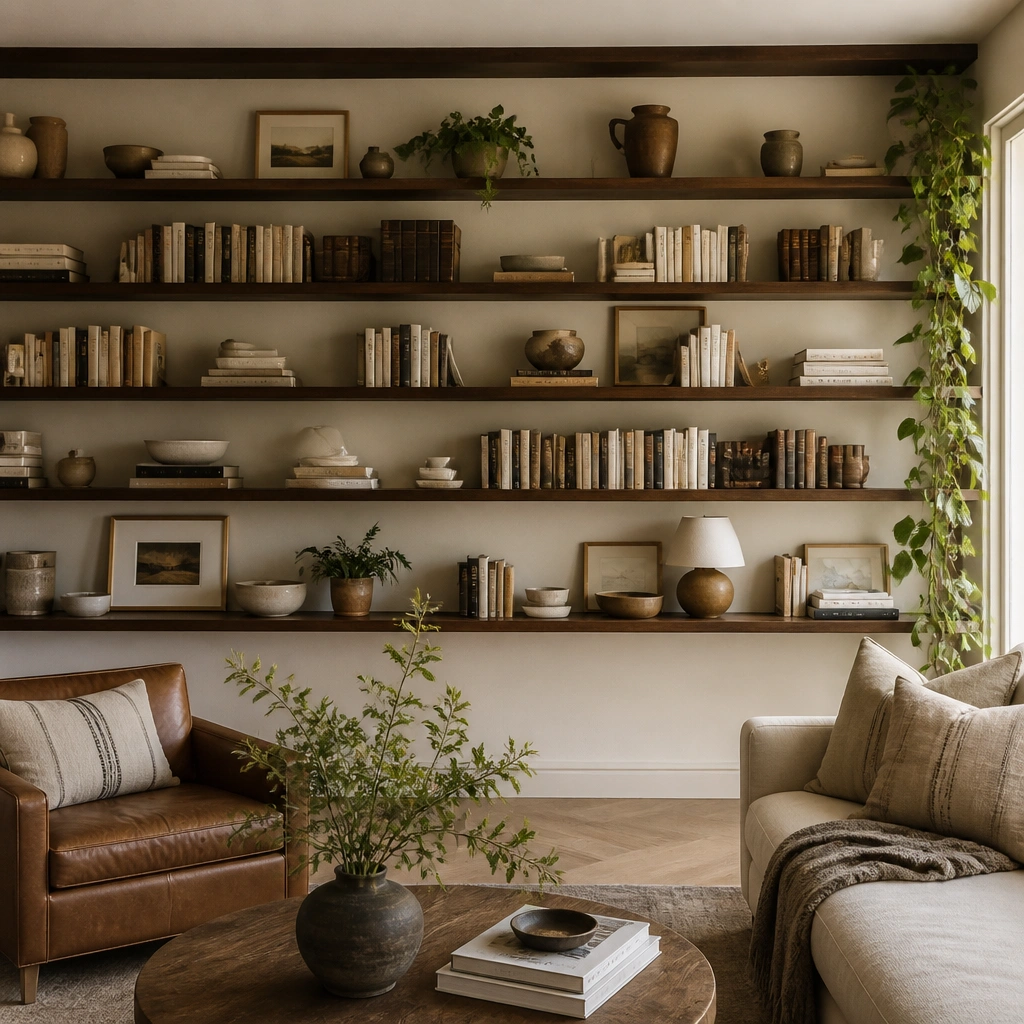
1. Matte white peel-and-stick back panel with aligned book spines
This is the fastest way to make budget book shelf ideas on a budget look put-together because the background does most of the visual work. A matte white peel-and-stick panel keeps light bouncing around and makes the shelf feel crisp in a kitchen. Align the bottoms of your books and keep a consistent spine direction so the shelf reads like a planned display, not storage. Use only 2-3 small decor pieces — think a single tray and one jar — so the shelf doesn’t look busy. This setup looks best in kitchens with darker walls or above dining-sideboards where you want the shelf to brighten the room without adding clutter.
Step 1: Measure the inside back area of your shelf and cut a peel-and-stick panel to fit with a 1/4-inch margin so it doesn’t catch on edges. Step 2: Apply the panel starting at the top, smoothing with a plastic card and working slowly to avoid bubbles. Step 3: Arrange books with their bottom edges aligned; keep the top row either all upright or all stacked flat so the shelf has one clear rhythm. Budget: peel-and-stick panels are usually $15-40 for a sheet, and basic shelves can be $30-80 depending on size.
Pro tipPick one neutral decor color (black, white, or natural wood) and limit yourself to it across the shelf.
One warningDon’t use a busy pattern back panel in a kitchen — it fights the books and makes the shelf look messy.
2. Black-painted shelf frame with wood-toned baskets and recipe books
Black framing makes kitchen shelves look intentional because it creates a strong outline against counters, walls, and cabinets. Pair it with warm wood-toned baskets so the shelf doesn’t feel harsh. This combo works especially well for dining spaces where you want a “designed” look without buying expensive bookshelves. Put recipe and cooking books in the open space, then store extras in baskets to hide uneven stacks. The baskets also solve a common kitchen problem: dust and grease mist make exposed clutter look worn faster, so hiding it keeps the shelf looking new longer.
Step 1: If you’re using unfinished shelving, sand lightly and paint the shelf frame with matte black spray paint or wall paint in a satin-matte finish; let it cure 24 hours. Step 2: Line the shelves with two to three woven or faux-wood baskets sized so they sit snugly without gaps bigger than 1 inch. Step 3: Put your most attractive book spines upright in between baskets and keep the rest in baskets flat. Cost: paint and primer are usually $20-35 total, baskets are $10-25 each.
Choose baskets with the same weave direction so the shelf looks consistent at a glance.
Don’t mix three different basket colors; it reads like random storage.
3. Floating shelf + white curtain backdrop for soft, clean styling
A white curtain behind books mimics a boutique display wall without the cost of built-ins. It creates a soft, forgiving background that hides imperfections in your wall and keeps the shelf from looking “unfinished.” This works great in kitchens where you don’t want wallpaper or where backsplash height makes covering hard. Style with a few upright books and one small stack of horizontals (like magazines or cookbooks) so the fabric backdrop doesn’t turn into a blank mess. The curtain also helps soften echoes in open dining rooms, so the whole corner feels calmer.
Step 1: Mount a floating shelf and hang a simple tension rod or light curtain rod behind it so the fabric sits 2-4 inches above the shelf line. Step 2: Use a sheer or light cotton curtain in white or off-white; cut it so it covers the wall area behind the shelf. Step 3: Style books with consistent spacing — leave 1-2 inches between upright stacks and keep decor under 1/3 of the shelf height. Cost: curtain and rod are usually $25-60; the shelf depends on length.
Pro tipSteam the curtain flat before styling so it doesn’t show wrinkles that compete with book spines.
One warningDon’t use a patterned curtain — plain white makes the books look intentional.
4. Wood plank shelf with thrifted frames as a book display backdrop
Thrifted frames add instant “gallery” structure and make a budget book shelf look like decor, not storage. Use a simple wood plank shelf (or mount a plank) and place a few frames behind the books so you get layers without buying cabinetry. Keep frames in one metal finish — black or brushed — so the shelf looks cohesive. This works well if your kitchen wall is bare or if you want to add character without cluttering the counter. The frames also solve the problem of empty negative space — you get depth while keeping the shelf tidy.
Step 1: Mount a single thick wood plank shelf (1x8 or similar) and sand and stain it lightly or paint it white. Step 2: Find 3-5 thrifted frames, remove the glass if needed, and lean them behind books; secure with a little museum putty or double-sided mounting tape strips. Step 3: Arrange books upright in the front and let frames peek through the gaps. Cost: plank materials $20-50; frames $3-15 each depending on thrift finds.
Pro tipUse frames with similar inner openings so the spacing feels controlled.
One warningDon’t stack frames too tall; keep the top of frames below the shelf’s highest book so it doesn’t look cluttered.
5. Tray-led styling with books grouped by color, not by size
Color grouping is a cleaner way to make books look styled than trying to match book heights. Start by picking one shelf palette like warm neutrals and one accent color (sage, terracotta, or black). Then use a tray as the “anchor” so everything has a center point. This works in kitchens because trays make it easier to wipe dust off the shelf surface and keep small items from scattering. Group 8-12 books by spine color blocks and leave a small gap between blocks. That gap is what reads put-together.
Step 1: Place a flat tray in the center of the shelf; use a tray that’s about 10-14 inches wide for a standard shelf. Step 2: Arrange books around the tray in two color blocks, keeping the bottom edges aligned. Step 3: Add one jar or small utensil crock on the tray and keep other decor to one item max. Cost: tray $10-30, jars $8-20, and the rest is the books you already have.
If a spine color doesn’t fit your palette, hide it by stacking horizontally or using a book cover in a matching color.
Don’t mix vertical and horizontal books randomly on the same shelf — pick one pattern per shelf.
6. Cedar-colored contact paper over a cheap shelf liner for warmth
A shelf liner turns a plain bookcase into a finished display quickly, and contact paper is one of the cheapest upgrades that still looks intentional. Cedar-toned liner adds warmth and helps white plates, ceramic jars, and wood utensils look cohesive above dining areas. It also reduces the harshness of bare particleboard or plywood. Keep the liner matte so it doesn’t look plasticky under kitchen lighting. This is a good move when you can’t or don’t want to add a full back panel but your shelf looks flat.
Step 1: Cut the contact paper to the shelf depth and width with a tight fit; round the corners slightly so it’s less likely to peel. Step 2: Clean the shelf first with a damp cloth and let it dry completely — adhesion is everything. Step 3: Smooth contact paper down from one side, using a credit card to push out air bubbles. Cost: contact paper is commonly $8-20 per roll; a shelf is $30-100 depending on size.
Pro tipUse the same cedar tone for one decor item like a small wooden tray so the liner feels like part of the design.
One warningDon’t choose glossy contact paper — it catches light and makes the shelf look cheap.
7. Labeled jars for pantry books and cookbook sections
Kitchen shelves look put-together when small items are organized in repeatable containers. Labeled jars bring that “designed kitchen” feeling without spending much, and they work even when you have mismatched books. Put cookbooks upright in one row and use jars for tea bags, spices, or cooking tools. The labels make the shelf look curated instead of random — especially helpful in kitchens where steam and grease can make everything look messy fast. Choose matching jar sizes or matching label styles so the shelf has a consistent visual language.
Step 1: Use 3-5 jars in the same finish (glass with metal lids or glass with white lids) and print labels on cardstock or use label maker tape. Step 2: Place jars on the lower shelf and keep cookbooks upright above them; leave 1 inch between jars and book spines. Step 3: Use one tray or small wooden board under the jars to catch crumbs and dust. Cost: jars $6-15 each at discount stores, label tape $8-15 total.
Pro tipWrite labels in one font style only and keep the same label size across the shelf.
One warningDon’t overload jar shelves with too many tiny items — three jars reads intentional, eight jars reads clutter.
8. Painted book spines with a single color strip for instant cohesion
If you have ugly or mixed spines, you can hide the mess with a cheap paint trick. Paint a solid strip across each spine — same color, same height — and the shelf suddenly looks like a designed collection. This is one of the best budget book shelf ideas on a budget because books are already yours; you’re just making them visually match. Use a matte acrylic paint and a thin foam brush so the strip edges are clean. Keep the rest of the shelf simple: one tray, one jar, and a plant or candle. This works in kitchens where you want color harmony with cabinets or dining chairs.
Step 1: Choose a matte paint color that matches your kitchen accents (chalky black, sage, or warm terracotta). Use painter’s tape to mark a strip height across each spine so the strip top line is consistent. Step 2: Paint the strip and let dry fully, then add a second thin coat if needed. Step 3: Arrange books with the painted strip facing the same direction and keep 2-3 inches of open space between clusters. Cost: acrylic paint $8-20, tape and brushes $5-15.
Pro tipDo a quick test on one book spine first, because glossy covers need a light scuff before paint sticks.
One warningDon’t paint the entire spine unless you’re committing to the color — a strip looks cleaner and cheaper.
9. Corner shelf with two-tier book stacks and one tall decor item
Corners are tricky because shelves look awkward if everything is the same height. A two-tier stack gives you shape, and one tall decor item makes the corner feel finished. This is budget-friendly because you don’t need multiple decor pieces — just one vase, candlestick, or small sculpture in a matching finish. Put books in two height levels: a bottom stack of 6-10 books and a second stack of 3-6 books. Then add the tall item centered. It looks intentional and solves the problem of corner shelves that feel like leftovers.
Step 1: Install a narrow corner shelf or use a corner bookcase section; measure the depth so you don’t lose book space. Step 2: Stack books into two columns or one central stack, aligning spines so the stacks look straight. Step 3: Add one tall decor item at the top or center — keep it under 12 inches tall for small shelves. Cost: corner shelves $40-120; decor item $10-25.
Pro tipUse one finish for the tall item and one finish in the shelf hardware if you can (black with black, brass with brass).
One warningDon’t fill the corner with five small items — corners need one focal point.
10. Pegboard backer behind open shelves for a clean grid look
Pegboard is cheap, flat, and it creates a structured background that makes books look curated. Paint pegboard matte white or matte black so it doesn’t look like a workshop. You can then place jars, small utensil holders, or hooks for hanging kitchen tools — but you still keep the shelf styling tidy. This works in kitchens because pegboard wipes easily and hides wall imperfections. The grid also gives you a built-in reason for spacing, which is exactly what makes budget book shelf ideas on a budget look put-together.
Step 1: Cut pegboard to the shelf back size and paint it with matte spray paint; let cure overnight. Step 2: Mount the pegboard behind the shelf using small screws or heavy-duty picture frame hooks depending on your shelf setup. Step 3: Style books in front, then place two or three jars or holders against the pegboard grid so they line up visually. Cost: pegboard $15-35, paint $10-20, jars/holders $10-30 total.
Keep jar labels facing forward so the grid reads intentional instead of random.
Don’t use glossy paint on pegboard — glare makes the grid look messy.
11. Two-tone shelves using white boards and stained wood end caps
Two-tone styling makes a basic bookshelf look custom because it adds structure at the edges. Use white boards (or paint the shelf) and add stained wood end caps or side pieces so the ends feel “finished.” Books become the middle display, and you can keep decor minimal. This is a great budget move for dining areas where you want the shelf to match light cabinetry or white walls while still adding warmth. It also helps hide uneven shelving — the end pieces visually frame the shelf so the whole unit looks straight.
Step 1: Paint the main shelf boards matte white; use sandpaper between coats if needed for a smooth finish. Step 2: Add wood end caps cut from a cheap 1x2 or 1x3 board, stain them with a simple brown stain, and seal with matte poly or clear coat. Step 3: Install books so there’s 1-2 inches of breathing room between book clusters and the end caps. Cost: paint $20-35, wood end caps $10-25, stain and sealer $15-25.
Match the wood stain tone to your dining chairs or table legs so it looks like it belongs.
Don’t choose a stain that’s too red — it clashes with most kitchen whites.
12. Bookcase with removable vinyl decals for seasonal dining themes
Removable vinyl decals let you make the shelf feel styled for the season without replacing furniture. Use a plain solid back panel (white board or wallpaper) and add a few small vinyl icons like forks, lemons, or herb sprigs. This gives your kitchen shelf a theme that looks designed, even when you’re on a budget and your books are mixed. Keep the decals small and spaced — two or three total — so they don’t turn into clutter. This setup works best for open shelving near a dining table where you want visual interest but not heavy decor.
Step 1: Apply a solid background using peel-and-stick wallpaper or matte board cut to size. Step 2: Place vinyl decals with painter’s tape first, then press them onto the surface once spacing looks right. Step 3: Style books with upright spines in the center and keep decor pieces neutral so the decals don’t compete. Cost: background $15-40, vinyl decals $8-25 depending on pack.
Pro tipChoose one motif set and stick to one color vinyl so everything reads cohesive.
One warningDon’t add decals all over — fewer, better placed decals look more intentional.
13. Built-in look with inexpensive shelf brackets and a continuous molding strip
You can fake built-ins with cheap hardware and one continuous molding strip. The molding creates a “ceiling” line that makes the shelf area look architected instead of DIY. Pair it with simple shelves and keep styling consistent: aligned book bottoms and decor that sits on trays. This works in kitchens where you want the dining wall to look finished but you don’t want to install cabinetry. The molding also hides small gaps and uneven paint lines. It’s one of the few low-cost tricks that changes how the entire wall reads.
Step 1: Install two shelf brackets at the correct spacing for your shelf boards; use a level and mark stud or use proper anchors. Step 2: Add a continuous molding strip along the top edge where the shelf meets the wall, then caulk and paint it to match the wall. Step 3: Place books with aligned bottoms and keep the top decor line under the molding so it looks framed. Cost: brackets $20-60, molding and caulk $15-30, paint $10-25.
Paint the brackets and molding the same color as the wall for a built-in illusion.
Don’t skip caulk — visible seams scream budget.
14. Stacked picture ledge shelf with book + plate display combo
A picture ledge shelf is cheap and it gives you a clean lip that holds plates and books without sliding. Pair books with a couple of small plates on the lower lip so the shelf looks like a dining display. This works well above a dining table or in a breakfast nook where you want the shelf to feel connected to meals. Keep plate colors consistent — white with black rim, or all cream — so you don’t end up with a mismatched thrift pile. The lip also makes dust less likely to collect behind decor.
Step 1: Install two picture ledge shelves at different heights; the lower shelf should sit around 48-54 inches from the floor, the upper around 60-66 inches. Step 2: Put books upright on the lower shelf and place 2-3 small plates flat or slightly angled on the lip. Step 3: On the upper shelf, keep a single stack of books and one small decor item. Cost: picture ledges $20-50 each, plates $5-20 each at thrift or discount stores.
Use plate stands or bookends to keep plates from tipping — stability reads expensive.
Don’t mix large plates with tiny plates — scale mismatch looks accidental.
15. Wicker basket + bookend divider for tidy storage in open shelves
Open shelves look messy when you store everything upright with no boundaries. Bookends and baskets fix that instantly by creating sections. Use two bookends to form a clear middle “lane,” then put one wicker basket on each side to hide extras like odds-and-ends cookbooks. This is perfect for kitchens because baskets hide clutter and keep dust off your less-used books. Pick baskets in one color family and keep the bookends simple (black metal or natural wood). The shelf ends look finished even when you don’t have matching books.
Step 1: Choose bookends that match your shelf finish; metal bookends are usually $10-25 and work well in kitchens. Step 2: Place bookends first to define a lane, then fill the lane with upright books and reserve baskets for horizontal stacks or backup books. Step 3: Leave 1 inch between the basket rim and book spines so everything looks separated. Cost: bookends $10-25, baskets $12-30 each.
Pro tipLabel baskets with small tags like “baking” or “weeknight meals” so the shelf looks organized, not random.
One warningDon’t cram baskets tight against books — the shelf should breathe visually.
16. Rope or cord book tie accents on stacks for a styled look
Tying book stacks with rope adds a handcrafted texture that looks intentional, especially when your books are mismatched. Keep it simple: tie two stacks, not ten. The rope acts like decor and also prevents stacks from sliding, which matters on shelves above high-traffic dining areas. Choose natural jute or black cotton cord depending on your kitchen palette. This works best when you already have a plain shelf and want a budget upgrade that reads warm and styled. It’s also a good way to give thin books height without buying tall bookends.
Step 1: Stack 6-10 books horizontally or vertically, depending on shelf depth, and align spines. Step 2: Wrap jute cord around the stack twice and tie off at the back, trimming ends so they’re short and neat. Step 3: Place one tied stack on each side of a center decor item like a jar or small tray. Cost: cord $6-15, scissors and tape. Everything else is your existing books.
Use one cord color across the shelf so it reads like a design choice.
Don’t tie loose — messy knots look like storage, not styling.
17. Dollar-store frames turned into book stacking photo props
Frames are one of the cheapest ways to create depth behind books. You’re not filling them with art — you’re using them as back layers that create a “designed wall” effect. This makes budget book shelf ideas on a budget look put-together because your shelf has structure, not empty gaps. Use frames in one finish (white, black, or natural wood) and keep only 2-4 frames behind the books. The frames also cover uneven wall patches or scuffs behind open shelving, which is common in rental kitchens.
Step 1: Buy a set of inexpensive frames and remove backing paper; leave glass off if it’s in the way. Step 2: Lean frames behind books using small wedges or mounting putty so they stay stable. Step 3: Arrange books with a consistent front line, leaving frame edges visible like a gallery. Cost: frames $2-8 each, mounting putty $6-10.
Pro tipPaint frames the same color as your shelf or wall so the frames disappear and the arrangement looks intentional.
One warningDon’t use mixed finishes on the same shelf — it looks thrifted in a messy way.
18. Matte ceramic utensil crock + cookbook stack center rule
A single matte ceramic crock acts like a finished kitchen accessory and gives your shelf a functional centerpiece. Keep it matte so it doesn’t glare under overhead dining lights. Use the crock next to a centered stack of cookbooks, then keep the rest of the shelf minimal. This solves the common kitchen shelf issue where everything looks like clutter because decor and books have no hierarchy. When you create a center rule — one focal area — the shelf looks planned even with cheap materials. It also makes it easier to wipe down because the crock holds small items in one place.
Step 1: Pick a crock size that takes up about 1/4 of the shelf width; for a 30-inch shelf, choose a crock around 7-9 inches wide. Step 2: Stack cookbooks in the center and place the crock on one side of the stack so the arrangement forms a balanced triangle. Step 3: Add one small tray or candle on the opposite side, then stop. Cost: crock $12-30, tray $10-25, candle $8-20.
Pro tipMatch crock color to a dining accessory like salt-and-pepper or a table runner for quick cohesion.
One warningDon’t add multiple small utensil holders — one crock is enough.