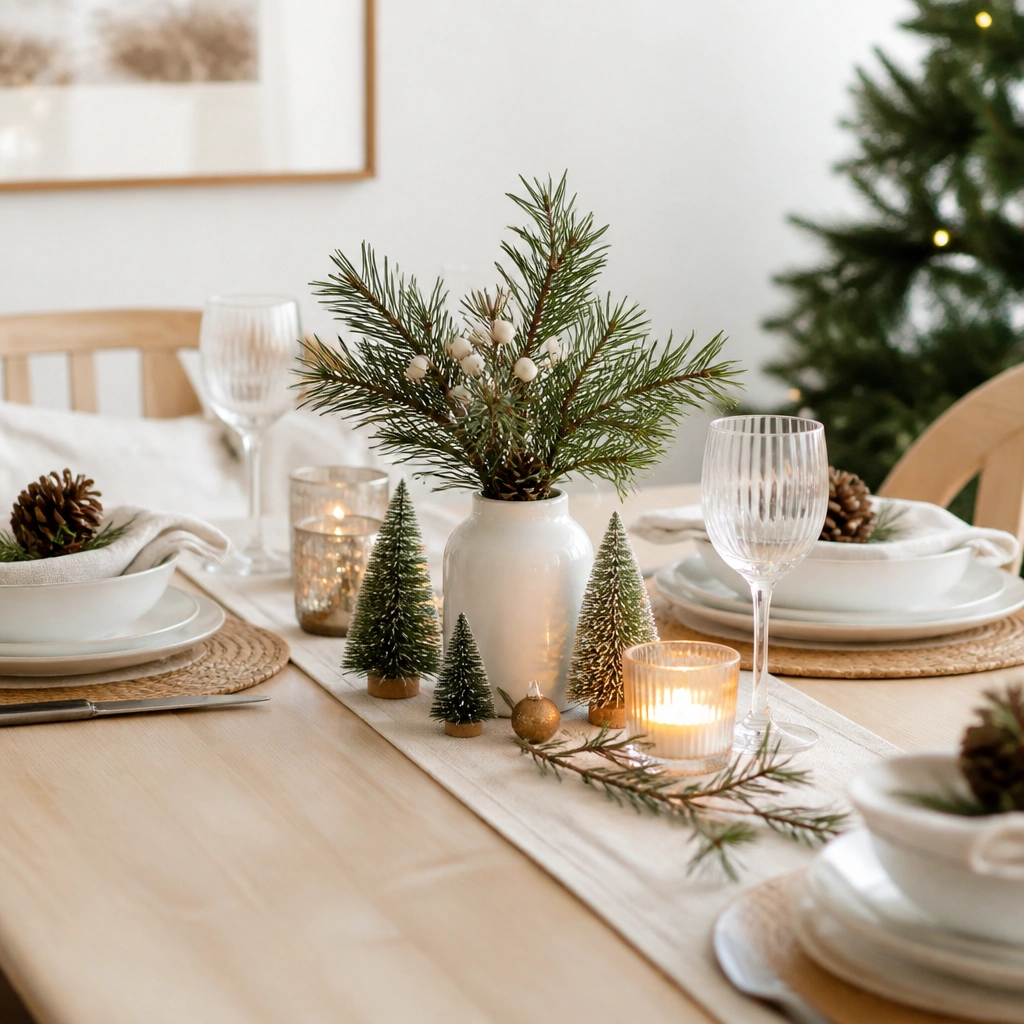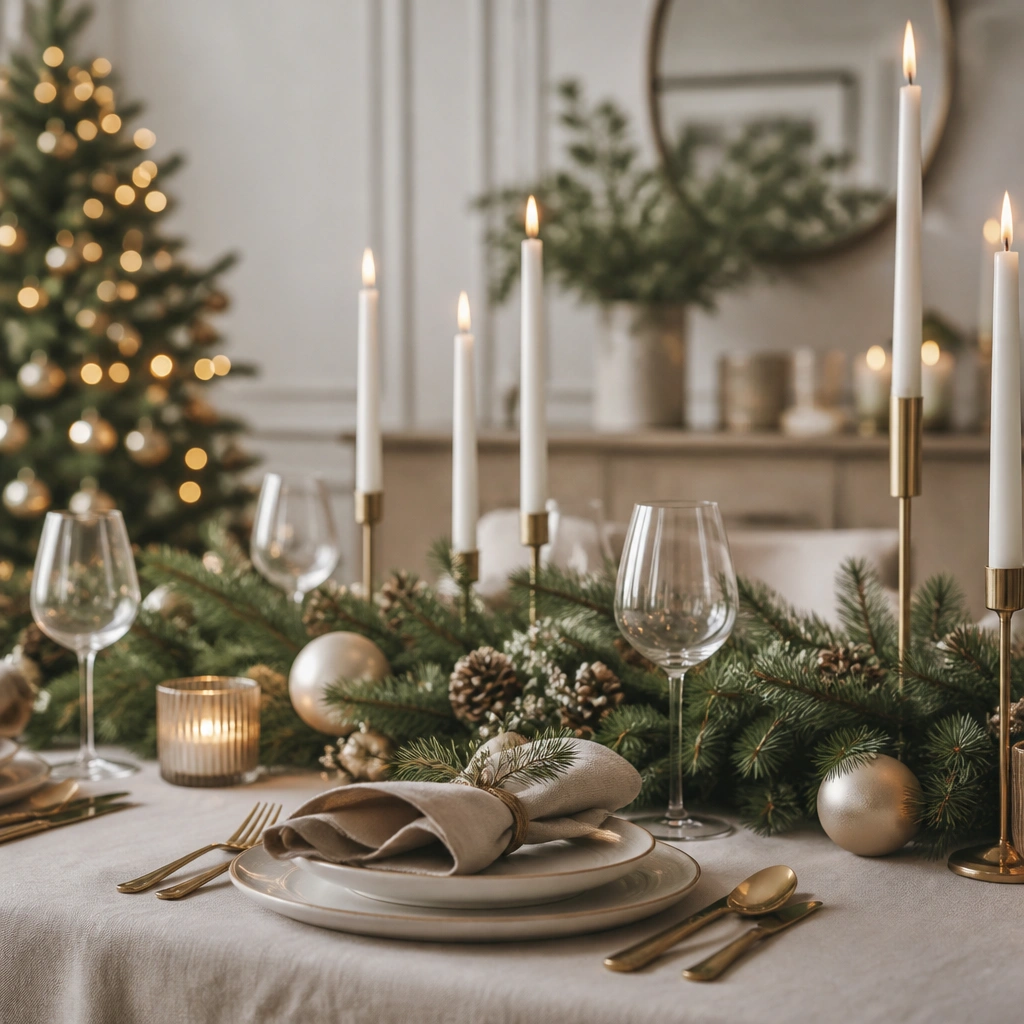
1. Pine + Cinnamon Garland Runner
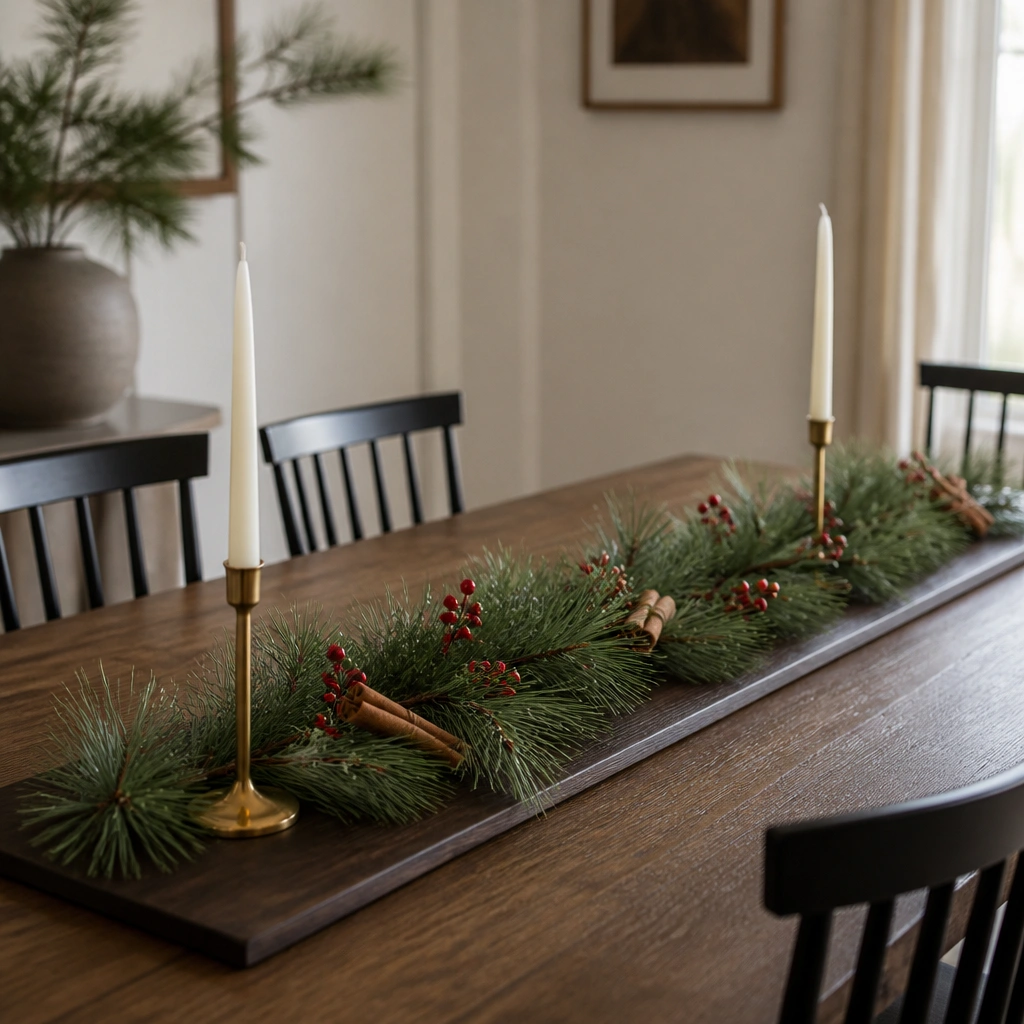
This looks polished because the pine creates instant volume, and the cinnamon sticks add warm, recognizable texture without needing ornaments. Keep it in a narrow runner shape so it guides the eye down the table instead of spreading everywhere.
Cut faux pine into 6-8 inch sections and wire them to a base ribbon or runner so it stays in place when people pass by.
2. Mason Jar Snowy Branches (No Painting)
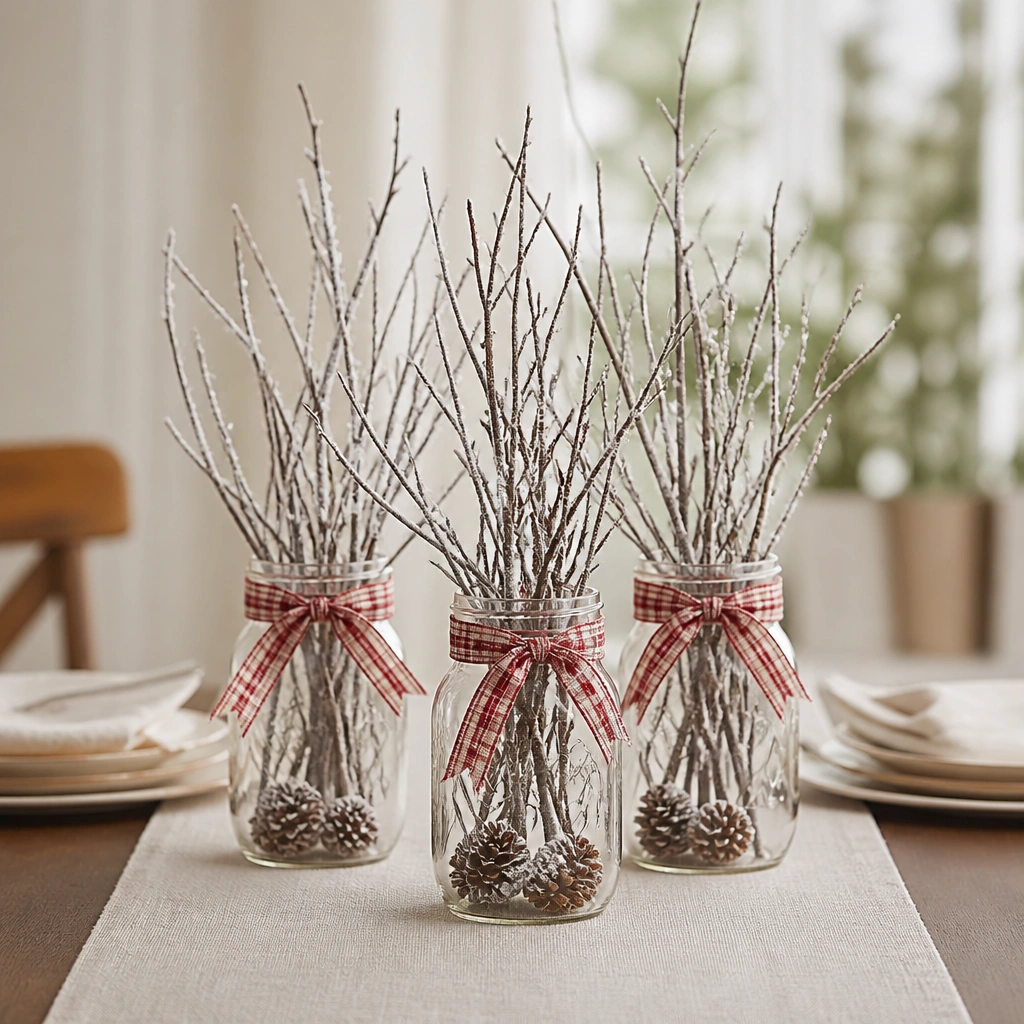
You get winter vibes by layering height from twigs and adding “snow” texture with craft snow (or white faux flakes). The jars keep the look tidy and beginner-friendly because everything is contained.
Pro tipUse hot glue to secure the twig bundle so it won’t shift when the jar gets nudged.
3. Lemon-Sized Pine Cone Place Card Holders
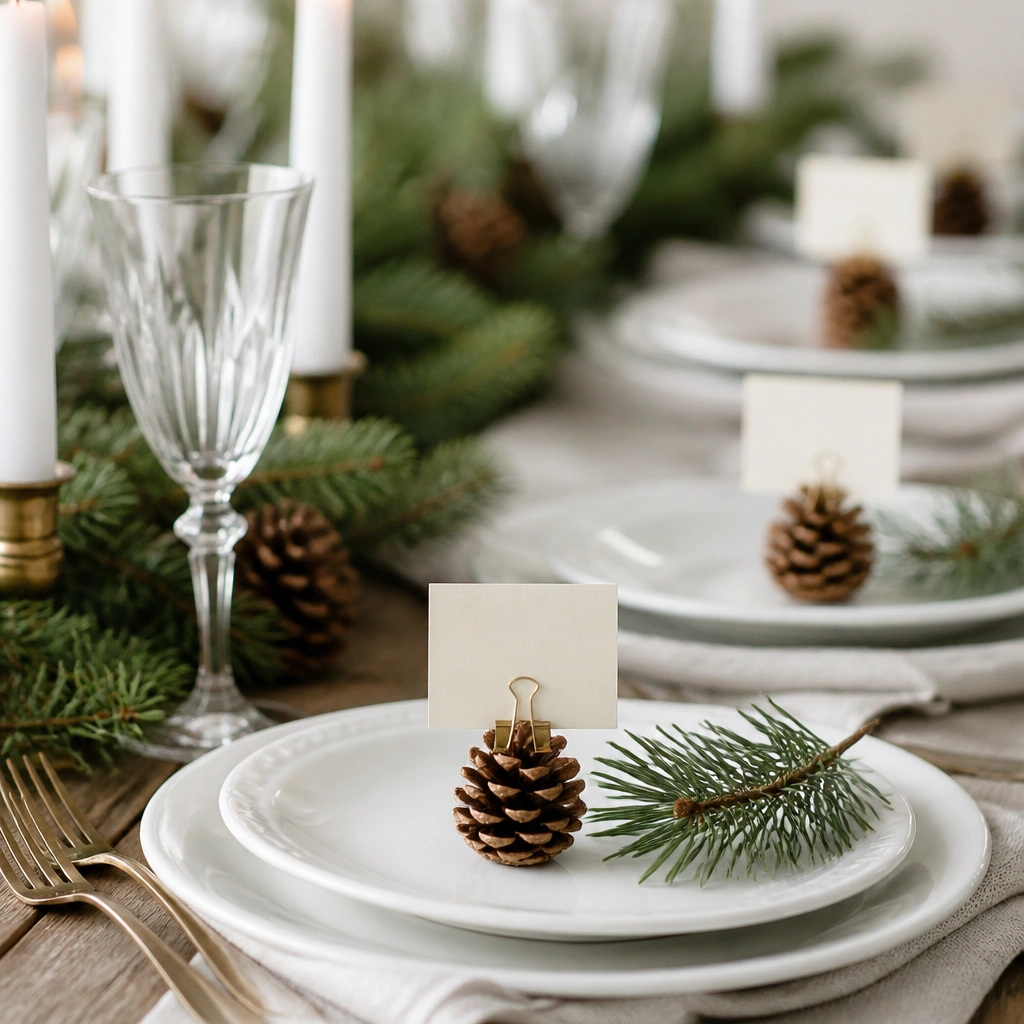
This is an easy way to make the whole table feel “set” even if you’re not doing a big centerpiece. Pine cones are neutral and look good with nearly any color palette, and the place cards add function, not just decor.
Pick pine cones that are flat on the bottom or glue a small felt pad underneath so they don’t wobble.
4. Floating Candle Bowl with Cranberries
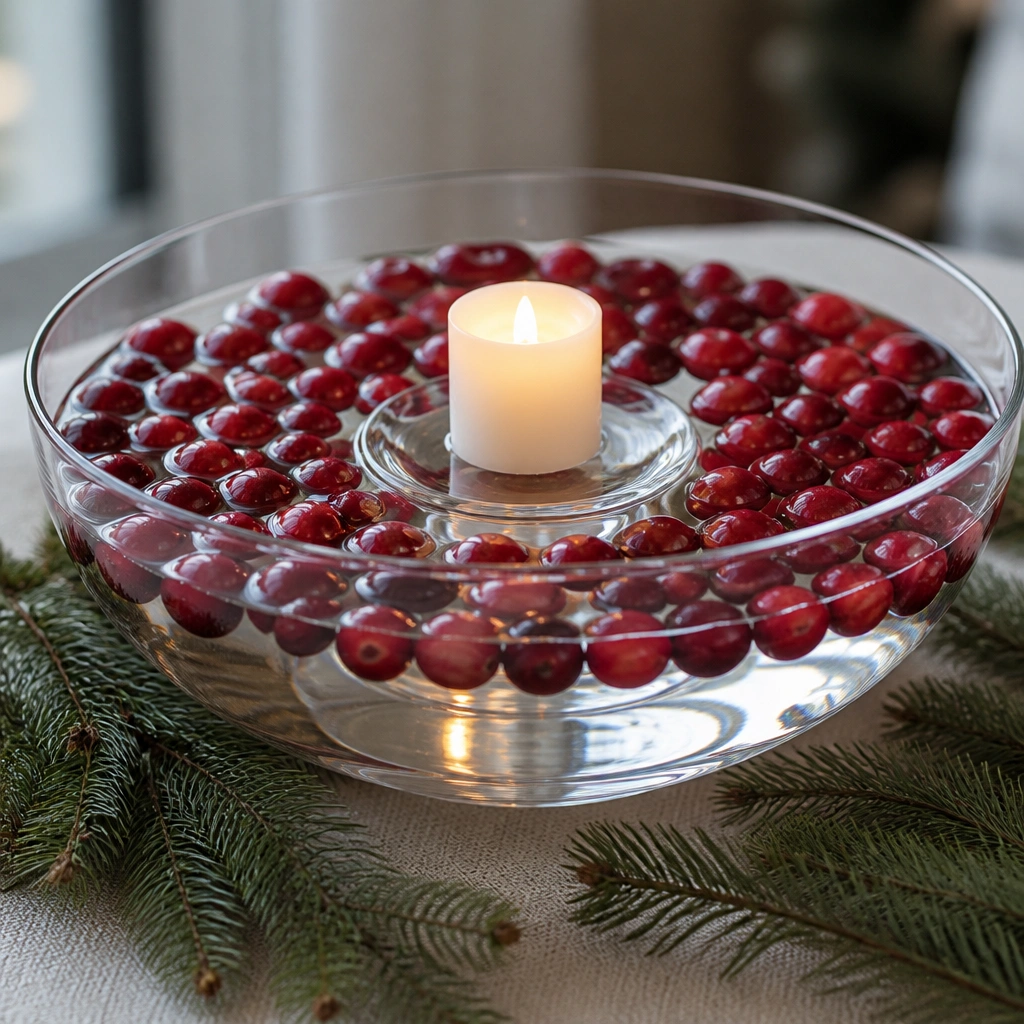
A water bowl instantly looks elevated because it creates reflections and a glossy surface. Cranberries add bold red color, while evergreen sprigs bring that classic Christmas green.
Pro tipIf using real candles, keep them in a waterproof candle holder and never place flames directly on or near water unless the manufacturer explicitly allows it.
5. Reindeer Napkin Rings from Twine + Small Ornaments
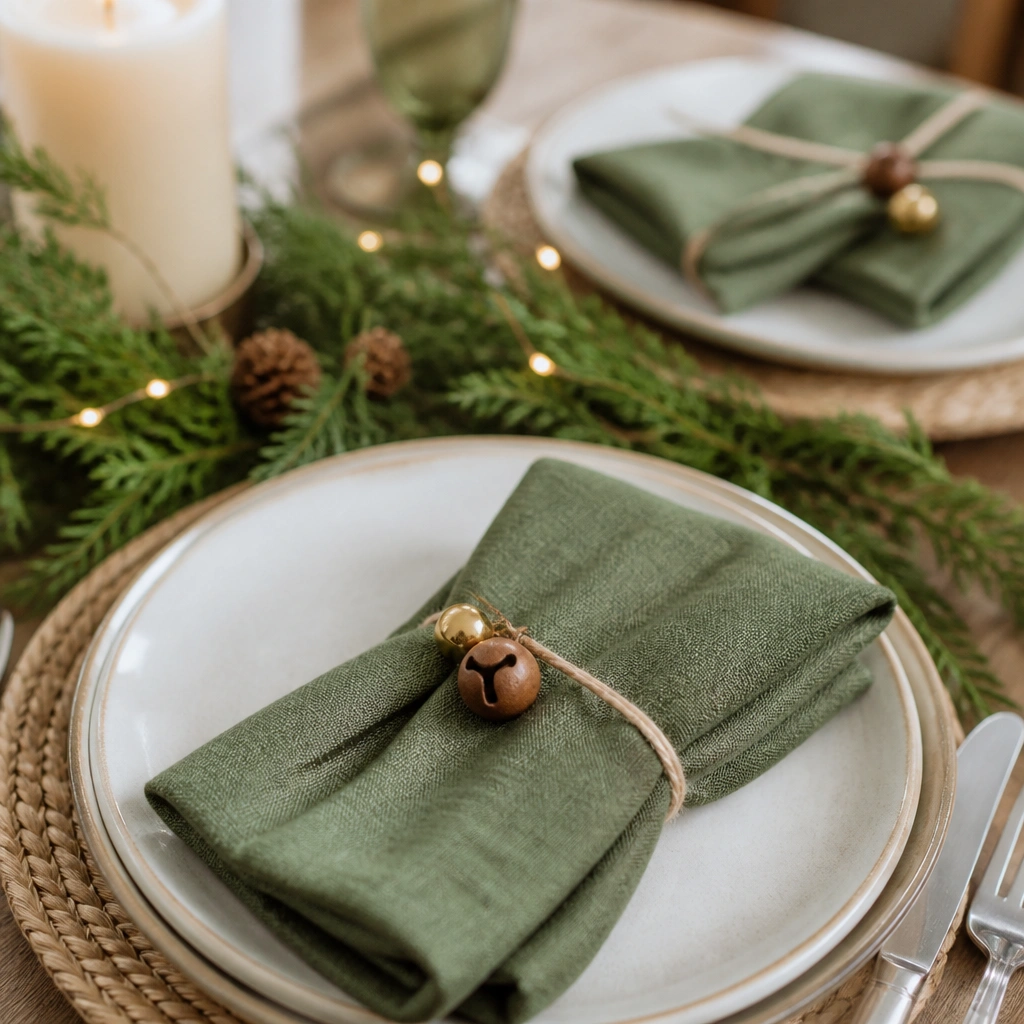
Napkin rings are a beginner shortcut because they dress every setting at once. Twine keeps it rustic, and tiny ornaments add a “reindeer” cue without needing sculpting or painting.
Use a hot glue dot to attach the bell/ornament so it stays secure when you move napkins around.
6. Wood Slice Candle Trio on a Tray
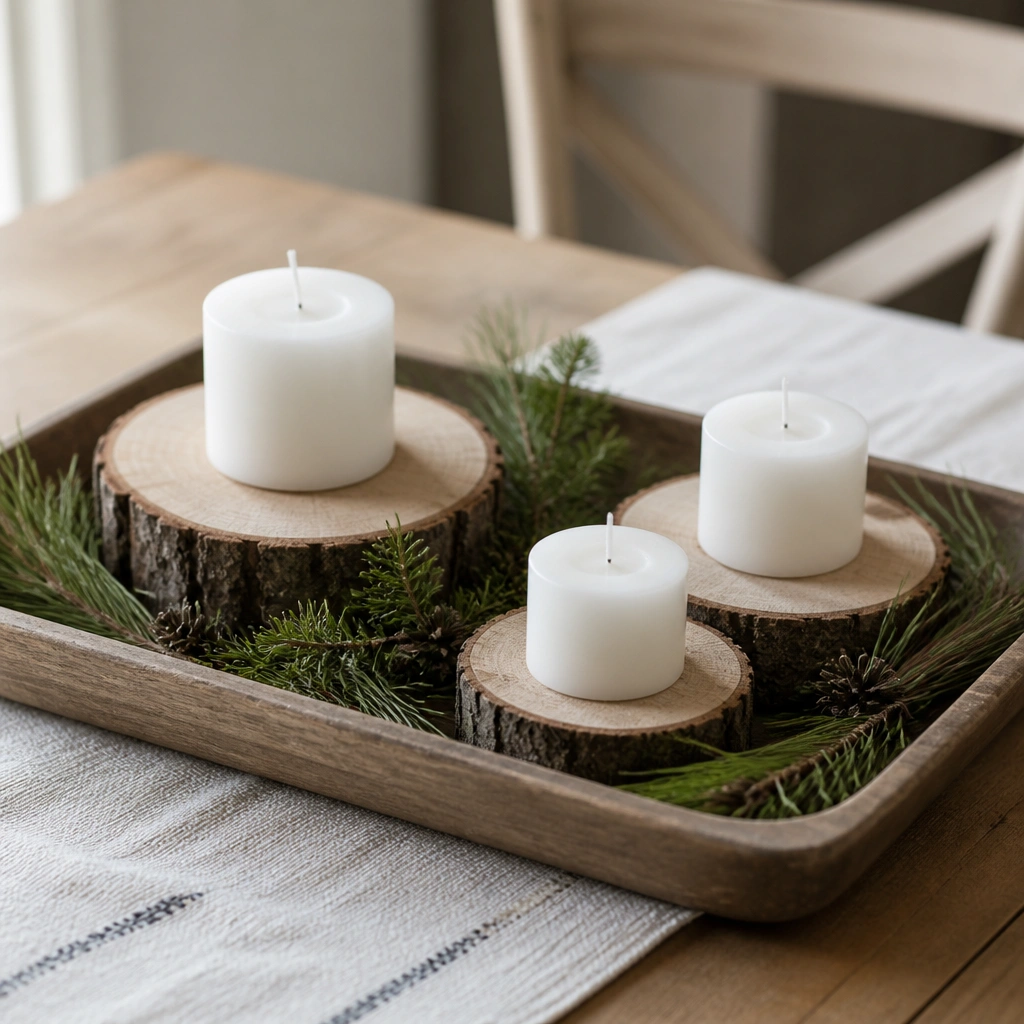
Wood slices add warmth and texture, making even plain candles look styled. A tray keeps the arrangement contained, which is perfect for beginners who worry about clutter.
Pro tipWipe the tray and wood slices dry before placing candles so the base doesn’t slide.
7. Greenery + Red Ribbon “Topper” for Any Centerpiece
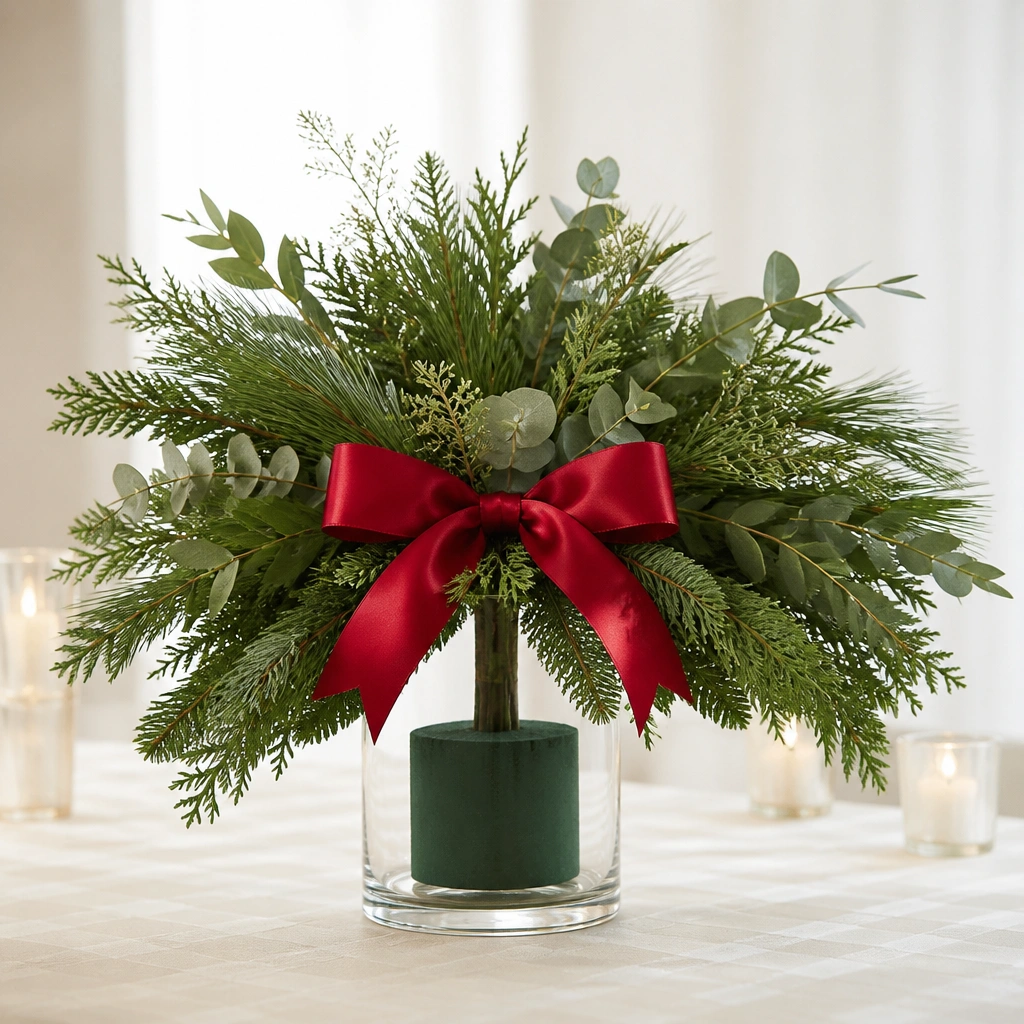
A ribbon topper gives the “finished” look even if the rest of your centerpiece is minimal. The greenery provides volume, while the satin ribbon adds a focal point that reads clearly from across the table.
Pro tipMake the bow first, then secure it to the greenery with floral wire so it doesn’t flop.
8. Holiday Table “Snow Drift” with Faux Fur + Votive Lights
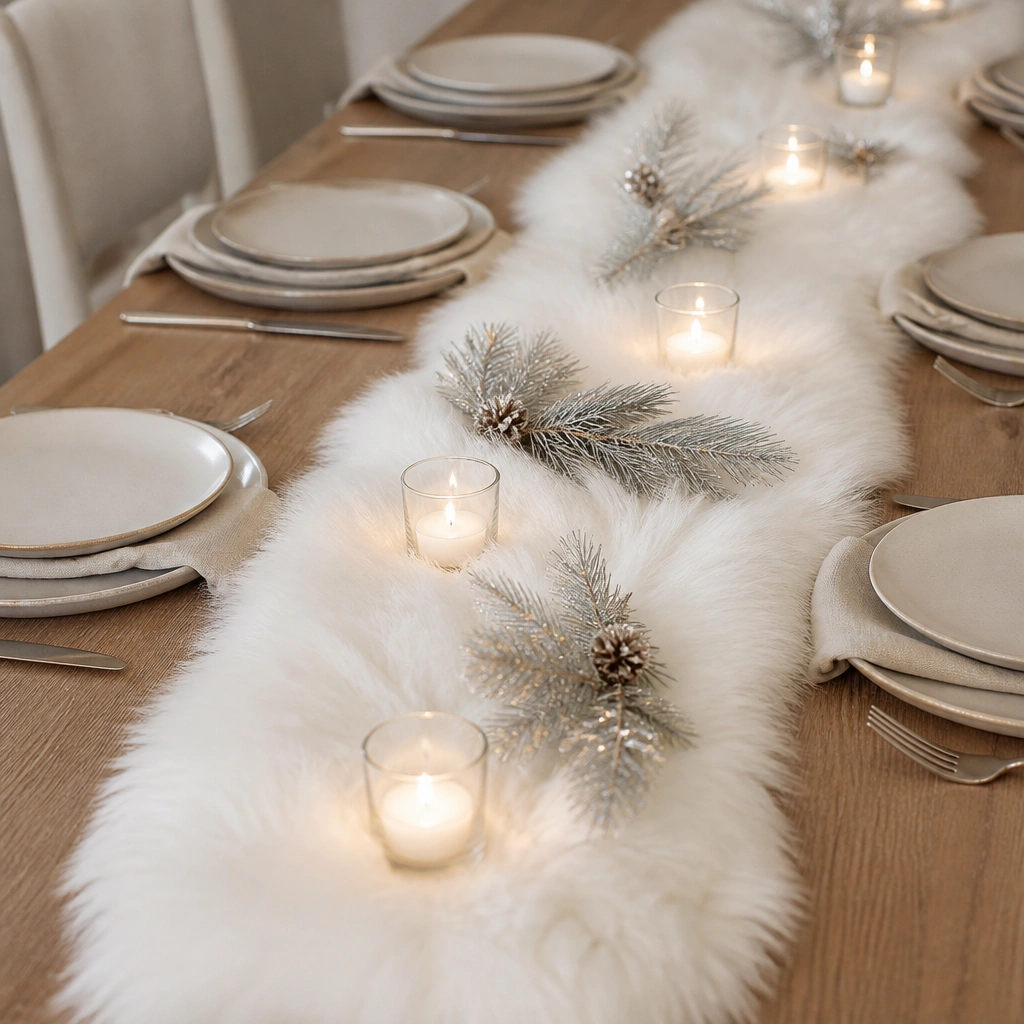
Faux fur creates instant snow texture and makes votive light look extra cozy. Keep it centered and slightly narrow so it feels intentional, not like a blanket spill.
Pro tipUse a lint roller on the fur before styling so the surface looks clean under candlelight.
9. Black-and-White Plaid Mini Tree in a Pot
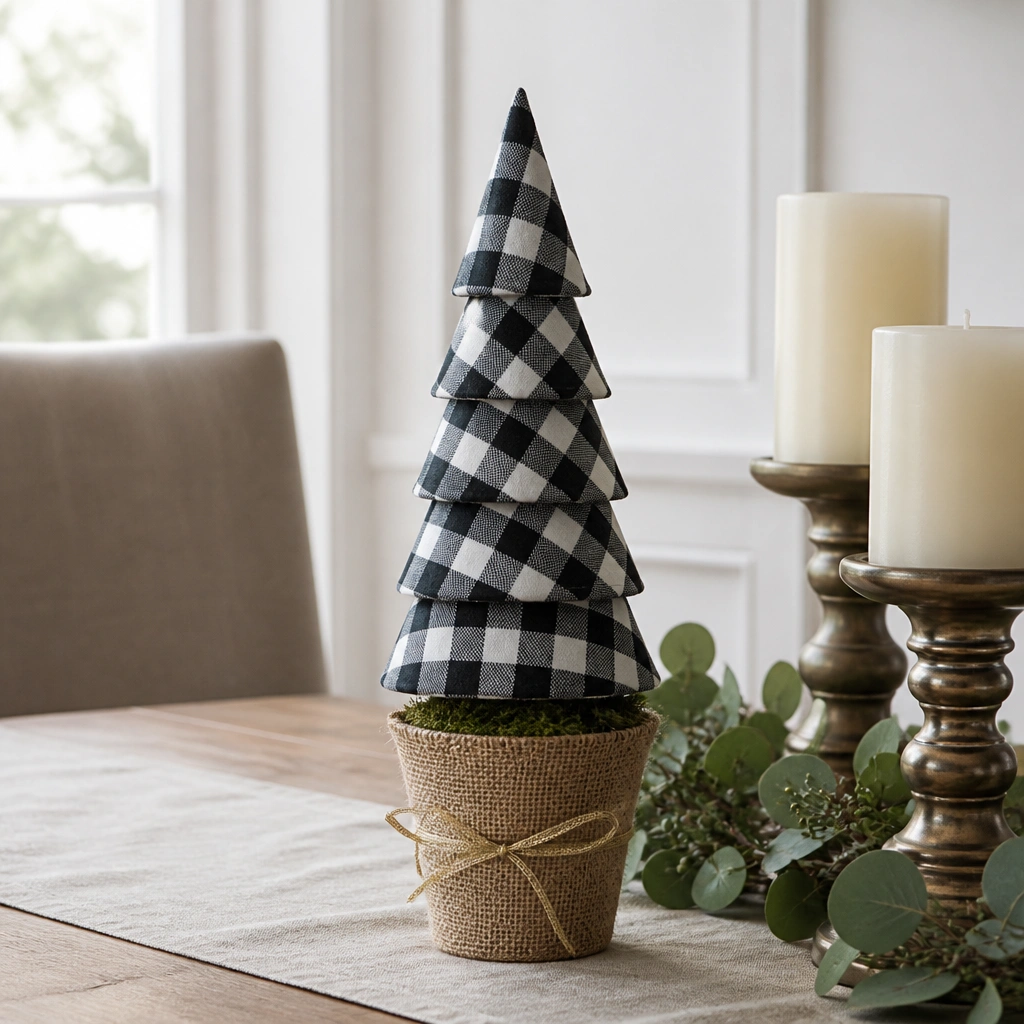
A mini tree is a beginner-friendly centerpiece because it’s already a complete shape. Plaid adds graphic contrast, and neutral pot styling makes it blend with most tableware.
Pro tipChoose a pot that matches your metal finishes (gold, brass, or silver) so the look feels cohesive.
10. Classic White Candle Cluster with Faux Pine + Stars
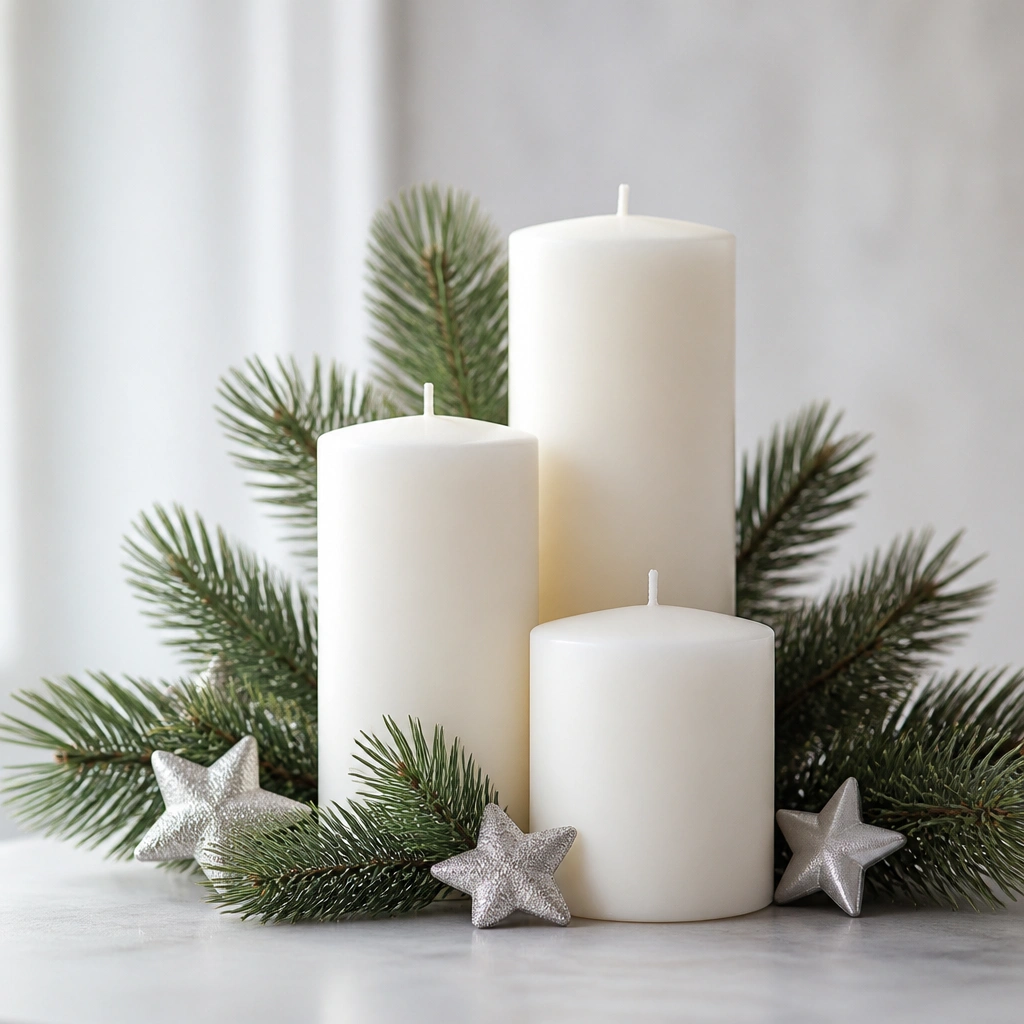
A candle cluster reads instantly “Christmas” because the flames (or LEDs) create movement and warmth. Faux pine frames the candles so you don’t need a long runner to look full.
Pro tipStart with the tallest candle in the back, then add the shorter ones forward so the cluster looks layered from the table’s viewpoint.