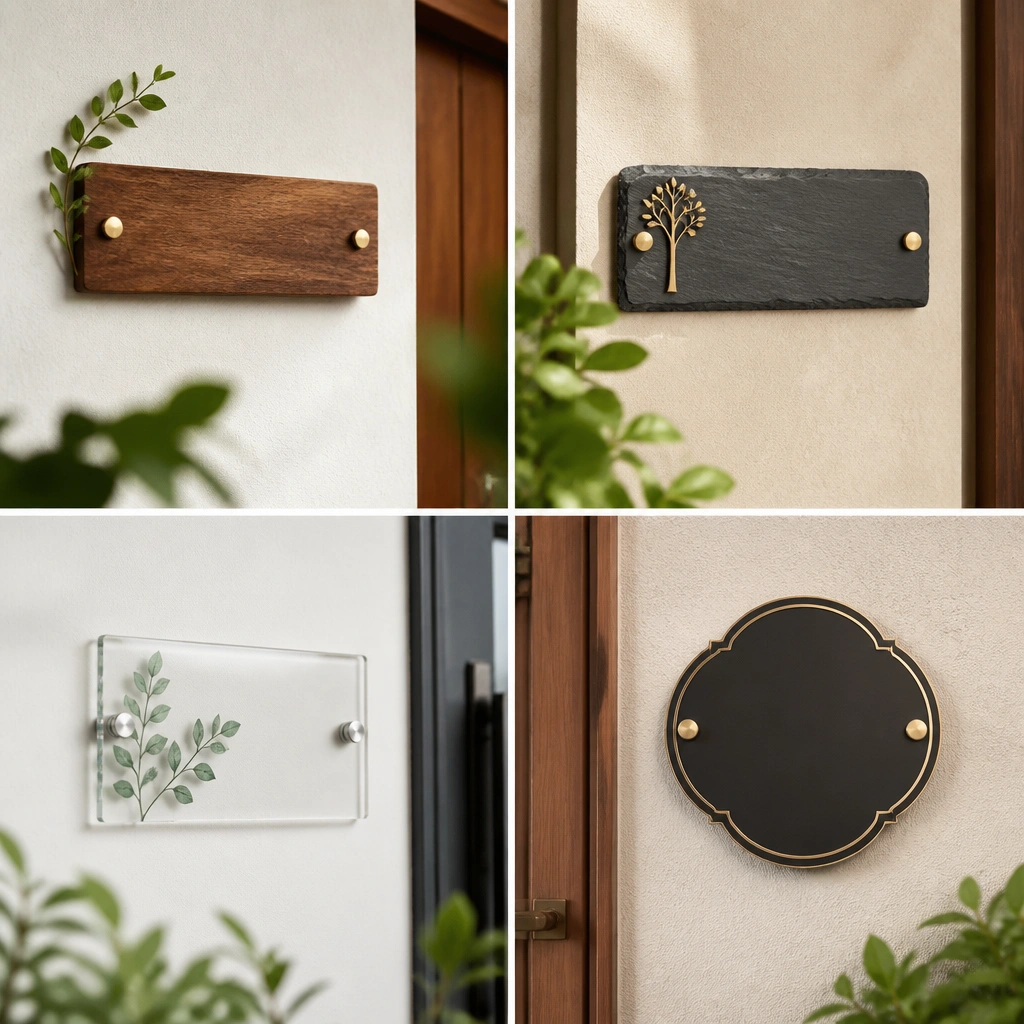
1. Peel-and-Stick Vinyl Name Plate (Door-Friendly, $10 Range)
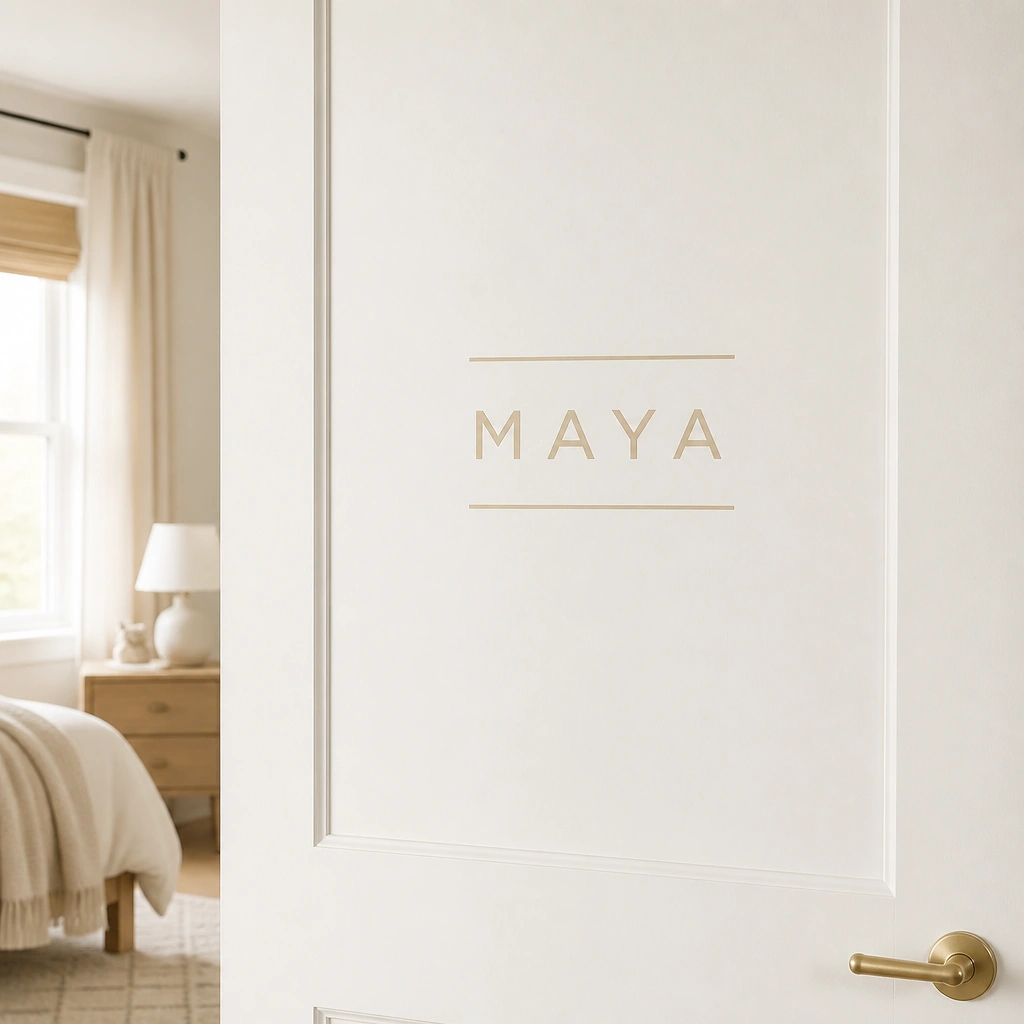
This option is basically a crisp, custom-looking label without the hardware. Choose a matte or satin vinyl so it doesn’t glare in overhead light, and keep the letter height around 1.5-2.25 inches for readability. It works especially well for renters because you get a polished result without drilling.
Pro tipClean the surface with rubbing alcohol, wait until fully dry, then press from the center outward to avoid bubbles.
2. Printable Name Plate + Laminated Sheet (Budget “Sign” Look)
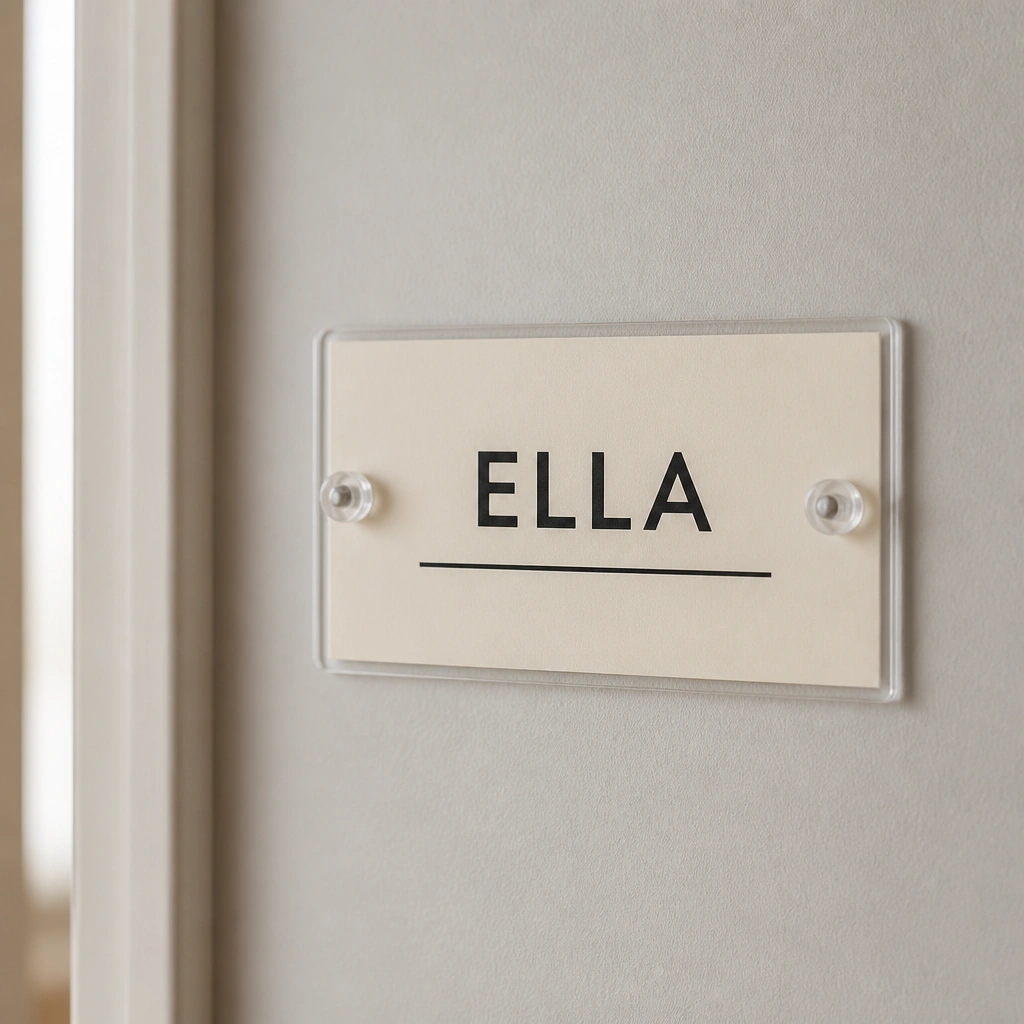
Print your name on thick cardstock, then laminate it for a smooth, wipeable finish. This makes a surprisingly sturdy name plate that looks like a mini storefront sign. Pair a serif font for a warm vibe or a modern sans font for a clean, contemporary look.
Pro tipUse a 4x6 inch size for most doors and mount with two push pins at the top corners for easy swaps.
3. Metal Look Adhesive Labels (Instant Clarity on Walls)
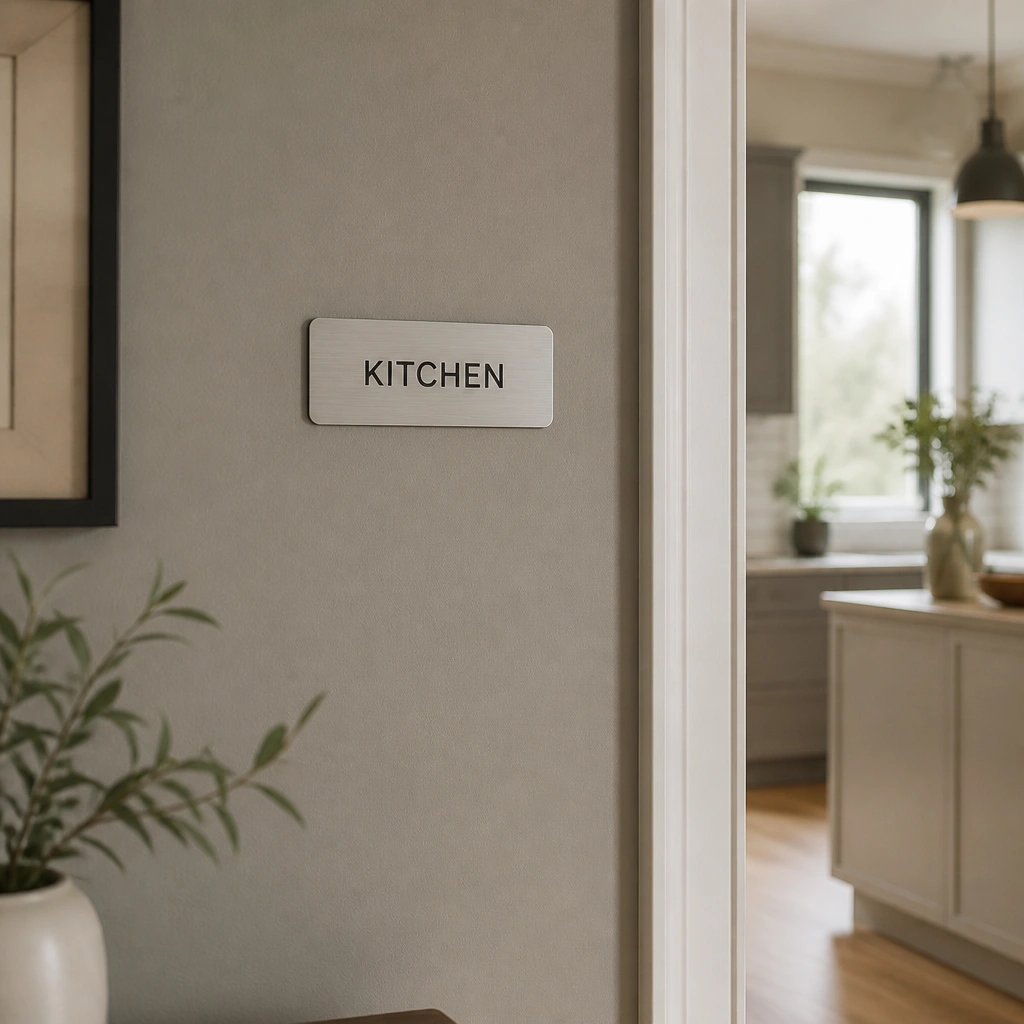
Metal-look adhesive labels give you that “designed” feel without buying real metal. They’re great for labeling rooms or zones (like pantry, laundry, office) where you want quick wayfinding. Stick to darker text on a lighter label for best contrast.
Label at eye level — about 60 inches from the floor — so it’s easy to spot without craning.
4. Wood-Style Craft Sign + Black Marker Typography
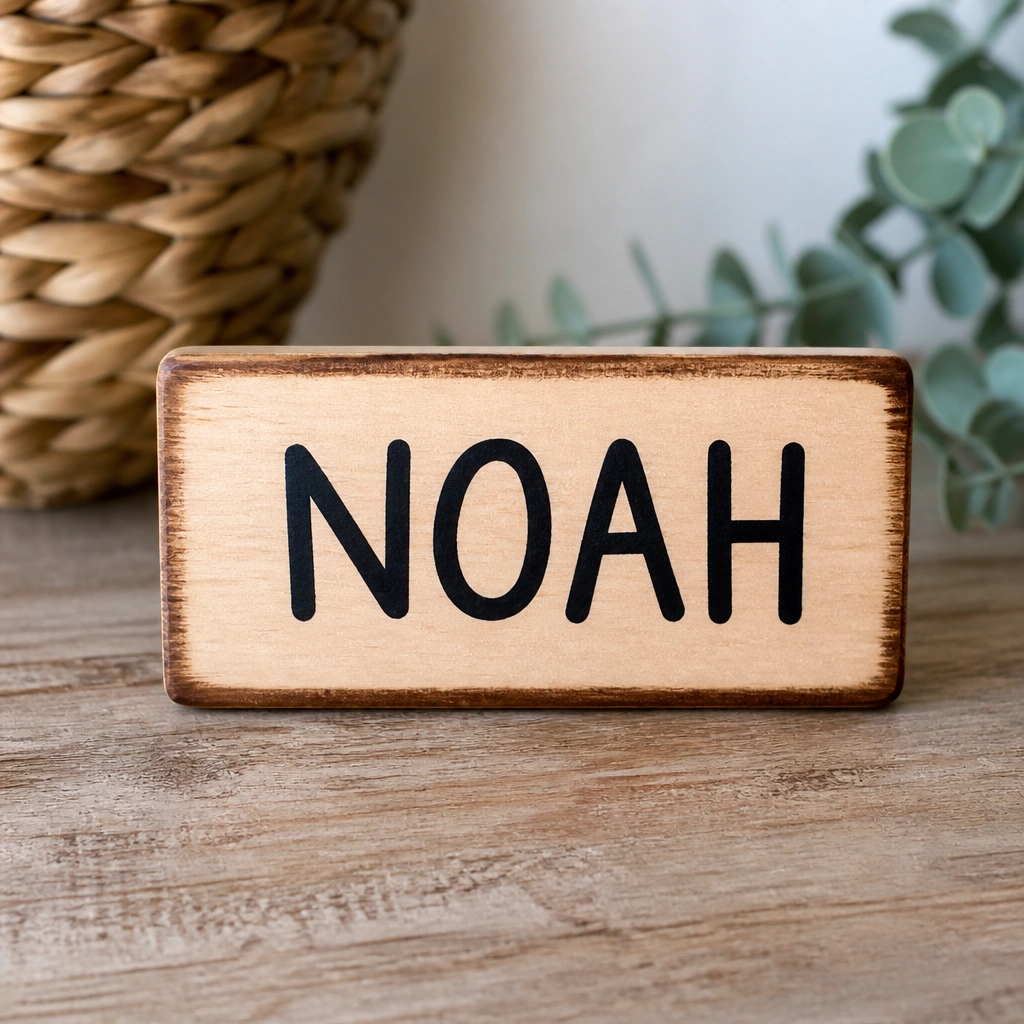
If you like the cozy farmhouse vibe, a wood-style craft board is a budget win. Use a fine-tip paint marker for crisp edges (it won’t look streaky like a regular marker). Seal with a clear matte spray so fingerprints wipe off easily.
Pro tipPractice your lettering on paper first — then lightly sketch with pencil before going over in marker.
5. Neutral Cardstock + Frame Without Glass (Clean, Lightweight)
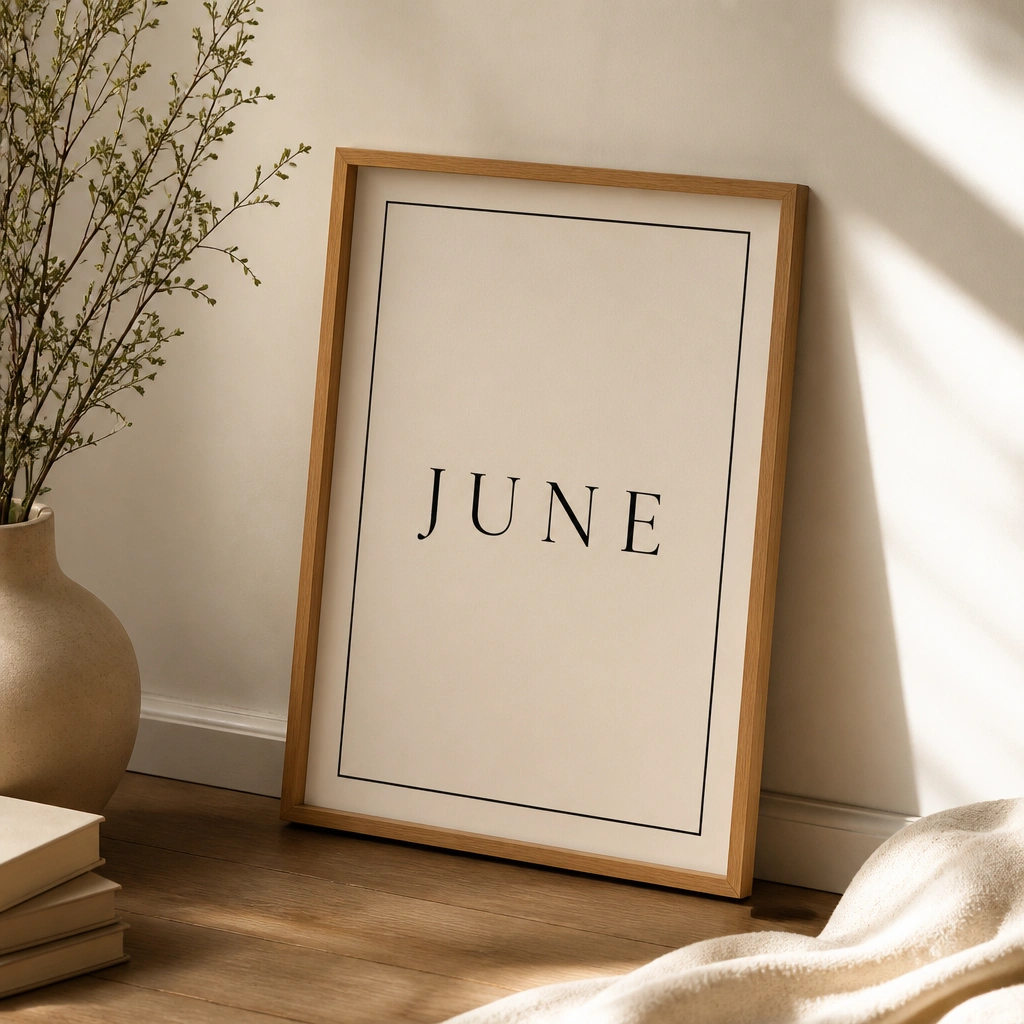
A cheap frame makes any name plate feel intentional, even when the insert is simple. Skip the glass if you’re mounting near a doorway with lots of light — it reduces glare. Stick to neutral cardstock (cream, oatmeal, light gray) for that calm, curated look.
Pro tipMeasure your frame opening first and print your name 1/8 inch smaller so it doesn’t crowd the edges.
6. Acrylic-Style Label (Clear Background, Dark Letters)
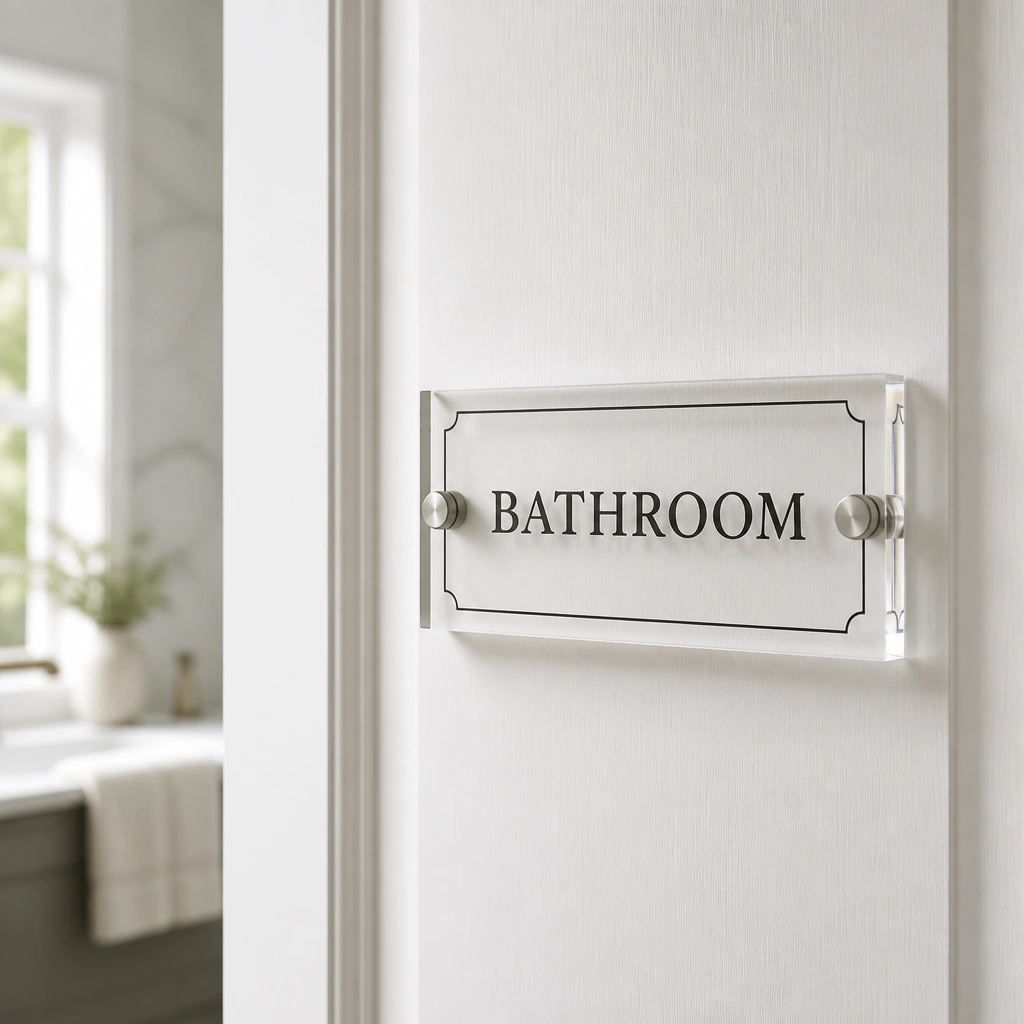
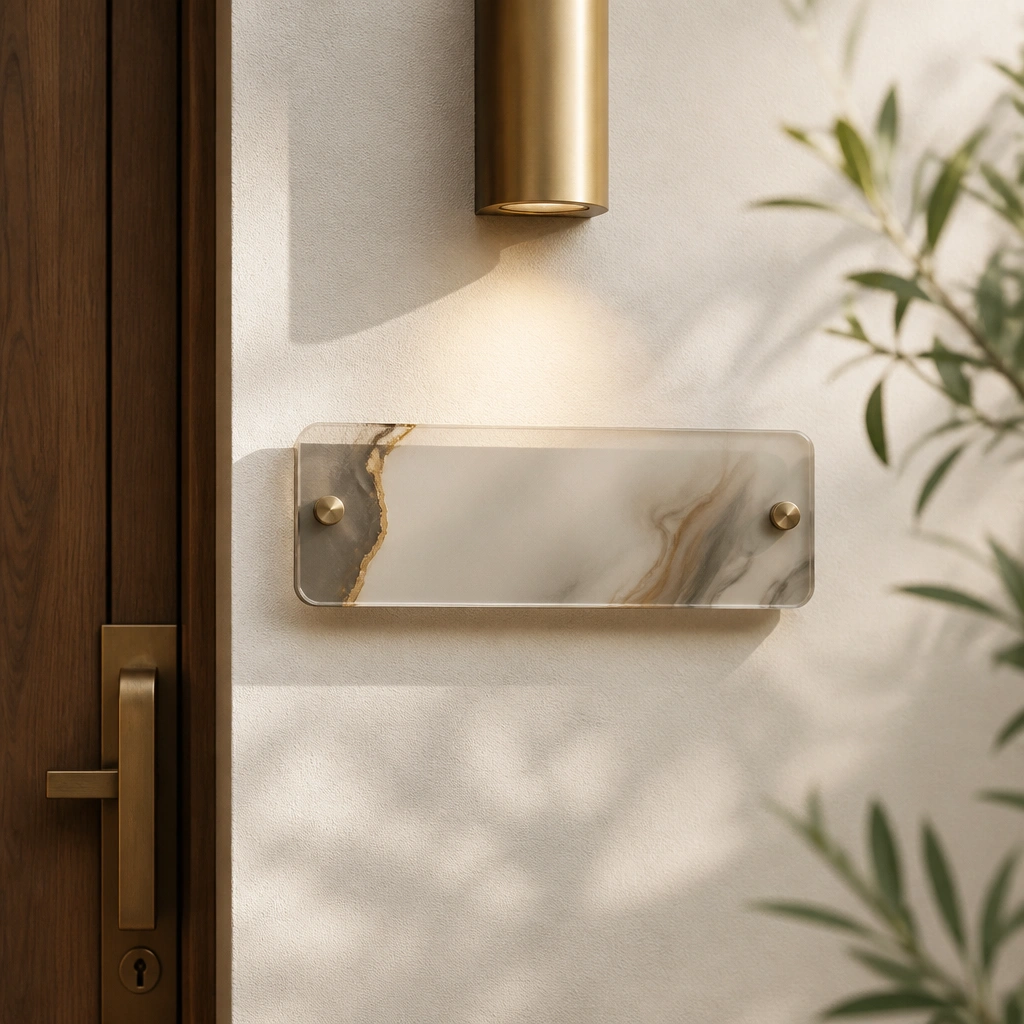
Clear or acrylic-style labels mimic higher-end signage while staying affordable. The trick is choosing dark letters with enough thickness so it reads from a few steps away. This looks especially good on white doors or light-colored walls.
Pro tipUse a vinyl transfer or printed insert behind a clear label backing to keep edges sharp.
7. Chalkboard-Style Stickers for Seasonal Updates
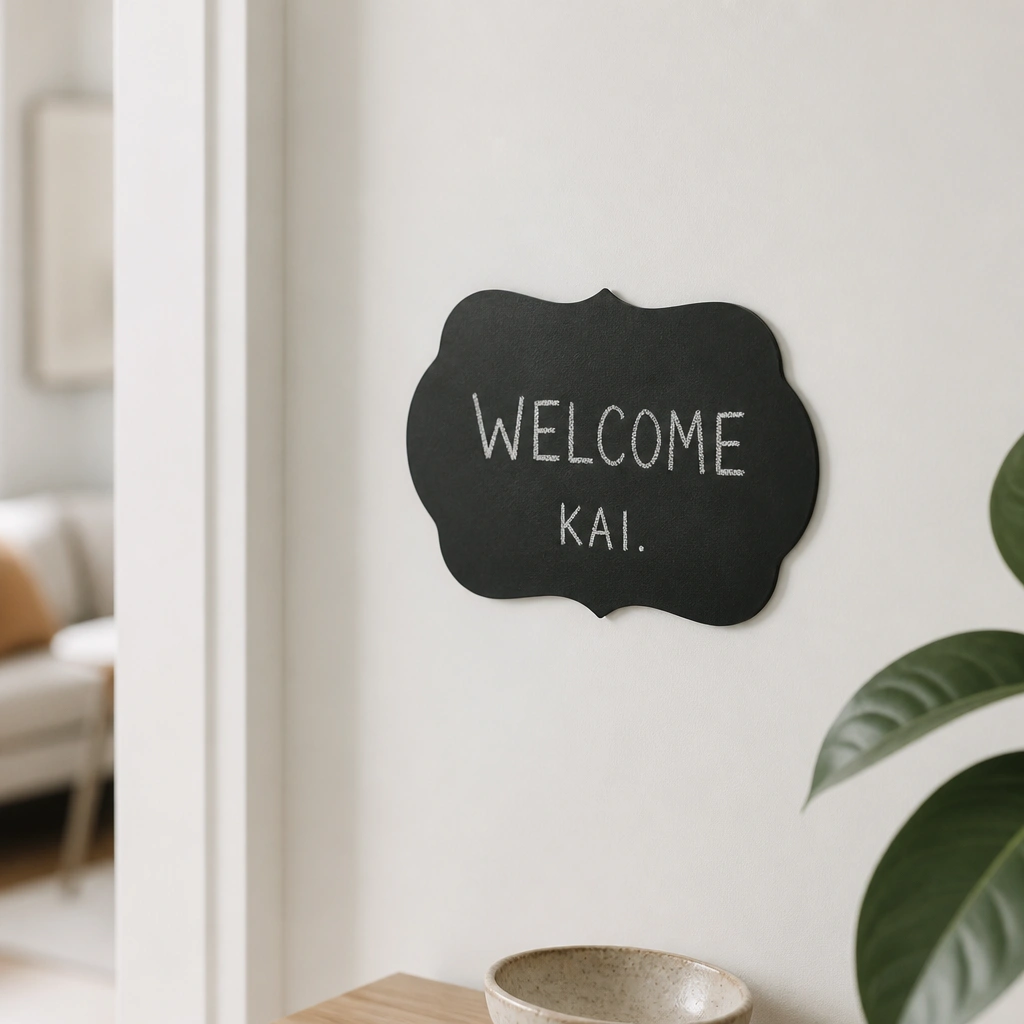
Chalkboard-style stickers let you change names or add dates without replacing the whole sign. It’s perfect for shared spaces, guest rooms, or family homes where things shift seasonally. Use white chalk markers for the cleanest contrast on dark sticker backgrounds.
Don’t press too hard when writing — light strokes look smoother and prevent scratchy lettering.
8. Fabric Ribbon Name Plate (Soft Entryway Detail)
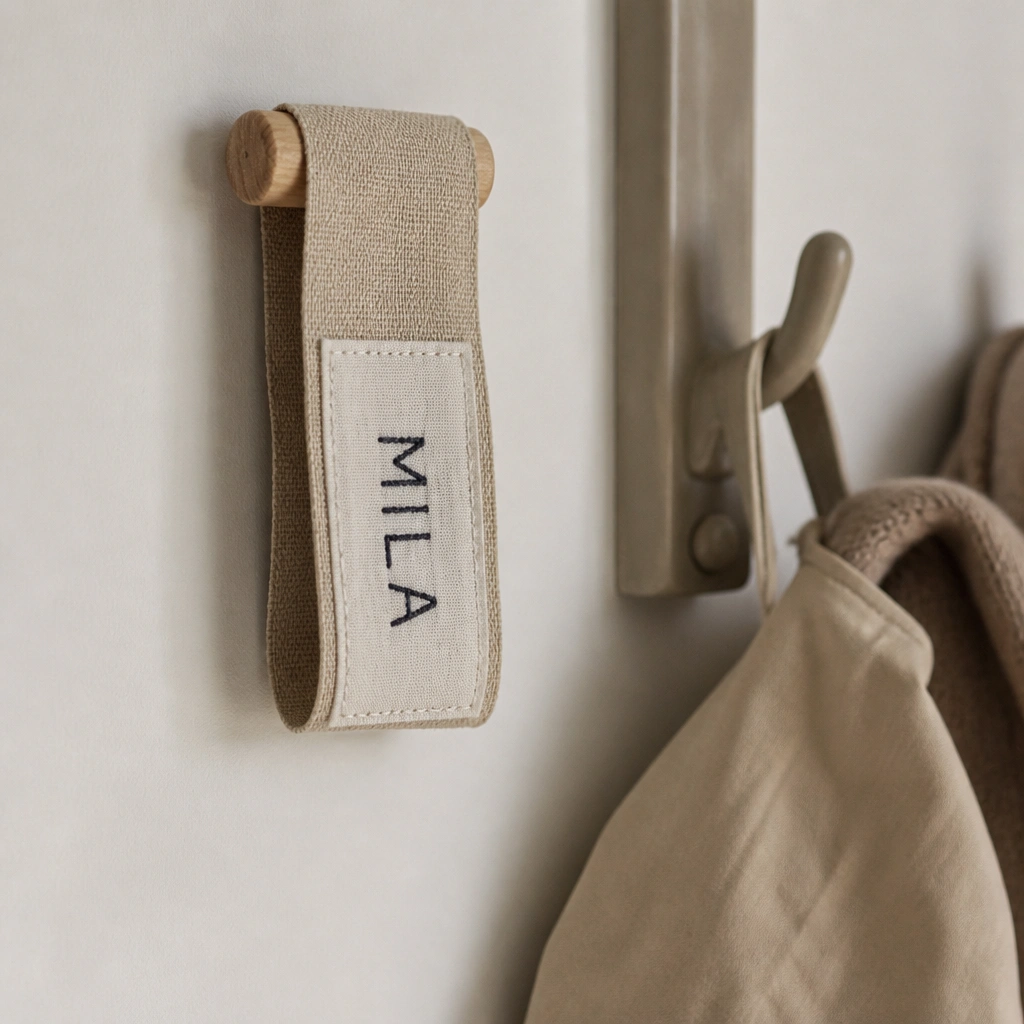
If you want something less “signage” and more decorative, a stitched patch on ribbon reads warm and personal. It’s ideal for mudrooms and entryways where you’re styling coats and bags. Choose sturdy cotton or canvas so the letters stay crisp over time.
Hot-glue or stitch a small backing to keep the patch flat and prevent fraying at the edges.
9. Blackboard Paint + Stencil on a Small Door Panel
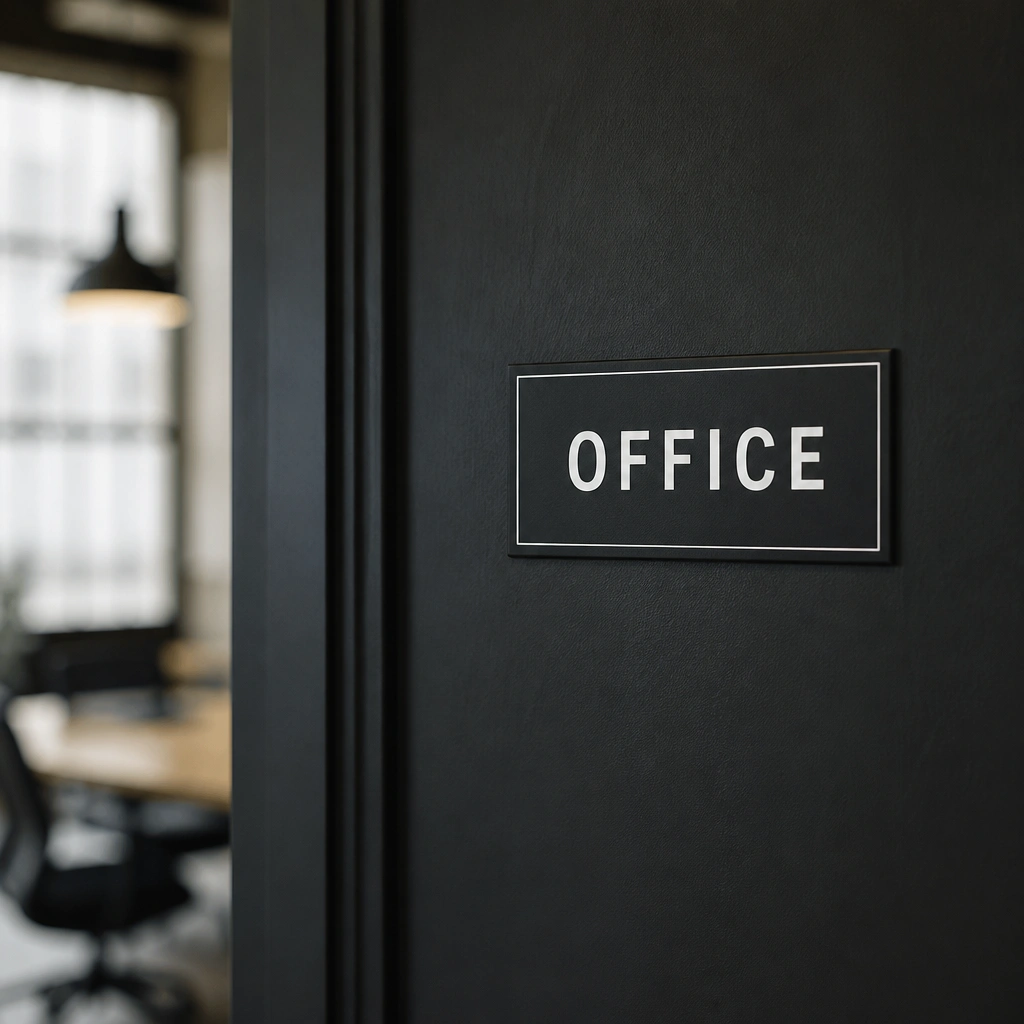
This is a budget-custom route that gives you the most “real” name plate look. Stenciling is the key — it keeps spacing even and prevents the hand-lettered wobble. Use chalk markers for crisp lettering that wipes clean.
Seal the painted area with a chalkboard sealer if you can, then cure it per the label before heavy use.
10. Magnetic Name Plate for Metal Doors or Fridge-Style Surfaces
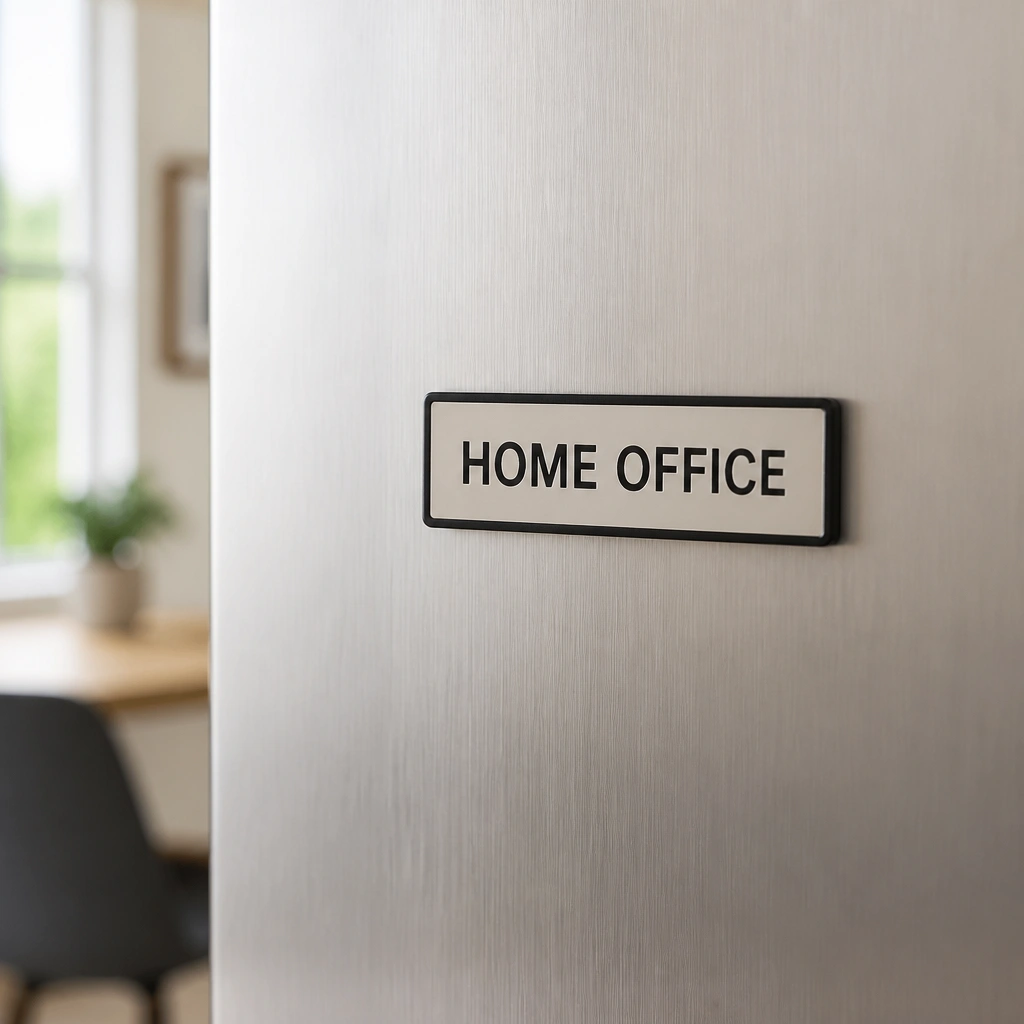
Magnetic name plates are great if you want easy swaps without adhesive residue. They also work on metal lockers, filing cabinets, or kitchen surfaces for labeling drawers and zones. Use a rigid insert (like cardstock under a clear magnet sheet) so it stays flat.
Pro tipTest magnet grip before committing — a quick tap test tells you if it’ll hold through daily bumps.