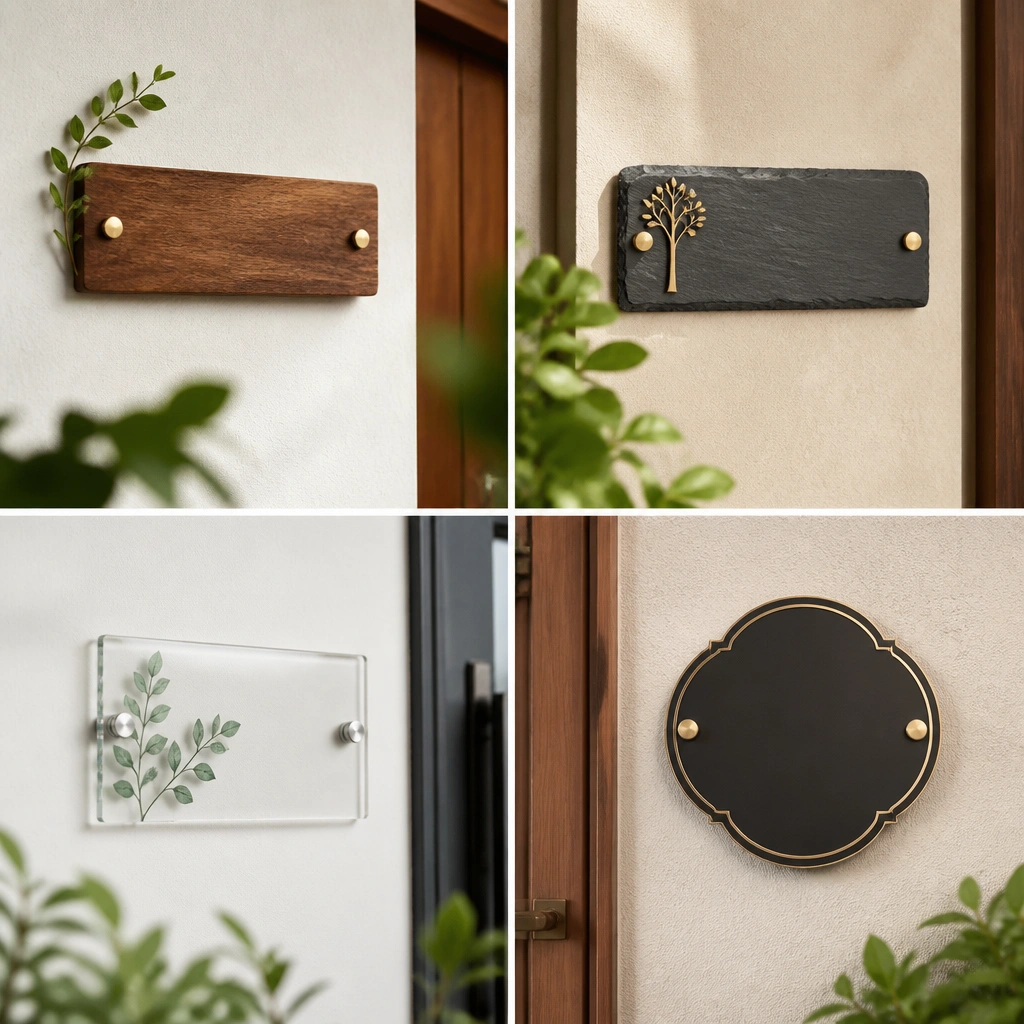
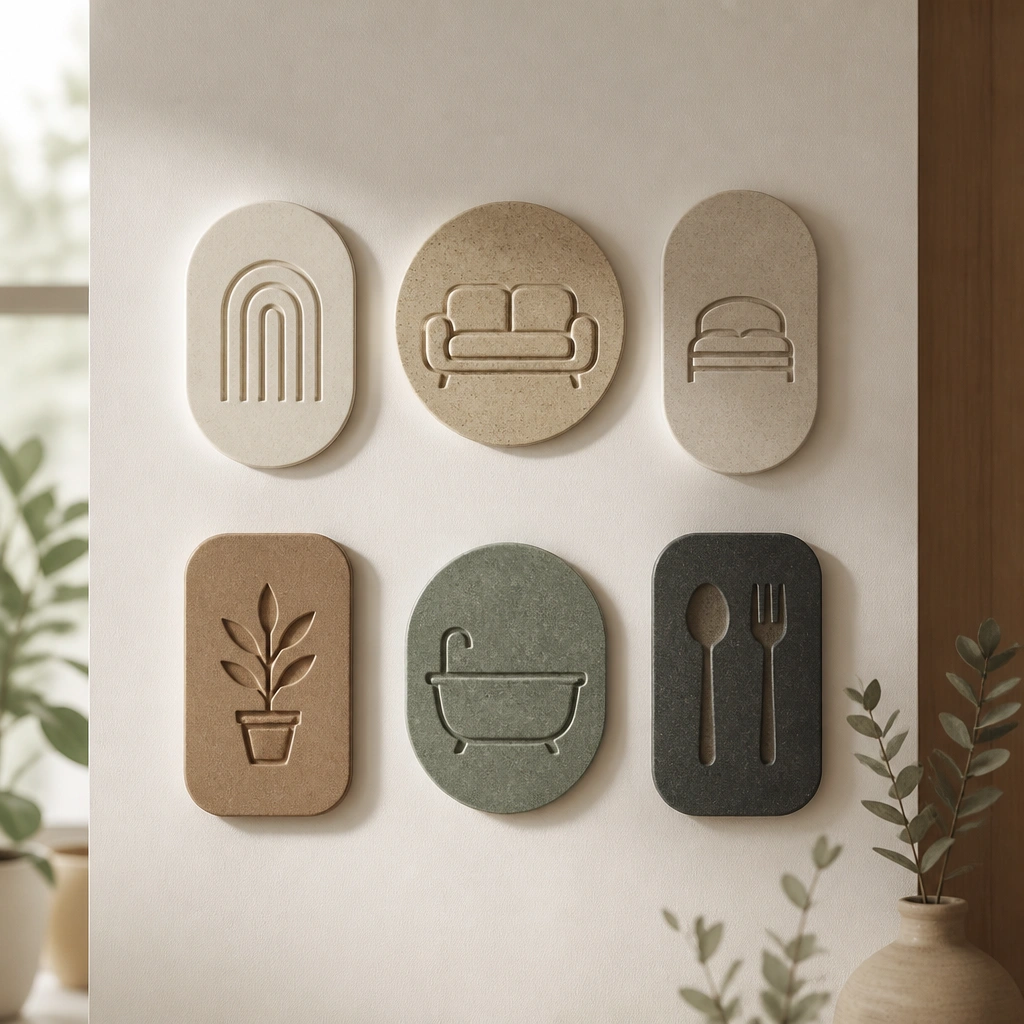
1. Dollar-store binder spine labels with vinyl letters
This is the cheapest way to get a real name plate look without buying a plaque. Binder spine labels are thin, flat, and already sized like a “plate,” so you’re not guessing dimensions. Pair them with vinyl letters in a bold font so the text stays crisp under hallway lighting. The label background is usually light, which makes dark letters easy to read. It works best for room names, kids' spaces, or closet categories where you want clean order fast.
Step 1. Buy binder spine labels (pack) and vinyl letter decals in black or white. Pick a label size that fits your space, then measure the label width and plan letters with at least 1/2-inch height. Step 2. Peel and stick the vinyl letters onto the label, then press firmly with a ruler edge so corners stick. Step 3. Mount with small command-style picture strips or clear double-sided mounting tape; keep the plate centered at about 60 inches to the middle for doors.
Pro tipSeal the vinyl with clear matte tape or a thin clear laminate sheet so the edges don’t lift.
One warningAvoid glossy backgrounds; glare makes vinyl lettering harder to read at angles.
2. Matte black metal cable tag plates with printed insert
If you want a “real hardware” vibe on a budget, cable tag plates do the job. They look like industrial tags, which means you get strong contrast and a clean border around the text. The insert can be printed at home and swapped when you change room assignments. Matte black hides smudges and fingerprints better than shiny metal. This works great on doors, pantry doors, and laundry room cabinet fronts where you want durable-looking labels.
Step 1. Buy metal cable tag plates that accept paper inserts and choose a size around 1.5 to 2.5 inches wide for single names. Print your text on cardstock at high contrast, then cut to fit the insert window. Step 2. Slide the paper insert into the tag and lock it in place using the tag’s built-in clamp or sleeve. Step 3. Mount using two small screws if you’re drilling, or use strong mounting tape for rentals; place it at eye level on doors.
Use uppercase text and keep characters tight — spacing too wide makes the plate look empty.
Don’t use thin paper; it curls and the insert looks sloppy.
3. Chalkboard sticker name strips (sealed with clear tape)
Chalkboard stickers are cheap and forgiving when you’re labeling kids' rooms, temporary guest spaces, or a work-from-home setup that changes. They look like a real label because the surface is designed to hold writing. Use white paint marker or chalk-style markers for strong contrast. The matte surface reduces glare, so the text stays readable. Seal it with clear tape or a laminate sheet so it doesn’t get scuffed by hands.
Step 1. Buy chalkboard sticker strips and a white paint marker. Write the name in thick strokes; aim for at least 1/2-inch tall letters for shelves and closer to 1 inch for doors. Step 2. Cut the strip to match your target width, then apply it to a clean, dry surface. Step 3. Seal over the writing with clear packing tape or a small piece of clear laminate so it wipes clean.
Pro tipMake the letters blocky instead of cursive. Cursive looks cute but reads worse from across a hallway.
One warningSkip water-based markers; they smear when sealed.
4. Wood craft plaques with stencil letters and clear matte coat
This option looks “intentional” because wood plaques have real grain and shape, even when they’re cheap. Stenciling gives you crisp edges without needing fancy equipment. Choose a small unfinished wood craft plaque, then use a stencil in a bold font so the name stays readable. A matte clear coat keeps the letters from chipping and reduces glare. It’s best for entry shelves, mudroom hooks, and closet doors where you want warm decor.
Step 1. Buy unfinished wood plaques (small craft size) and stencil letters plus white acrylic paint. Sand lightly if the surface is rough, then tape the stencil in place and paint in thin layers. Step 2. Let it dry fully, then remove the stencil carefully while the paint is set. Step 3. Spray or brush a clear matte sealant over the whole plaque; mount with screws through predrilled holes or strong picture-hanging tape.
Do two thin coats of paint instead of one thick coat; it stays sharp.
Don’t skip sealing; raw paint chips fast on high-touch doors.
5. Clear acrylic fridge-style name plates with vinyl lettering
Clear acrylic plates look modern and clean, and they’re easy to swap when you rearrange rooms. Because the material is transparent, you can choose a backing color that matches your decor — black backing makes white letters pop. Vinyl lettering stays crisp and doesn’t require messy paint. These work especially well for laundry room labels, office door names, or drawer labels where you want a sleek look. They also hold up better than paper-based labels.
Step 1. Buy small clear acrylic label holders or acrylic name plates that accept a backing insert. Cut cardstock backing to fit and choose a dark color like charcoal or deep navy. Step 2. Apply vinyl letters to the cardstock or directly onto the acrylic backing area, then insert into the acrylic holder. Step 3. Mount with double-sided mounting tape rated for smooth surfaces or use small screws depending on the plate design.
Pro tipUse a backing that matches your room’s dominant color so the label looks designed, not random.
One warningAvoid thin, low-quality vinyl; it peels at corners.
6. Vinyl decal on a small framed print (cheap frame + insert)
This works because frames give you the “plate” shape instantly. Instead of paying for a custom plaque, you use a cheap frame and a blank backing insert, then add vinyl letters for a clean, professional look. The glass also protects the lettering from scuffs, which matters for entryways. Pick a simple frame in black, white, or natural wood. This is a good choice for wall-mounted names above a desk, by a hallway mirror, or on a closet wall.
Step 1. Buy a small inexpensive frame (around 5x7 or smaller) and remove the backing. Replace the paper with a blank cardstock sheet in a solid color, then apply vinyl letters centered. Step 2. Put it back in the frame, add the backing, and tighten clips. Step 3. Mount using the frame’s hanging hardware; keep the text centered and at eye level for best readability.
Pro tipUse matte cardstock backgrounds; glossy paper creates glare through glass.
One warningDon’t use tiny frames with long text; it squeezes letters and they blur.
7. Printed label strips in a clear acrylic keychain holder
If you want a budget label that looks like a real sign, keychain-style clear holders are an easy hack. You print the name on paper, slide it into the holder, and get a protected, readable plate. The clear plastic keeps it clean in busy areas like laundry rooms. Choose a holder that’s flat and wide enough for thick, bold text. This is great for drawer labels, pantry shelves, and closet organizers where you’re constantly adjusting labels.
Step 1. Buy clear acrylic keychain holders or similar flat label protectors. Print your names in bold font on cardstock, then trim to fit the holder’s insert size. Step 2. Slide the paper into the holder and close the top/clip. Step 3. Mount with removable adhesive strips or Velcro dots if you want easy swaps.
Pro tipPrint with dark ink on light paper for high contrast and easier reading.
One warningSkip low-resolution print settings; blurry text inside a clear holder looks worse.
8. Stencil-painted tile name plates on stick-on ceramic squares
This gives you a sturdy, bathroom-friendly look without real tile work. Use stick-on ceramic square decals or cheap craft tiles, then paint with stencil letters. The ceramic surface resists moisture better than paper labels, which helps in entryways with coats or near mudrooms. A matte white tile with black letters reads clearly and looks clean. It’s best for labeling bathroom doors, linen closets, or pantry doors.
Step 1. Buy small ceramic-look tiles or stick-on square tile decals. Clean the surface, then tape a stencil in place and paint with acrylic craft paint in black or navy. Step 2. Let dry, then apply a thin clear matte sealant so letters don’t scuff. Step 3. Mount on doors with strong adhesive pads or on walls with removable mounting tape if you don’t want to drill.
Pro tipUse painter’s tape to mask the stencil edges; it prevents paint bleed.
One warningDon’t use glossy paint; it catches light and the letters lose contrast.
9. Magnetic name plates for metal doors using fridge magnet sheets
Magnetic plates are perfect if you want zero damage and easy swaps. Fridge magnet sheets plus printed or vinyl letters give you a “plate” that sticks securely to metal doors and some lockers. This is a great solution for garages, workshops, and laundry rooms with metal surfaces. Use a thick magnet sheet so it doesn’t sag. Text looks clean and readable because you can control contrast and font size.
Step 1. Buy magnetic sheet material and cut it to your desired plate size with scissors or a craft knife. Attach a backing panel (cardstock or thin foam board) and center your name with vinyl letters or printed text. Step 2. Seal the paper backing if it’s exposed to humidity by covering it with clear contact paper. Step 3. Press onto the metal surface and test hold strength before you fully commit.
Pro tipCut the corners slightly rounded; sharp corners peel faster off textured metal.
One warningDon’t use paper-only magnets; humidity will curl the insert.
10. Foam board name plates with vinyl lettering and corner guards
Foam board is cheap, lightweight, and easy to cut into a neat rectangle that reads like a sign. Vinyl lettering on top stays crisp, and foam board won’t warp quickly if you seal it. Add corner guards or wrap the edges with clear tape so the plate doesn’t look beat up after a few months. This works best for interior doors that don’t get heavy moisture, like kids' rooms, offices, and hall closets. It’s also a strong choice for renters who want removable mounting.
Step 1. Cut foam board to a plate size around 6x2 inches for short names, then cover both sides with clear contact paper or laminate. Step 2. Apply vinyl letters centered; press with a ruler and burnish edges. Step 3. Mount with removable adhesive strips or Velcro dots on the back; place at eye level on doors.
Pro tipUse a thicker vinyl font and keep letter spacing tight so it reads from farther away.
One warningDon’t leave raw foam board edges exposed; they soak up grime and look messy.
11. Brass-look stick-on letters on a painted wood strip
If you want a warm, “designed” look on a budget, a painted wood strip plus stick-on brass-look letters does it. The wood adds texture and warmth, and the metallic letters catch light without needing real metal engraving. Paint the strip a deep matte color like charcoal or sage to make the letters pop. This is best for entry shelves and coat hooks, where you want the label to feel part of the room, not like an afterthought.
Step 1. Buy a cheap wooden craft strip, sand lightly, and paint it matte (charcoal, deep green, or warm white). Let dry fully, then attach brass-look letter stickers with a level or measuring tape. Step 2. Press each letter firmly and add a thin clear matte topcoat over the wood only if the letters allow it (test on scrap first). Step 3. Mount with small screws through the strip ends or with strong adhesive strips for rentals.
Pro tipMeasure the spacing before you stick — use painter’s tape to mark where each letter goes.
One warningAvoid glossy paint; glare makes metallic letters harder to read.
12. Acrylic paint marker on glass jar lids (for pantry and shelves)
Jar lids aren’t a traditional name plate, but they look great when you label pantry items or small storage areas. Acrylic paint markers bond well to glass and metal lids, and the circle shape reads clearly at close range. Use it for “Beans,” “Flour,” “Tea,” or “Spices” on shelf jars and bins. The circle design also hides minor imperfections in your lettering. This is a budget move if you already have jars and want matching labels without printing a new set.
Step 1. Clean lids with rubbing alcohol and let dry. Use an acrylic paint marker in white or gold, then go over the letters once for thickness. Step 2. Bake the marker according to the paint instructions if it says to cure with heat; otherwise allow full cure time. Step 3. Mount by screwing onto the jar, or for fixed labels use a thin circle of adhesive vinyl on the lid edge.
Use large block letters so the label stays readable when jars sit behind each other.
Don’t label over grease; the paint will smear when handled.
13. Printed name plate on cardstock inside a plastic report cover
This is a practical, low-cost label system that looks organized even when you change it. Plastic report covers or clear sleeve protectors keep paper flat and readable, and they’re cheap in bulk. Print names in a bold font and keep the design consistent across rooms. Because the cover is clear, you can match background color to each area (bathroom labels use white on dark blue, for example). It’s ideal for apartment entryways, shared spaces, and temporary labels.
Step 1. Buy clear plastic report covers and cut your cardstock insert to fit the window size. Print in bold type, then trim cleanly so edges don’t show. Step 2. Slide the cardstock into the sleeve and tape the edges if needed to prevent slip. Step 3. Mount the sleeve with removable adhesive strips, or hang using a small command hook if it’s for a door handle area.
Use one background color per zone so your labels look like a set, not random prints.
Don’t use light gray text; it disappears through plastic glare.
14. Sublimation-style transfer on cheap wood round plaques
Round wood plaques give you a softer look than rectangles, and they’re easy to find cheap in craft sections. Instead of buying engraved names, use transfer paper methods to put crisp lettering onto the wood. Dark text on a light wood base reads well, especially in entry lighting. This works for labeling shelves, small hallway corners, and closet organizers where you want a warm, farmhouse-adjacent feel without spending on custom carving.
Step 1. Buy cheap small round wood plaques and lettering transfer paper compatible with wood. Print your name in the right size so letters are at least 3/4 inch tall for most viewing distances. Step 2. Apply the transfer according to the paper instructions, then peel once it cools. Step 3. Seal with a clear matte topcoat to protect the lettering and mount with a small adhesive strip or a pin-back depending on the plaque style.
Pro tipKeep the design simple: one line, no script fonts. Round plaques punish thin strokes.
One warningDon’t pick too-dark wood; the letters lose contrast.
15. Brushed vinyl frosted stickers on glass door panels
For glass doors or panels, frosted vinyl lettering is one of the most readable budget options because it creates contrast without blocking light. You get a clean, modern label that looks built-in. Choose a frosted effect vinyl in white and apply it directly to the glass. The matte surface also reduces glare from the room behind the label. This is best for offices, bathroom doors with glass windows, and closet doors with panes.
Step 1. Measure the glass area and pick a vinyl lettering size so letters are about 1 inch tall. Clean the glass with alcohol and let dry. Step 2. Apply vinyl letters using transfer tape if your vinyl comes on sheets; burnish each letter with a squeegee or credit card edge. Step 3. Let it set for a few hours before heavy cleaning, and mount no hardware since it’s glass-safe adhesive.
Use simple uppercase letters. Serif details get lost through frosted vinyl texture.
Skip cleaning — dust under vinyl shows as tiny bubbles.
16. Laser-cut look paper labels with laminate for high durability
If you can find laser-cut look name label sheets, you can get the “plaque vibe” without paying for real machining. Laminate turns paper into something that can handle daily touch. The edges look crisp, and you can match multiple rooms with the same font. This is a strong choice for shelves, drawers, and pantry doors where labels get handled. Use matte laminate if your area has bright overhead lights.
Step 1. Buy pre-cut name label sheets or print your own cuttable labels on cardstock. Laminate the label using a home laminator or self-laminating sheets. Step 2. Trim around the label edges cleanly, then apply a small piece of double-sided mounting tape to the back. Step 3. Mount at eye level on doors or centered above shelves; press for 30 seconds to lock the tape down.
Pro tipChoose matte laminate to keep text readable under glare.
One warningDon’t use glossy laminate on dark backgrounds; it reflects light and washes out the lettering.
17. Cheap metal sheet labels with black vinyl and magnets
This is a sturdier version of magnetic labeling that still stays budget. A thin metal sheet gives you a rigid “plate,” and vinyl lettering stays crisp. You can mount with magnets on metal doors or add adhesive magnets for easy swaps. It looks like real signage because the surface is uniform and the letters sit flat. Best for garages, workshops, utility rooms, and any space where you want labels to survive bumps.
Step 1. Buy a small roll or sheet of thin metal (or pre-cut metal blanks) and cut rectangles with tin snips. Clean the surface with alcohol, then apply black or white vinyl letters using transfer tape. Step 2. Add magnetic strips to the back if you’re sticking to metal; otherwise use strong tape. Step 3. Place labels centered at your chosen height and test with a light tug before you rely on it.
Pro tipUse a thin border vinyl outline to frame the name; it makes cheap blanks look intentional.
One warningAvoid vinyl that isn’t rated for smooth surfaces; it lifts on metal edges.
18. Tile-coaster name plates with paint marker and clear coat
Coasters are cheap, flat, and already have a finished edge. Use them as name plates for shelves, desk areas, or small wall hooks. Write on them with paint markers using thick lettering, then seal with a clear matte topcoat so the ink doesn’t smear. Coasters also come in sets, which helps if you label multiple rooms. This option looks tidy and uniform when you keep the font and color consistent across all the coasters.
Step 1. Buy a pack of coasters that are smooth on top, then clean them with alcohol. Step 2. Use a paint marker to write the name in uppercase block letters, filling gaps with a second pass for thickness. Step 3. Seal with clear matte spray and let cure fully, then mount with adhesive strips or tacky museum putty if you want easy removal.
Pro tipPick one font style across all coasters so your set looks planned, not random.
One warningDon’t use fine-tip permanent marker; it looks thin and smudges under handling.