1. Pine Runner + Three Tapers in a Line
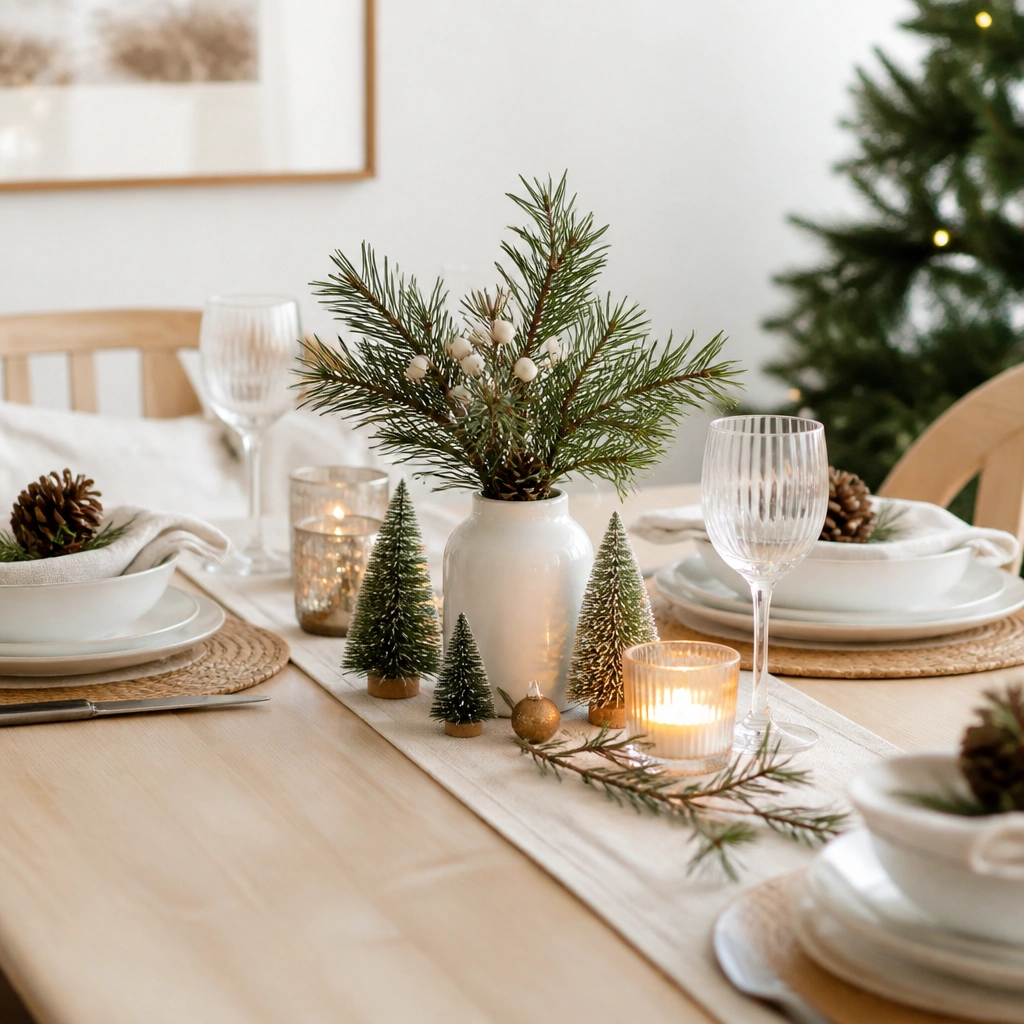
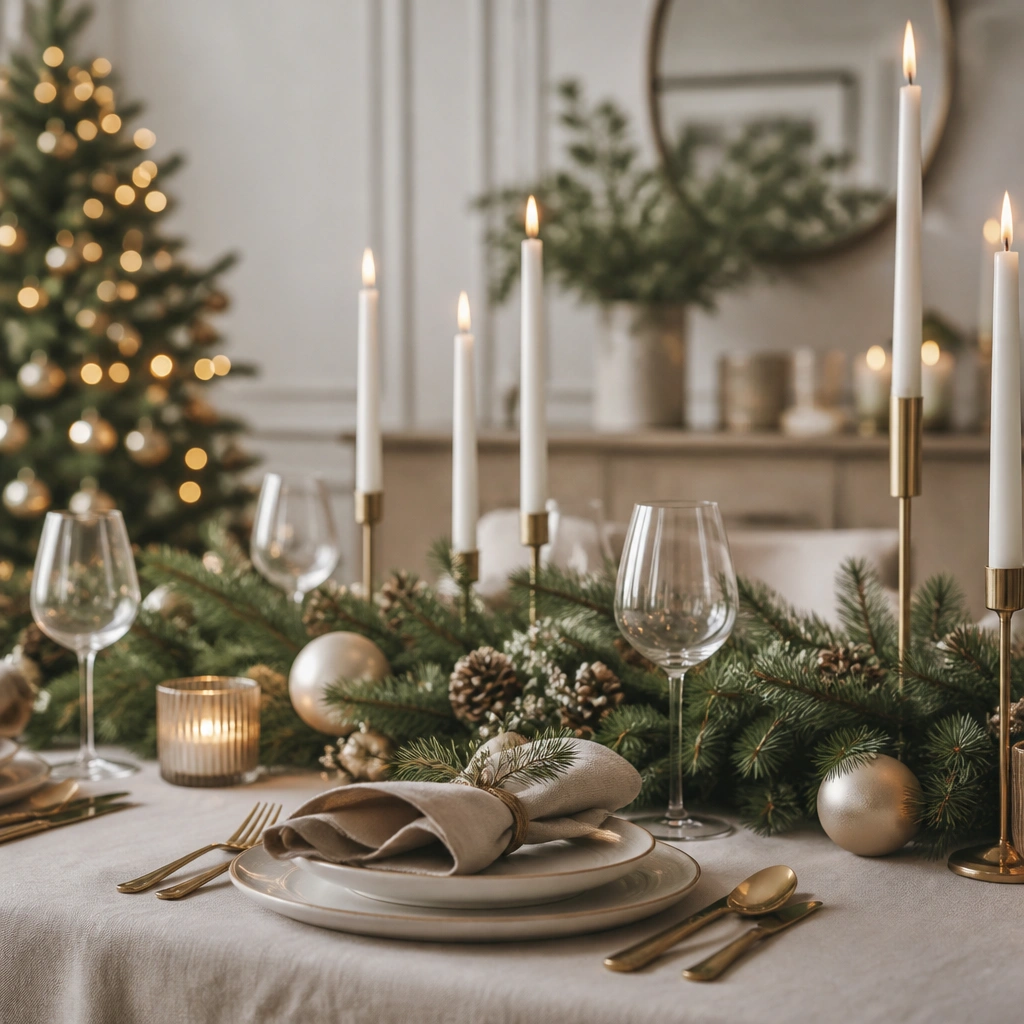
This is the simplest “it looks like you planned it” setup because the runner gives you instant structure and the candles add height without any crafting. Use a slim faux pine runner or a garland strip that’s 12-18 inches deep and runs down the center. Choose three tapers in one finish — I’d go matte white or cream — and space them evenly so your table has a clean rhythm. This solves the beginner problem of clutter by keeping everything in one straight zone. It’s best for a dining table where you want guests to still see each other and you don’t want anything tall near the ends.
Start by centering the runner so it covers roughly one-third of the table width, leaving equal gaps on both sides for plates. Place a candle holder or candle sleeves so the candles stand straight; space the three tapers about 10-14 inches apart. Add small filler at the runner edges using pine sprigs or pine cones tucked lightly under the garland. Finally, keep the candle area dry — wipe condensation off glass holders and avoid placing the runner where it can brush heat from open flames.
Pro tipAdd one matching tray under the candles if your holders wobble, even a simple metal serving tray works.
One warningDon’t scatter pine sprigs randomly — keep the greenery concentrated in the runner zone.
2. Lemon-Size Pine Cones in a Clear Glass Bowl
If you want a centerpiece that hides mistakes, a clear bowl with pine cones is hard to beat. The glass makes it look intentional and lets the cones catch light, especially near window light or warm lamps. Choose pine cones in one size range — medium to large — so the bowl looks full instead of patchy. This works because it’s one object with one job: create texture without requiring arrangement skills. It’s ideal for beginners who are worried they’ll overdo it, and it suits both farmhouse and modern tables because the materials are natural and neutral.
Pick a bowl that’s about 10-12 inches wide for a standard dining table, and place it on the center of your runner or tablecloth. Fill the bowl with pine cones until you can’t see much of the bottom, then top with a few longer cones for height. If the cones shed, mist them lightly with water and let them dry before placing, or use a quick dusting with a soft brush. Keep the bowl away from high-heat elements like candle flames if you’re using a nearby light source.
Pro tipSprinkle a thin layer of faux snow or coarse white sugar around the base for a clean “glow” effect.
One warningDon’t mix tiny cones and huge cones in the same bowl — it reads messy fast.
3. Candle Lantern Center with One Green Accent
A lantern is beginner-friendly because it’s already a complete shape. Put a battery LED candle inside for a no-drip option, or use a real taper-style insert if you’re careful. Choose a lantern in black, aged brass, or matte silver, then add exactly one green accent — a single pine sprig or a small mini wreath — so you don’t end up with “lots of pieces” that never look finished. This solves the common first-timer issue of too many decorations fighting for attention. It’s perfect for tables where you want warmth and height in one spot without building a complex arrangement.
Center the lantern on your table where you’d place a centerpiece, ideally on a small tray or thick placemat so it doesn’t slide. Add the green accent on the lantern handle or tuck it behind the lantern base so it stays visible from guest height. If you’re using real greenery, keep it small enough that it won’t flop into the candle area. For cost, a lantern is usually $25-80 depending on size, and a lantern with an LED candle is often the simplest buy-and-go route.
Use a warm white bulb/LED (around 2700K) so the lantern light matches the holiday vibe.
Don’t wrap the lantern with a full garland — one accent looks more intentional.
4. Wood Slice Base with Mini Ornaments Cluster
This idea gives you a centerpiece that looks like it came from a craft store, but it’s basically a base plus a cluster. Use a round wood slice (about 8-10 inches across) as the foundation, then stack 6-10 mini ornaments on top. Choose one color family — gold and red, or gold and deep green — and keep the ornaments similar in size so the cluster reads cohesive. The wood slice grounds the decor and hides the “I don’t know where to put everything” feeling. It’s great for beginners because you’re not arranging branches or wiring anything.
Place the wood slice in the center of the table and decide where the cluster sits — usually slightly above the middle for a better look from the front. Use ornament hooks or small clips to keep ornaments from sliding, or nest them into a foam dot if you have one. Stack them so you get a gentle peak rather than a flat pile. Finish by adding one small pine sprig underneath or behind the cluster for color contrast.
Choose ornaments with the same finish type — matte with matte, shiny with shiny — so the cluster looks designed.
Don’t use ornaments of wildly different sizes — tiny ones disappear and huge ones dominate.
5. Store-Bought Garland Loop with Two Bowd Strings
You don’t need to make garland to make it look good. Take a pre-made faux garland strip and loop it down the center so it forms a soft “S” line, then add two bow strings at the top points of the curve. Keep the garland width about 10-12 inches so it doesn’t overwhelm the table. This works because the loop creates movement, while the bows give you instant holiday cues without learning ribbon folding. It’s perfect for beginners who want a centerpiece that looks styled from across the room.
Lay the garland along the center and loop it so the highest points sit about 4-6 inches above the lowest part. Secure the garland lightly with clear fishing line or florist tape on the underside of the table edge or runner. Add two bows by placing them where the garland changes direction, then tuck the bow tails into the garland for grip. Finish by adding 3-5 small pine picks evenly along the garland so it doesn’t look like it’s just “decor on top.”
Pro tipPick one bow color and repeat it on napkins or a place-card ribbon so it feels intentional.
One warningDon’t put the bows at the ends of the table — center placement looks cleaner.
6. Monochrome Ornaments on a Tray + Candle Pair
A tray arrangement is beginner-friendly because it gives you a contained “stage.” Use a rectangular or oval tray in metal or wood (around 14-18 inches long), then place a mix of 12-18 ornaments in one monochrome theme. Add two candles at one end of the tray so the arrangement feels balanced. This solves the beginner issue of ornaments rolling or looking scattered — the tray keeps everything tidy. It also works for small tables where a full centerpiece would feel too big.
Choose a tray that fits within about one-third of the table width when centered. Place two candles in matching holders at one end, then build the ornament cluster at the other end by leaning larger ornaments against smaller ones. Use a dab of hot glue or a foam pad if ornaments keep slipping, especially if you’re using glass. Keep the tray surface clean and wipe off ornament glitter so it doesn’t land on tablecloth.
Use matte ornaments for the tray and put shiny ornaments only on the candle side for light play.
Don’t use a tray that’s too small — if ornaments crowd to the edges, it looks accidental.
7. Skewer-Style Cranberry Picks in a Vase
This is a beginner centerpiece that looks “bougie” with almost no effort. A clear vase filled with skewered cranberry picks (or berry stems) gives you clean vertical lines and a strong color pop. Pick a vase that’s 10-14 inches tall, and keep the arrangement tight so it doesn’t sprawl. This works because the stems already have a natural structure, so you’re not trying to bend branches or wire stems. It’s also forgiving if your spacing isn’t perfect — the stems read as one bouquet shape.
Fill a clear vase with water or floral foam insert, depending on what your picks require. Trim stems so they reach about 1-2 inches above the vase rim, then place three to five stems in a cluster and rotate the vase until the berries face outward. Add one small candle on the table near the vase if you want a second height element, but keep it at least 8-10 inches away from the vase. For a simple cost-friendly setup, you can buy faux cranberry picks and use them year after year.
Pro tipChoose stems with the same berry color (either deep red or cranberry) to avoid a muddy mix.
One warningDon’t overstuff the vase — if the berries fill the entire space, the shape stops looking intentional.
8. Mini Wreath Place Settings with One Center Candle
If your table feels empty, place settings can do the heavy lifting. Use mini wreaths or faux greenery rings around each place card or plate, and keep the center simple with one candle. This is beginner-friendly because you’re repeating the same action 4-8 times, and repetition reads professional. It also solves the “my centerpiece is too big” problem because the center stays open for serving. This looks best for dinners where you want the table to feel festive even if you don’t want a complicated centerpiece.
Pick mini wreaths sized for plates, usually 3-6 inches wide, and attach them with zip ties or a ribbon loop around the place mat or napkin ring. Add one center candle in a holder on a small plate or tray so it doesn’t scorch fabric. Space the mini wreaths evenly and keep them at the same height so the table looks consistent. If you’re using real greenery, keep it away from heat and replace if it dries out.
Pro tipMatch the wreath material to your candle finish — black wreaths with black holders, brass with brass.
One warningDon’t let wreaths touch each other across the table — keep clear space between place settings.
9. Floating Candles in a Shallow Tray with Greenery
Floating candles look dramatic, but they’re simple for beginners because the placement is basically “centered and done.” Use a shallow tray (like a wide metal or glass serving tray) and fill it with water, then place floating candles evenly. Add a few small greenery sprigs around the tray edges so the water doesn’t look empty. Choose faux greenery so it stays neat, or use real but keep it minimal. This solves the beginner problem of table decor that looks flat from above — the reflections add depth.
Use a shallow tray at least 16 inches wide so the candles have room, then fill with water just below the rim. Place 6-10 floating LED candles depending on tray width, spacing them in a loose ring around the center. Tuck 4-6 small greenery sprigs at the waterline so tips peek above the rim. Keep the tray on a waterproof mat and wipe spills immediately.
Pro tipAdd one color element — like a few berries or a strip of faux ribbon — so it doesn’t look like a generic bath tray.
One warningDon’t use too many sprigs — if it turns into a salad, the reflection effect disappears.
10. Fabric Napkin Roll with Pine Cone Tie
This is a table decoration trick that looks like you did more than you did. Rolling napkins neatly and tying each one with a small pine cone or pine pick instantly creates a holiday look without building a centerpiece. It’s beginner-friendly because you control the size — small cones mean less mess and fewer materials. Choose fabric napkins in cream, red, or deep green, then keep the pine cone tie consistent across the table. This works especially well for brunch or casual dinners where you want the table to feel festive but not overly formal.
Roll each napkin into a tight cylinder, then secure with a thin ribbon or jute twine. Attach a small pine cone at the tie point by looping the twine around the cone stem area or using a small clip if your cone has a flat base. Place the rolled napkin at each setting so the cone faces outward. Finish by matching the napkin color to your centerpiece color — cream napkins with pine cones and white candles looks clean.
Use a slightly thicker ribbon so the tie holds shape after guests move plates.
Skip glittery cones — they shed and end up on tablecloth and hands.
11. Paper Star Garland Across the Center Runner
This one is for beginners who want something light, cheap, and forgiving. A paper star garland across a pine runner gives you a clear line of decoration without bulky centerpieces. Stick to one star color — white, cream, or soft gold — and keep the garland length so it spans the center third of the table. It’s forgiving because even if the garland sags a little, the stars still read as intentional. This suits small dining spaces and tables where you need serving room and want decor that doesn’t block sightlines.
Lay your runner first and center it so it covers about one-third of the table width. Drape the star garland across the runner in a gentle curve, then secure ends with small pieces of removable tape or tucking the ends under the runner edge. If the garland is lightweight, add one tiny pin at the center to keep it from sliding. Keep other decor minimal — a single candle in the middle or a bowl of pine cones nearby is enough.
Pro tipAdd one star near each place setting on napkins or menus so the garland connects to the table theme.
One warningDon’t layer the star garland with heavy ornaments — paper garlands look best with simple surrounding decor.
12. Spice Jar Mini Centerpieces for Small Tables
If your table is narrow or you’re using a console-style dining setup, mini centerpieces are the smart move. Use small glass jars or spice jars filled with faux evergreen sprigs, then place one jar at each end of the center line and one in the middle. Add one short candle or an LED tealight in the center jar for warmth. This delivers a styled look without crowding the middle where serving happens. It’s beginner-friendly because each jar is self-contained and easy to place accurately.
Pick jars that are about 3-4 inches wide so they don’t take over the table. Fill each jar with faux evergreen sprigs and tuck the stems so they stand up, then add a small ribbon around the jar neck if you want a uniform finish. Place the middle jar on the table center, then position the two end jars about 10-14 inches away from the middle jar. Keep the tallest element under 6 inches so it doesn’t block conversation.
Pro tipUse the same jar lids across all three pieces — it makes the set look designed even if sprigs vary.
One warningDon’t choose jars with different heights — mismatched heights look random on small tables.