1. Sage green cabinets with a 12-inch upper break
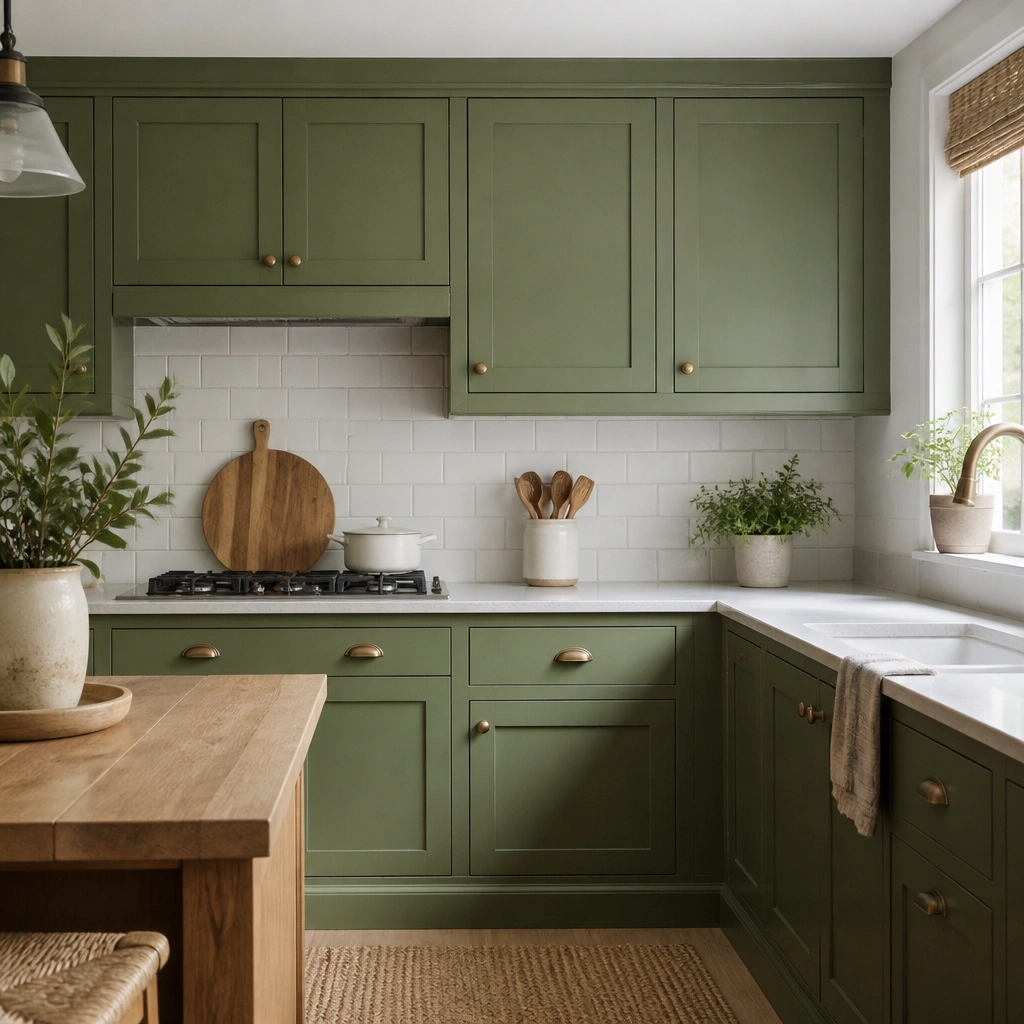
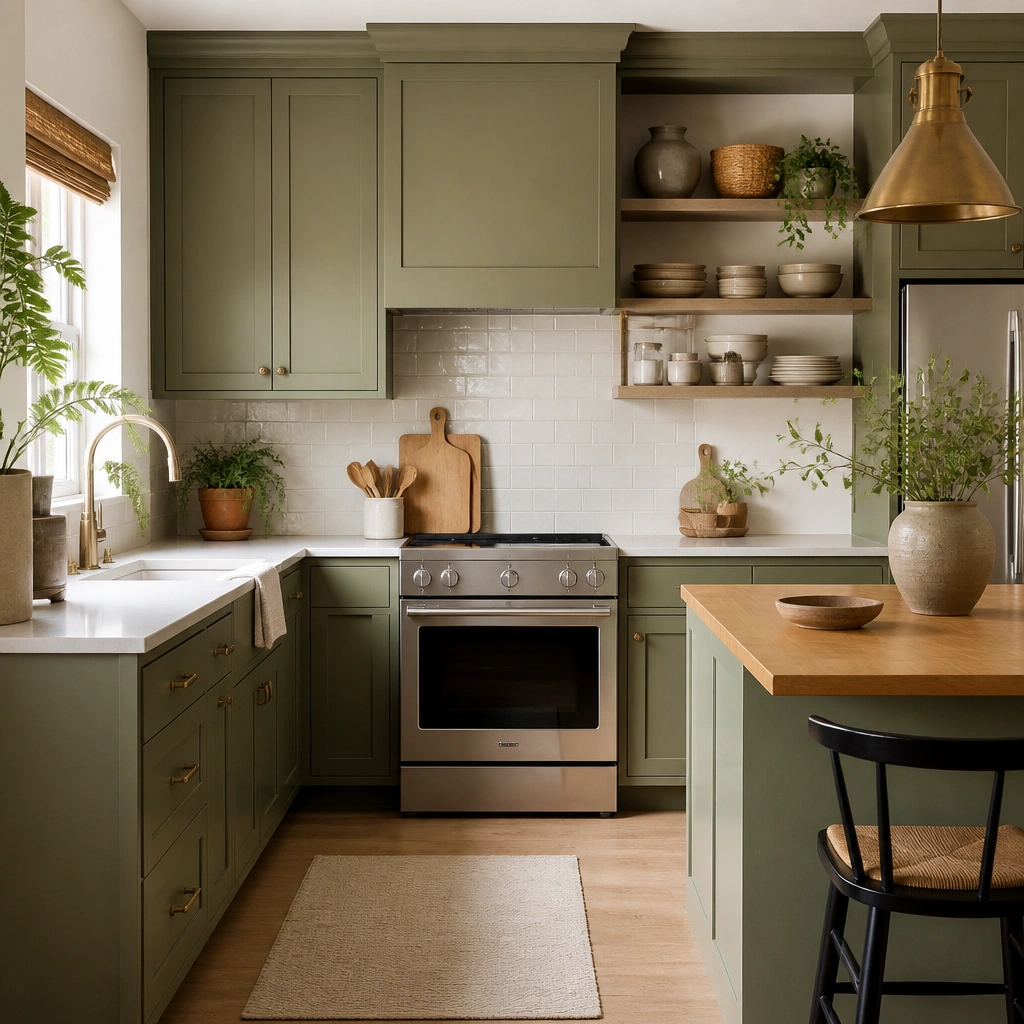
Measure the wall first and mark where your break will land — usually centered over the most-used prep zone or where you want a visual “breathing” gap. Install the uppers normally for the left section, then stop and leave exactly 12 inches open to either go open-shelf or leave the wall bare for a small art or mirror. Finish by installing a matching lower cabinet run so the green lines stay consistent from counter height down. Cost is moderate since you’re changing cabinet placement, not just paint; expect the main expense to be the extra shelf or the missing upper run.
This setup works because it gives your eye a pause in a narrow kitchen. The sage green keeps the cabinets light and forgiving, and the intentional 12-inch break in the upper run stops the room from feeling like one big block of color. Use it when your cabinets line up along a single wall and you need the walkway to feel wider. Keep the counters in warm white or light quartz so the green reads fresh, not heavy. This is also a strong choice if your apartment has low ceilings — the break keeps the vertical lines from flattening the space.
One warningDon’t run continuous uppers all the way to the corner if your kitchen already feels narrow.
Pro tipUse an open shelf only 8-10 inches deep so it doesn’t trap dust and so your eye still reads the room as open.
2. Emerald green base cabinets with white uppers
Paint or refinish base cabinet doors in emerald with a satin finish, and keep uppers in bright white semi-gloss. Choose consistent hardware across both — bar pulls 5-6 inches long look best on lower doors because they visually lengthen them. Install a backsplash that rises to at least the underside of the uppers, then caulk tight edges to avoid gaps that catch shadows in small rooms. If you’re retrofitting existing cabinets, swap only the doors if the boxes match; that reduces cost and keeps the workflow quick.
If your kitchen feels tight because the lower cabinets make the floor look heavy, this is the clean fix. Emerald green at base height adds drama where you can anchor it, while white uppers lift the visual weight and keep the ceiling from feeling closer. This combo also helps if you have dark flooring — the white above balances it without fighting the floor color. Keep the backsplash simple (matte subway tile in white or pale cream) so the green stays the focus. In apartments with one main prep wall, this layout makes the room feel longer and easier to move through.
One warningDon’t add a patterned backsplash under emerald base cabinets unless you also simplify the rest of the kitchen.
Pro tipUse a single backsplash color and grout tone; contrast grout can make small kitchens look busier.
3. Two-tone green uppers: olive top, sage bottom
Two-tone cabinets are a small-space trick when you want green but you don’t want it to swallow the whole kitchen. Olive on the uppers reads a bit grounded and warm, while sage on the lowers keeps the bottom from feeling too dark. This works especially well in kitchens where the counter and backsplash are already light and you want to add color without shrinking the room. Brass hardware adds a soft glow, but keep it matte so it doesn’t create mirror glare. The result feels layered, not flat, which helps a tight apartment look more intentional.
Pick undertones first: olive should look slightly yellow-green, and sage should look gray-green. Paint uppers in olive and lowers in sage, then keep the same sheen on both (satin for doors). Use identical door styles so the colors read as design, not mismatched furniture. Install a backsplash that ties the undertones together — think warm white tile with a touch of gray. Budget-wise, two-tone usually adds cost only if you’re repainting or replacing doors; hardware and backsplash stay the same.
Pick one hardware finish (matte brass or brushed nickel) and stick to it on both upper and lower doors.
Avoid mixing undertones that fight each other, like cool emerald with warm olive — it looks off in small light.
4. Corner-to-corner green with a pullout blind-corner unit
Start by selecting a blind-corner pullout system sized for your cabinet opening — measure the internal depth and width, not just the cabinet face. Install the cabinet boxes with the pullout rails first so the unit sits flush when the doors close. Paint or refinish the doors in satin green, then add interior organizers like pullout baskets or spice racks. Finish by aligning door reveals so the corner seam looks straight; small mismatches show up fast in tight kitchens. Expect the pullout hardware cost to be the main line item, but it’s worth it because it fixes the access problem.
Corner dead space is the enemy in a small-space green kitchen cabinets small space situation. Wrapping green cabinetry around the corner looks cohesive, and using a blind-corner pullout turns wasted space into real storage you can reach without bumping your hip. Choose a mid-tone green so the corner doesn’t look like a dark tunnel. Pair with light-colored interior shelves so items are easier to see. This is perfect for U-shaped or L-shaped apartments where the corner is the hinge point between two narrow runs.
One warningDon’t rely on a simple stationary shelf in a blind corner; you’ll lose usable storage.
Pro tipUse a lighter green inside the cabinet (or white liners) so dark items don’t disappear in shadowy corners.
5. Tall pantry green cabinet to replace scattered storage
Measure your ceiling height and choose a pantry width that fits your wall — for most apartments, 18-24 inches wide looks proportional. Install the pantry using a level line across the studs, then anchor into studs at the top and sides. Paint doors in satin green, and add adjustable shelves plus one pullout drawer for smaller items. If you’re replacing existing upper cabinets, remove them first so you can align the pantry with the counter height and keep sightlines clean. This is moderate effort because it’s a structural install, but it’s not complicated.
In tight apartments, the storage problem is usually spread out — a few cabinets here, a cabinet above the fridge, maybe a dangling shelf. A tall pantry green cabinet concentrates storage and makes the room feel more organized. Go with a calming sage or deep forest depending on your backsplash color, but keep the cabinet face consistent and simple. Tall units also reduce how many horizontal shelves you need, which keeps clutter from visually piling up. Place it where it doesn’t block the main path — usually at the end of a run or beside the fridge so your movement stays smooth.
One warningDon’t choose a pantry width that forces awkward gaps next to other cabinets; the room will feel narrower.
Pro tipPut your heaviest items on the lowest adjustable shelf and keep the top shelf for rarely used backups.
6. Green shaker cabinets with an open pass-through shelf
A pass-through shelf is one of the most effective small-space visual tricks because it breaks up the cabinet wall without leaving you with empty space. Shaker doors in green keep the look neat, while the open shelf area makes the room feel less boxed-in. This works best in apartments where the kitchen opens to a living area and you want a little “window” of visual depth. Use a light green like sage or pale olive so the open section doesn’t look like a shadowy hole. Keep the shelf depth shallow so it doesn’t steal room from your prep zone.
Pick a shelf opening width that matches how you move — 18-24 inches wide is a good target for a pass-through. Frame it by installing the upper cabinets normally, then leaving the center section open and adding a fixed shelf or two. Use 3/4-inch plywood or pre-finished shelves so the edges look clean and don’t sag. Paint the cabinet doors in satin green and keep the shelf either white or the same green but with a lighter finish. The effort is mostly cabinet layout work, so plan for at least a weekend.
Style the open shelf with only 3 items — tall jar, small cutting board, and a single tray — so it reads intentional, not cluttered.
Don’t make the pass-through shelf too deep; deeper shelves reduce counter access in small kitchens.
7. Single-wall green cabinets with a slim 6-inch counter-depth extension
If your kitchen is narrow, the goal isn’t just cabinet color — it’s how you manage counter work without blocking movement. A slim 6-inch counter-depth extension gives you extra prep space for cutting and plating while keeping the walking lane clear. Use green cabinets on the main run, but keep the extension in the same color with simple doors so it looks like part of the system. This setup is great for studio apartments where you need one clear work zone. It also helps if you cook often and need somewhere to stage ingredients without crowding the sink.
Start by measuring your main walkway width and aim to keep it at least 36 inches from edge to edge if possible. Add the 6-inch extension only at the end of the run or beside a natural stop point so it doesn’t pinch the middle. Build or install a narrow counter base with support and then mount the matching green door fronts. Finish by adding a slim backsplash and using a light countertop to prevent the extension from looking bulky. Cost is low to moderate if you’re adding a small base cabinet; it’s cheaper than redoing an entire run.
Choose a countertop with a light edge profile so the extension reads lighter against the floor.
Don’t extend the counter into the middle of the aisle; that’s how small spaces feel instantly tighter.
8. Green cabinets in vertical panels with glass uppers only above the sink
Select upper cabinet boxes sized to fit over the sink run and choose glass doors only for that section. Install the green doors elsewhere and keep the glass section limited — a 24-36 inch width above the sink is a good starting point. Use LED puck lights or a small under-cabinet light if your sink area lacks overhead brightness. Paint the vertical-panel doors in satin green and mount glass with clean trim so the edges look crisp. Expect cost to be slightly higher due to glass doors, but it’s targeted and won’t blow up the budget.
Glass uppers above the sink add light and make the sink area feel less enclosed, which matters in small apartments where sink corners can look cramped. Keep the main cabinets green in a vertical-panel style (or use vertical door boards) so the tall lines pull the eye up. The green stays grounded, while the glass creates an airy layer above your most-used zone. Choose tempered glass with a clear or lightly frosted look so dishes don’t look messy from across the room. This combination works well if your backsplash is simple and you want the cabinets to bring structure without heaviness.
One warningDon’t put glass uppers all over the kitchen if you store lots of everyday items.
Pro tipUse matching glass shelves so the interior lines stay straight and tidy.
9. Green cabinets with light wood floating shelves instead of full uppers
Measure the wall space where you’d normally install uppers and decide how many shelves you can mount without blocking window trim or vents. Use 3/4-inch thick shelves with concealed brackets and mount them into studs, spaced about 12-16 inches apart depending on dish sizes. Paint or refinish the base cabinets in satin green and keep countertops light. Place shelves above the most-used items and keep the rest in lower drawers. Cost is usually lower than full cabinet replacement because floating shelves are simpler and quicker to install.
When your ceiling feels low or your kitchen feels boxed-in, removing full upper cabinets is the fastest way to open up a small space. Keep the lower cabinets green for color and depth, then replace some upper storage with light wood floating shelves. The wood warms the green and adds a lighter visual texture than painted uppers. Use this when you have a narrow wall and you want more clearance for hanging lights, art, or a small window. It also works well if you’re okay with storing a few items on display, like mugs and cookbooks, rather than hiding everything.
One warningDon’t skip a plan for what goes in the lower cabinets; shelves won’t fix storage if the bases stay empty.
Pro tipKeep shelf styling tight — two mug colors max and one stacked book group — so the shelves look intentional.
10. Deep green cabinets with a white vertical backsplash strip
A small-space kitchen gets visually crowded when the backsplash is too busy. Pair deep green cabinets with a narrow vertical white backsplash strip near the stove or sink to create a clean vertical rhythm. The deep green adds mood, but the white strip gives the room a lighter “column” that makes it feel taller and more aligned. This works in apartments where the kitchen wall is long and the cabinet run meets a hallway or doorway. Keep the rest of the backsplash simple — plain tile or even a single large sheet — so the vertical strip becomes the only visual interruption.
Choose a deep green (forest or dark emerald) and paint doors in satin. Install a simple backsplash behind the counter in a single tone, then add one vertical feature strip about 8-12 inches wide from counter height up to under the uppers or hood. Use subway tile or a smooth slab material for the vertical strip so it looks crisp. Finish by matching grout color to the white strip to avoid messy contrast. The work is straightforward tiling, and you’re focusing on one accent area instead of redoing everything.
Place the vertical strip so it aligns with the stove centerline or the sink faucet — symmetry makes small rooms feel calmer.
Don’t add multiple backsplash patterns next to deep green; it creates visual noise fast.
11. Green cabinets with a narrow fridge surround and pantry pullout
In small apartments, the fridge area is usually a weird gap. A narrow green cabinet surround tightens the look, and adding a pullout pantry next to or behind the surround gives you actual storage without extra floor clutter. Keep the green consistent with the rest of the run so the fridge area doesn’t look like an afterthought. Choose a medium green with a satin finish so it blends with the light from the room. This setup is ideal for kitchens where the fridge sits in the only break in your cabinetry line and you want to make the whole wall feel designed.
Measure the fridge width plus the gap you have for a side cabinet — target a surround that doesn’t steal from the opening clearance when you open the fridge door. Install a pullout pantry unit that fits the side space and slides smoothly without rubbing. Paint the surround doors in the same green as the rest and match hardware spacing. Add one vertical row of organizers like spice bins or oils so the pullout doesn’t become a junk drawer. Cost is moderate and depends on whether you add new cabinet framing, but it’s usually a cheaper fix than replacing the whole kitchen.
Use a pullout basket with full extension so you can reach the back without leaning into the fridge zone.
Don’t build the surround so tight that the fridge door hits the cabinet door or handle.
12. Sage green cabinets with recessed panel doors and matte black pulls
Matte black hardware creates a crisp outline that helps your eye read cabinet lines cleanly in a small space. With sage green, the contrast stays stylish without making the kitchen feel heavy. Recessed panel doors add depth without adding bulk — the light catches the recess edges and gives definition along the cabinet run. This is a great idea for apartments with light walls and simple countertops where you want the cabinets to look more architectural. Keep the backsplash minimal so the black hardware looks intentional, not scattered.
Choose recessed-panel doors or add panel insert overlays if you’re refinishing. Paint in satin sage and let it cure fully before installing hardware to avoid fingerprints and uneven sheen. Use bar pulls sized about 5 inches for standard base doors and 3-4 inches for drawers. Place pulls consistently at the same height across the run, typically centered around 2.5-3 inches down from the top rail of the door. Plan for a small hardware budget; the rest is paint and installation effort.
Use a single black finish across faucet, lighting, and cabinet pulls so the small room looks unified.
Don’t mix glossy black hardware with satin cabinets; the glare looks messy in tight light.
13. Green cabinets with an under-cabinet light channel for darker corners
Dark cabinets in a small kitchen can look even darker if the light stops at the cabinet face. Adding a proper under-cabinet light channel makes green cabinets look cleaner and reduces shadowy corners where you tend to bump into things. This setup is especially helpful in apartments with limited overhead lighting or kitchens tucked into alcoves. Choose a green that you already like, then commit to lighting so it reads true rather than murky. Linear LED strips with a diffused cover make the counter look brighter without showing harsh dots.
Plan your light placement before installing doors. Install LED strips in an aluminum channel under the uppers, aiming the light to wash the counter surface, not to shine toward your eyes. Use a warm-white temperature around 2700K-3000K so green stays natural. Wire to an existing switch or install a plug-in transformer if you can’t access wiring. The “how” is mostly careful measuring and routing; the payoff is immediate in day-to-night visibility.
Use a light-colored backsplash or at least a reflective surface behind the counter so the LED light bounces instead of being absorbed.
Don’t install lights after the fact with visible wires — small kitchens show mess fast.
14. Green cabinets with a built-in desk-height pullout by the window
Measure from the window trim to the counter height so the pullout surface lands at a comfortable working level, usually around 28-30 inches for desk height. Install a base cabinet with a strong support frame, then mount the pullout mechanism (drawer slides rated for the expected weight). Add a panel top in a durable material like birch plywood sealed with a clear topcoat or a thin laminate. Paint the surrounding cabinet in satin green and finish the pullout edges so gaps don’t collect crumbs. Cost is moderate because you’re building a custom panel, but it’s cheaper than adding a separate table.
If your apartment kitchen is also your work zone, you need function without adding furniture. A desk-height pullout panel built into the cabinet run gives you a place for mail, laptop use, or quick meal prep. Green cabinets keep it cohesive and polished, while the pullout panel adds a second surface without taking floor space. This works best when your window sits near the counter and you have dead wall space that could handle a fold-out or sliding work surface. Keep the color consistent with the rest of the cabinetry so the pullout doesn’t look like a temporary add-on.
One warningDon’t mount the pullout too low; it turns into an awkward shelf instead of a real work surface.
Pro tipUse a small lip on the pullout edge so items don’t slide off when the panel is extended.
15. Green cabinets with a slim appliance garage for toaster and kettle
Measure your appliances first — toaster width and height, plus the kettle footprint — then build the garage opening to give 1-2 inches of clearance on each side and enough height for lids. Install a flip-up door with soft-close hinges so it doesn’t slam into the counter area. Paint the inside panel the same green but consider a lighter base color to make it easier to spot crumbs. Add a small shelf inside for cords or measuring cups. Expect the cost to be moderate if you’re modifying existing cabinet space; it’s mostly carpentry and hardware work.
Counter clutter makes small kitchens feel smaller than they are. A slim appliance garage built into your green cabinet run hides the toaster, kettle, and a few daily tools so your counter stays clear for cooking. The key is keeping it narrow and tall enough for your items, not a big box that wastes cabinet space. Choose a green that matches the rest of the run so the garage disappears visually. This is a smart pick for apartments where you have limited drawer space and you need quick access without stacking appliances everywhere.
One warningDon’t make the garage door too wide; a wide door steals space and looks bulky in small kitchens.
Pro tipStore only daily appliances here; hide seasonal gadgets elsewhere so the garage stays neat.