1. Warm beige + black hardware refresh
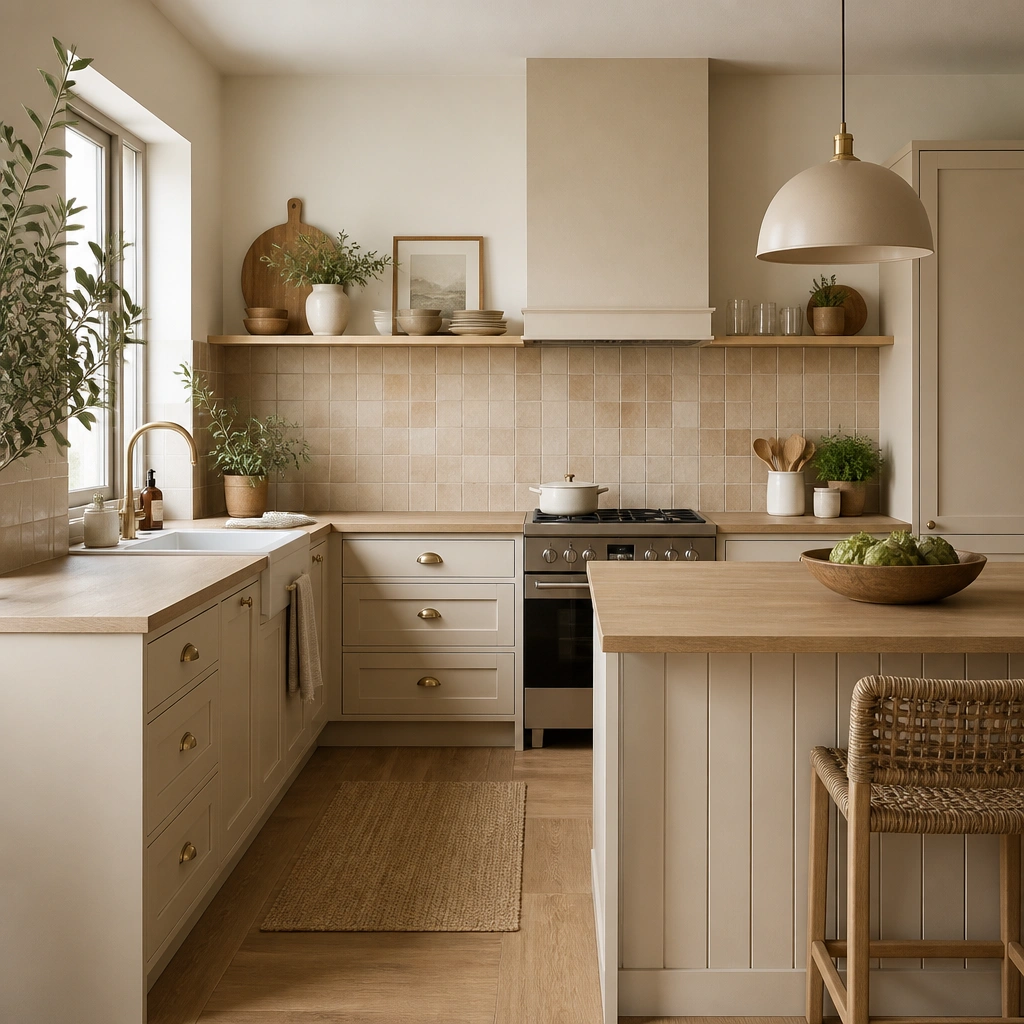
This idea works because beige cabinets and walls look cleaner when the room has crisp dark lines. Black hardware gives you that contrast instantly, and it doesn’t fight most beige undertones. Choose pulls that match across all drawers and doors so the kitchen reads “finished.” If your kitchen feels dated, this upgrade makes it look sharper without changing the layout.
Measure your current hardware spacing and buy matching pull lengths and hole patterns, or choose hardware with a compatible template. Remove one old pull, place it on the new template (or use the included paper template), then mark holes with a pencil. Drill only if the new hardware requires it; otherwise, use the existing holes. Cost is usually $60-180 for a standard kitchen set depending on finish and number of doors.
Wipe cabinet fronts with a degreaser first so new hardware looks truly clean against beige.
Don’t mix matte and glossy hardware finishes; it makes beige look messy.
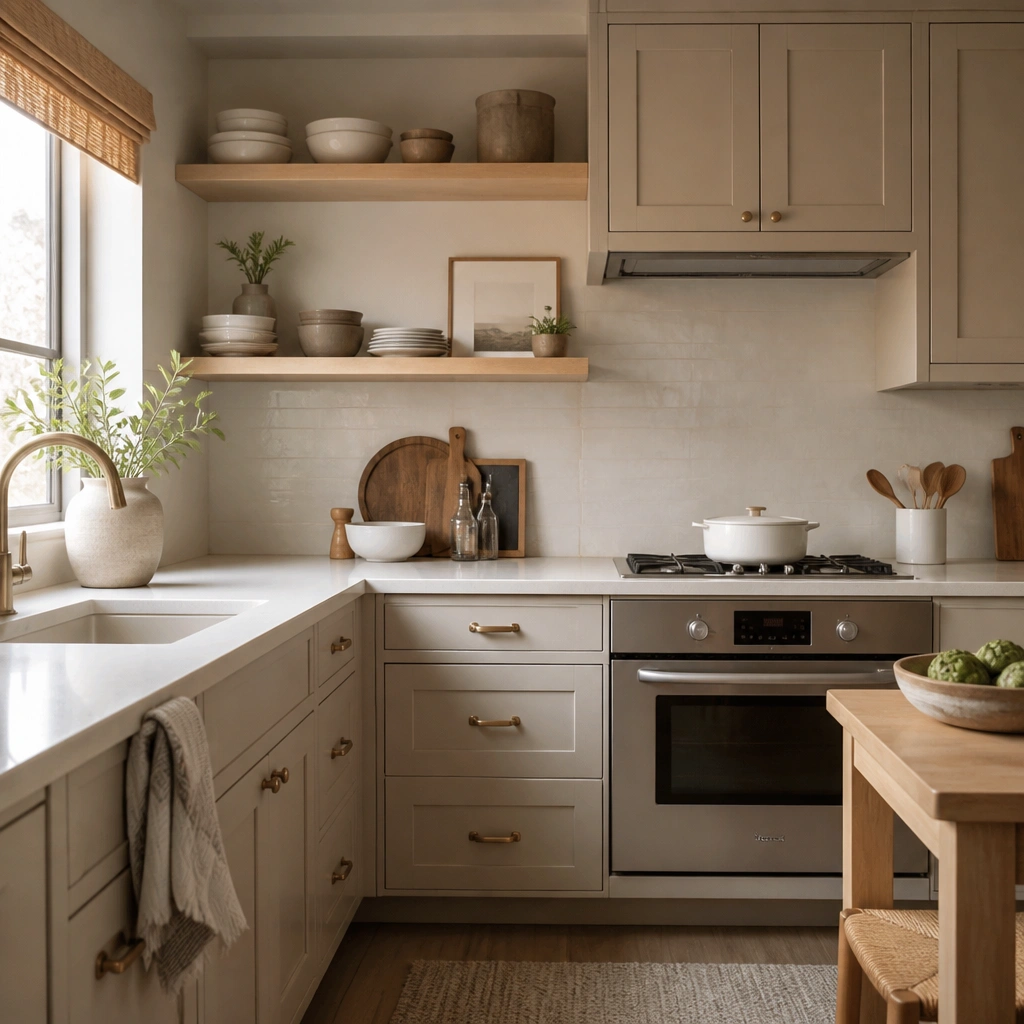
2. Matte beige dishware wall shelf
Beige dishware is the easiest way to add “intentional decor” to a kitchen without cluttering counters. Matte ceramics in oatmeal, sand, and cream tones soften the room and hide fingerprints better than glossy pieces. Hang a small shelf where you already look when cooking, like above a coffee corner or near open shelving. This makes your beige kitchen ideas beginner-friendly for beginners because you’re styling with everyday objects, not fragile art.
Pick 1 shelf width that matches your wall — start with 24 inches for a small grouping. Use two or three plate sizes plus one bowl size so the arrangement has a rhythm, then plan it on the floor first. Mount with a level, and anchor into studs when possible; if you can’t, use proper drywall anchors rated for shelves. Buy 6-10 pieces in the same beige family so you don’t end up with random tones.
Add one darker piece like a charcoal mug so the shelf doesn’t blend into light walls.
Avoid mixing too many beige shades; it turns into a beige soup.
3. Linen-look curtains in sandy beige
Window treatments change how beige reads in a kitchen because they soften light and add texture. Linen-look curtains in sandy beige look warmer than straight white sheers and don’t require exact matching to cabinets. Sheer or semi-sheer panels also make the kitchen feel lighter, which matters if your beige is already on the walls. This is beginner-friendly because you can install with a tension rod or basic curtain rod brackets.
Pro tipIron or steam the folds before hanging so the beige reads crisp instead of wrinkled.
Measure the window width and decide on fullness — aim for about 1.5x the window width so it drapes well. Choose panels that hit just below the sill for a clean, practical look in kitchens. If you don’t want drilling, use a tension rod inside the frame; otherwise mount brackets 2-4 inches above the window for a higher look. Cost is typically $25-80 for panels depending on fabric weight and size.
One warningSkip heavy blackout curtains in a small kitchen; they can make beige feel darker than you want.
4. Beige + terracotta potted herb corner
A herb corner adds life to beige kitchens because terracotta brings warm color and natural texture. The key is choosing terracotta pots with a consistent glaze or matte finish so the look feels styled. Place the pots where you already get sunlight so the plants stay healthy, and keep the foliage visible for color contrast. This is a forgiving beginner project because you’re not aiming for perfect design — just a neat cluster.
Pro tipUse a single pot size for the “main” look, then vary only height with a taller herb or one larger pot.
Pick one herb type you’ll actually use, like basil or thyme, and start with 2-4 pots so it doesn’t look scattered. Use a tray under each pot or one shared drip tray so beige counters don’t get stained. Put the cluster on a small stand or tray first, then move it to the window once you’ve confirmed light direction. Expect $20-60 for plants and $15-40 for pots depending on size.
One warningDon’t place wet saucers directly on light beige surfaces; water marks show fast.
5. Beige runner rug for the sink zone
A runner rug gives you a quick beige anchor and makes the kitchen feel warmer underfoot. Choose a beige with a subtle pattern or texture so spills don’t scream. This works especially well if your kitchen has cool tile or white flooring that makes beige look flat. The sink zone is the best place because you’ll notice the comfort and it reduces the “hard floor” look.
Measure the walkway length and aim for 2-4 inches clearance on each end so it doesn’t bunch. Pick a rug with a non-slip backing or use a grippy rug pad underneath. If you have pets or frequent splashes, choose a machine-washable blend or a rug labeled for easy cleaning. Cost is usually $40-120 depending on size and material.
Match the rug tone to your cabinet hardware — if you went black hardware, choose beige with a hint of gray or taupe.
Don’t choose a pure white-beige rug; it will show cooking stains immediately.
6. Matte beige countertop accessories set
Countertop clutter ruins beige kitchens because beige hides nothing — it shows everything. A matched set of matte beige accessories makes the counters look intentional even when you’re using everyday items. Go for matte ceramic, stoneware, or matte plastic in the same beige family. Keep the footprint small: one soap dispenser, one utensil crock, and one canister group. This is beginner-friendly because it’s a one-zone swap, not a whole kitchen remodel.
Pick a single zone like by the sink or near the stove. Replace just three items first so you don’t overspend: soap dispenser, utensil crock, and one canister. Measure the space — utensil crocks usually need 5-7 inches of diameter clearance, and canisters should line up with the same cabinet depth. After placement, check the sightline from the doorway and adjust so the items form a simple line.
Label one canister with a small black label so beige looks styled even when it’s practical.
Avoid shiny accessories next to matte surfaces; the contrast makes beige look uneven.
7. Beige open shelving with dark wood trays
Open shelving can look chaotic fast, and beige makes that chaos more noticeable. The fix is using beige dishes but organizing them inside dark wood trays or baskets. The dark tray acts like a frame, so you see one neat shape instead of random items. This works for beginners because trays are inexpensive and easy to swap when you change your mind. Keep shelf styling minimal: 70% empty space, 30% items.
Pro tipUse one height trick: stack two bowls under a small pitcher so the arrangement has a top and a bottom.
Install or use existing shelves and choose one shelf to style first, not all of them. Place a dark wood tray down, then arrange 3-5 items on top: bowls, a small pitcher, and one folded cloth. Leave at least 2 inches of space between the tray and the shelf edge so beige items don’t look jammed. Cost is usually $30-90 for trays plus $40-120 for dishes depending on what you already own.
One warningDon’t mix open shelving with too many small containers; beige makes small clutter look louder.
8. Beige backsplash contact paper upgrade
If your backsplash is dated, peel-and-stick beige tile is a beginner-friendly way to get the look of a new kitchen. Choose a beige that has texture or subtle veining so grout lines look believable. This works best when you’re matching beige kitchen ideas beginner-friendly for beginners to a budget because you’re changing a high-visibility surface without demo. Keep the pattern consistent — you want “tile” not “random sticker.”
Pro tipRound your corners slightly with a small smoothing tool so edges don’t peel where your hand rubs.
Clean the backsplash with a degreaser and dry completely; any grease makes edges lift. Measure the wall area and buy extra for cuts around outlets and corners. Start in a corner, apply one strip at a time, and use a plastic smoothing tool to push out bubbles. For outlets, cut carefully with a craft knife after marking, then reinstall covers once the adhesive cures for a few hours.
One warningDon’t apply over textured paint or loose caulk; contact paper needs a smooth, solid surface.
9. Beige and brass pendant lighting swap
Lighting is the fastest way to make beige look like it belongs. Warm brass pendant shades add a golden tone that flatters beige undertones, especially if your kitchen lighting currently feels cool. Choose a shade shape that spreads light downward, not a tall narrow cylinder that creates harsh shadows. This idea is beginner-friendly if you replace an existing fixture with a plug-in or simple install kit, and it instantly changes how beige walls and cabinets read.
Pro tipMatch the brass tone across hardware or faucet — even a similar finish helps beige look cohesive.
Check what you have first: if there’s an existing ceiling box and wiring, buy pendants that match your ceiling height and bulb type. Hang pendants so the bottom sits about 28-32 inches from the countertop for a dining-style look over an island or table. Use LED bulbs labeled warm (2700K) so beige doesn’t go gray. Cost is often $80-250 per fixture depending on brand and whether you need an adapter.
One warningSkip cool 4000K bulbs; they turn beige into a grayish beige that feels tired.
10. Beige kitchen wall art grid with black frames
Wall art is the easiest way to add personality to beige kitchens, but it has to bring contrast or it disappears. Black frames against beige walls create a clear boundary, and you can keep the artwork colors in the same warm family. Choose prints with simple shapes or line drawings in tan, cream, and muted brown so it looks calm, not busy. This works for beginners because you can measure spacing and mount with a level.
Pro tipAdd one small black object nearby — like a utensil hook — so the frames don’t feel random.
Pick a wall area and decide between a 2x2 grid or a 3-piece group. Use paper templates or painter’s tape squares to map spacing before you drill. Keep the frames the same size for the cleanest beginner look. For mounting, use wall anchors rated for the frame weight and hang at eye level, usually about 57-60 inches from the floor to the center of the artwork.
One warningDon’t choose art with bright reds or neon colors; beige kitchens look calmer with muted tones.