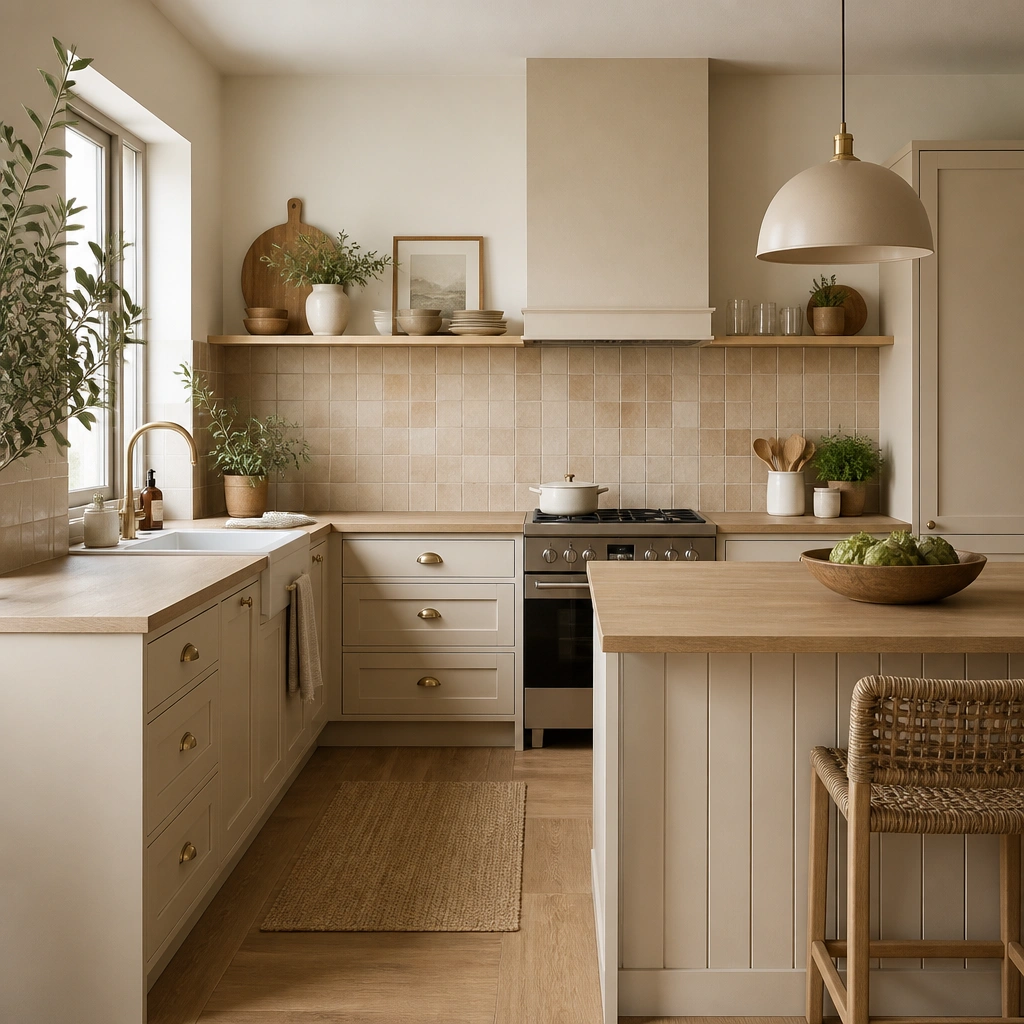
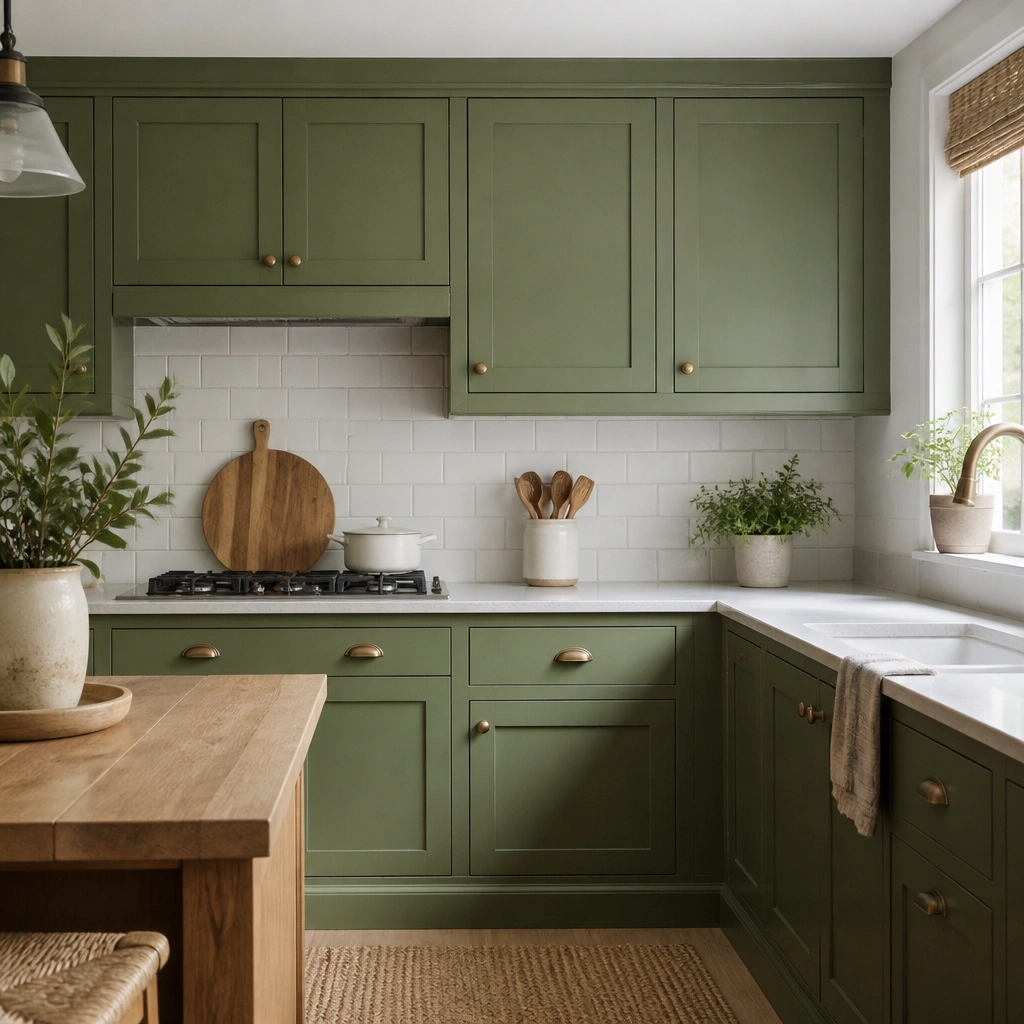
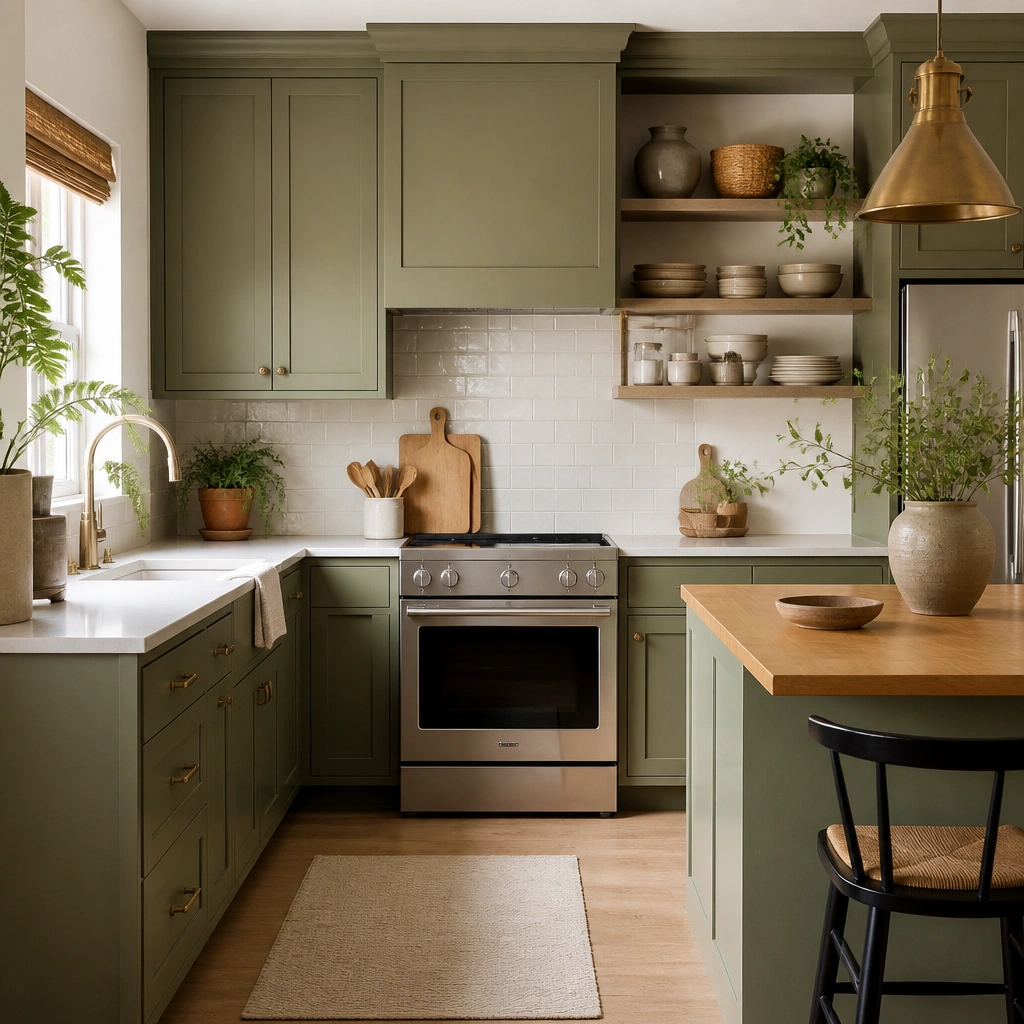
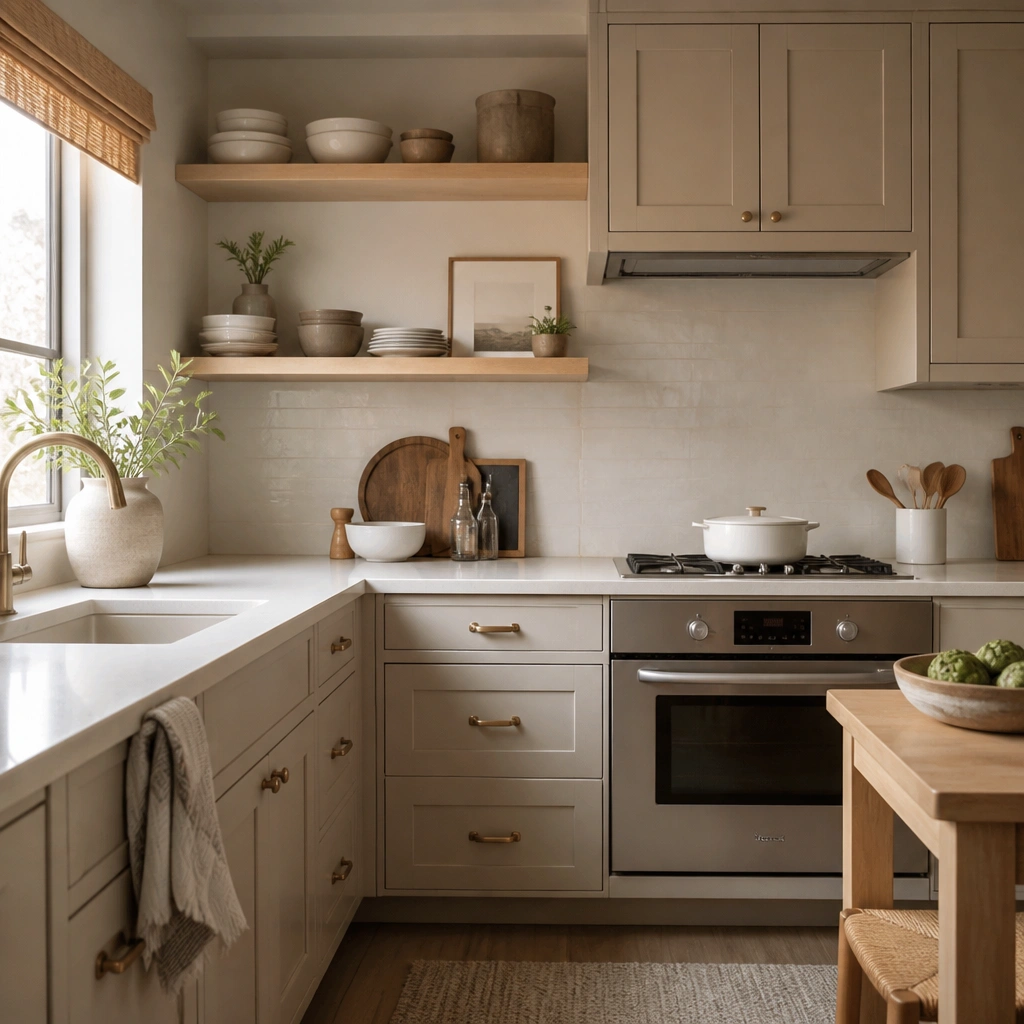
1. Sage satin cabinets with brushed nickel pulls
Sage satin green is the safest green for most beginner kitchens because it sits between green and gray. That makes it forgiving if your walls are warm, cool, or a mix. A satin finish keeps the doors from looking flat while still hiding minor roller lines. Brushed nickel pulls add a clean, neutral metal that won’t compete with the green undertone. This combo works especially well in kitchens that feel small or dark because sage reflects more light than olive or forest greens.
Start by testing your sage shade on two cabinet doors using a small paint sample and a foam brush. Let it dry fully, then check it at morning light and evening light. After that, clean cabinet boxes and doors with a degreaser, scuff sand with 220-grit, and prime with a bonding primer made for cabinets. Paint doors and drawers with a satin cabinet paint using a foam roller for flats and a brush for edges, then recoat after the first coat dries. Plan on 2 coats for solid coverage and 1 light sand between coats with 320-grit.
If you see streakiness after the first coat, don’t add more paint — sand lightly and apply a thinner second coat.
Avoid going straight to high-gloss; it highlights every surface flaw.
2. Olive green cabinets with oil-rubbed bronze hardware
Olive green brings warmth without turning neon or yellow. It’s a great option if your kitchen has honey oak tones, warm wood floors, or beige walls. Oil-rubbed bronze hardware anchors the warmth and makes the green look intentional instead of “painted.” This look also hides fingerprints better than crisp silver metals because the darker hardware reads less contrasty. Olive cabinets are best when you want a cozy, lived-in feel rather than a crisp modern one.
Pro tipUse the same bronze finish on every pull and knob so the green doesn’t look mismatched.
Choose an olive shade with a brownish undertone, not a bright lime green, then buy peel-and-stick sample cards to test beside your countertop. Once you confirm the undertone works, remove doors and drawers so you can paint flat and even. Clean with a degreaser, sand with 180-220 grit, and prime all surfaces that will be painted. Apply 2 coats of cabinet paint in satin or matte, keeping the coats thin so you don’t get drips on drawer fronts. Finish by reinstalling hardware after the paint cures for at least 48 hours so screws won’t chip edges.
One warningSkip bright brass if your olive is already warm; it can push the whole room toward yellow.
3. Deep forest green lower cabinets with light sage uppers
This is the beginner-friendly version of two-tone kitchen cabinets because it uses contrast without requiring fancy trim work. Forest green on lowers makes the kitchen feel grounded, while sage uppers keep the top half light and airy. The key is balance: keep the upper color closer to gray-green so it doesn’t feel too heavy. Use satin finishes for both shades to keep the sheen consistent and reduce the look of brush marks. This pairing works well in kitchens that have plain white walls and average lighting, because it adds depth without turning the whole room dark.
Pro tipBefore painting forest, do a quick test on a scrap board to see if it looks too blue or too black in your light.
Measure your cabinet layout and decide where the color break lands, usually at the top of the lower cabinets or across a logical row like base cabinets plus drawers. Paint sage first on the upper cabinets, then mask the edges with painter’s tape and a masking paper so you don’t get bleed. After the sage cures enough to handle masking, paint deep forest on the lower set using the same roller/brush method. Use 2 coats for forest because dark greens can show through thin coverage. Reinstall doors and drawers only after the final coat dries and set hardware after everything is fully cured.
One warningDon’t mix matte on one color and gloss on the other; the sheen mismatch makes the two-tone look accidental.
4. Green shaker cabinets with white beadboard or open shelves
Green shaker cabinets look clean and structured, which helps green read as a design choice instead of a color experiment. Pairing them with white beadboard or white open shelving adds contrast and keeps the room from feeling heavy. For a beginner refresh, focus on the cabinet fronts and keep the shelves simple: straight lines, white paint, and no complicated profiles. Sage green shaker fronts look especially good with white because the geometry shows through. This approach suits kitchens that already have white countertops and want a color update without changing everything else.
Pro tipKeep shelf decor minimal: 2-3 matching items, not a full crowd — green shaker already adds visual structure.
If you have shaker doors already, you’re halfway done. If not, stick to painting and don’t try to add new trim right away. Clean and sand doors, prime, then paint green in satin. For shelves, use a separate white paint and keep the sheen consistent with the cabinet sheen so the textures don’t fight. Install shelves first, then paint doors so you can hide any tape lines behind doors. Finally, swap hardware to something simple like bar pulls in brushed nickel or satin brass.
One warningAvoid busy patterns on the shelves; they compete with the cabinet color.
5. Monochrome sage cabinets with matching green backsplash tile
Monochrome looks hardest when you try to match perfectly, but you can make it beginner-friendly by matching the undertone, not the exact shade. A similar sage green backsplash tile or peel-and-stick tile keeps the eye moving and makes the kitchen feel finished. This works best when your countertops are white or light gray, because the green becomes the only color note. Satin cabinets and a matte or lightly textured tile stop glare and help the green look soft. It’s a smart choice if your kitchen has a lot going on — plain counters plus one green family ties it together.
Pick a backsplash option first so you can choose a cabinet shade that complements it. Bring a tile sample to the paint store and look for a sage that shares the same undertone, warm or cool. Paint cabinet boxes and doors as usual with degreasing, sanding, primer, and 2 coats of satin. Install the backsplash after cabinets are painted and cured, so you don’t damage fresh paint during tiling. If you use peel-and-stick, press from the center outward and heat stubborn corners with a hair dryer.
Choose a backsplash with a little variation in tone; flat, exact matches can look like a painted wall instead of a kitchen.
Don’t pick a backsplash with a totally different green undertone; it will split the room into two shades.
6. Sage cabinets with black hardware and black faucet
If you want green to feel modern without changing your whole kitchen, black hardware is the easiest lever. Sage green plus black pulls creates a crisp contrast that reads intentional, even in beginner-friendly paint jobs. Match the faucet finish too, or at least keep it in the same black family. This works well when your countertops are white, your walls are neutral, and your lighting is bright enough to show the green clearly. It also helps kitchens that feel bland because black gives the eye a focal point.
Pro tipUse a consistent pull style across uppers and lowers — bar pulls together look cleaner than mixing knob styles.
Start by choosing black hardware in a finish you already have, like matte black or blackened stainless. Swap one cabinet pull first and view it in your kitchen lighting so you know the contrast is right. Paint cabinets in sage satin, then reinstall hardware after the paint cures. If you’re changing the faucet, do it before final hardware installation so you can align the metal look. For paint, use a foam roller for door faces and a brush for edges, then let each coat dry fully before touching up.
One warningAvoid mixing black hardware with warm brass accents elsewhere; the metal clash makes the green look messy.
7. Olive green cabinets with natural wood accents
Olive green plus natural wood is an easy color story because both lean warm. You don’t need expensive decor to make it work; just add a few wood elements that echo the undertone. Think light oak, ash, or bamboo in cutting boards, a simple open shelf, or a wood stool. Olive cabinets already bring warmth, so this combo keeps the room from feeling sterile. It suits kitchens with warm floors or wood tables and looks particularly good with cream or off-white walls.
Pro tipPick wood that has a similar warmth to your olive undertone; very cool gray wood can make olive look muddy.
Choose an olive cabinet paint with a muted, earthy undertone instead of a bright yellow-green. Paint and prime like any cabinet refresh, then stick to satin or matte to keep it cozy. Add one wood accent surface near the cabinets, like a floating shelf or a wood cutting board display, then repeat wood in one more place like a utensil crock. Keep the rest of the metals in one finish — either brushed nickel or bronze. When styling, limit to 2-4 wood items so the olive stays the star.
One warningDon’t add lots of different wood stains; one consistent wood tone makes olive look designed.
8. Painted green cabinets with white quartz and satin brass
Green cabinets paired with white quartz and satin brass is a beginner-friendly way to get a polished look without complicated design. The white quartz keeps the kitchen bright, while satin brass warms up the green instead of making it look cold. This combo works with both sage and olive greens, as long as the brass is satin and not mirror-shiny. It also photographs well because the quartz and brass reflect light in a controlled way. If your countertop is already white quartz, this is one of the easiest cabinet refresh directions to commit to.
Pro tipUse the same brass finish for your faucet and lighting trim if you have them — small mismatches show up fast.
Confirm your quartz has warm or cool veining by looking at it near your kitchen bulbs. Choose a sage if your quartz is cool gray, or choose olive if your quartz has beige or warm gray movement. Prime cabinet surfaces and paint with satin cabinet paint in 2 coats, using thin layers to avoid drips. Install new satin brass pulls and knobs at the existing hole locations if possible; if you change hole spacing, use a template or a hardware jig to keep everything aligned. Seal painted cabinets with a cabinet-safe topcoat if your paint line recommends it for durability.
One warningAvoid mixing satin brass with polished chrome; it makes the green look less cohesive.
9. Two-tone bathroom-style trick for kitchens: green island, rest neutral
If you’re nervous about painting every cabinet, paint the island only. It gives you the green look and the visual payoff without the full-room commitment. Keep the surrounding cabinets neutral — clean white, soft greige, or natural wood tones — so the green reads like a focal point. Choose a green that matches your kitchen walls or backsplash undertone so it doesn’t feel random. This setup is beginner-friendly because islands have simpler door and drawer layouts, and you can finish faster with fewer surfaces to prep.
Remove island hardware, clean and degrease the island thoroughly, then sand with 180-220 grit. Prime with a bonding primer, then paint in satin green using a foam roller for the panels and a brush for trim lines. Work in sections so you don’t get lap marks — one door or drawer at a time. Let it cure fully before reinstalling hardware, and avoid stacking items on the island for at least 48 hours after the final coat. If you want extra durability, apply the topcoat recommended for your cabinet paint system.
Use the island hardware as your color anchor — match it to pulls on nearby cabinets for a “designed” look.
Don’t choose a green that clashes with your backsplash; the island will look like an add-on.