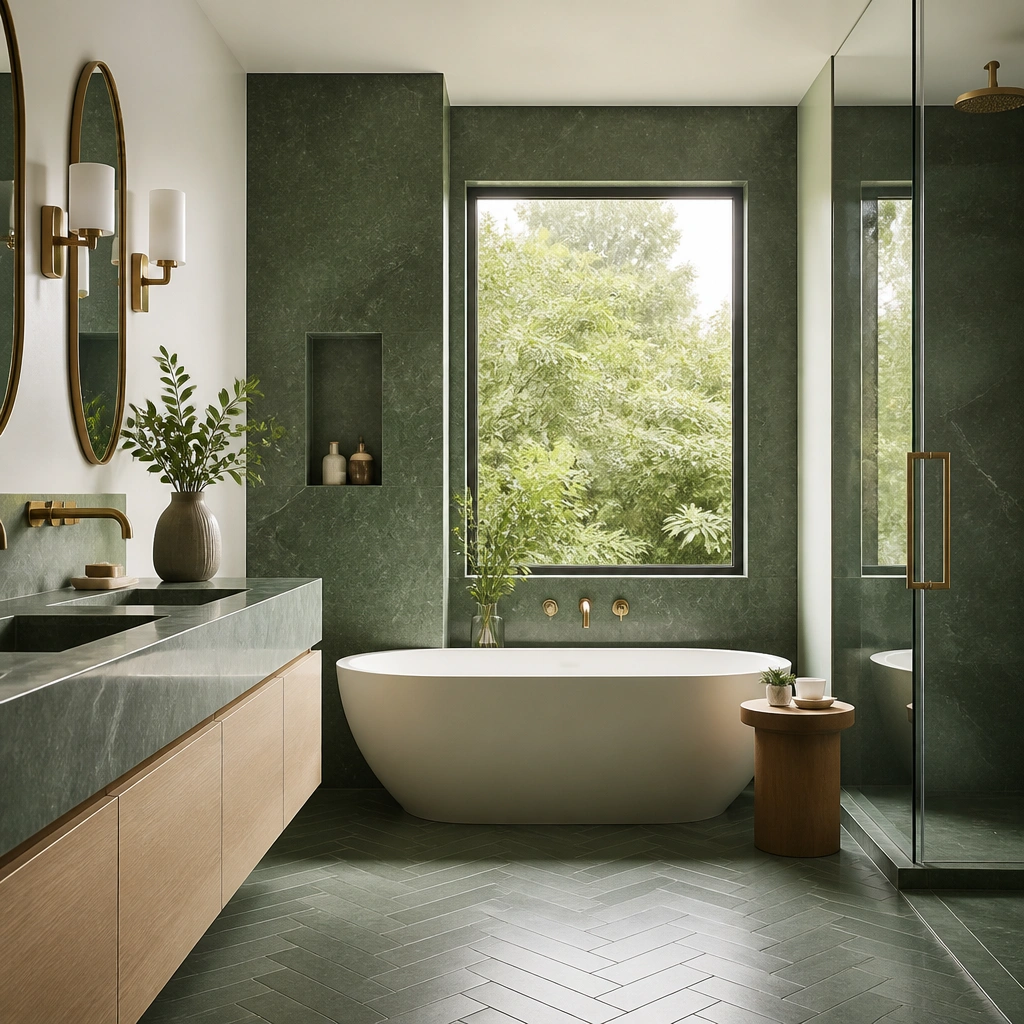
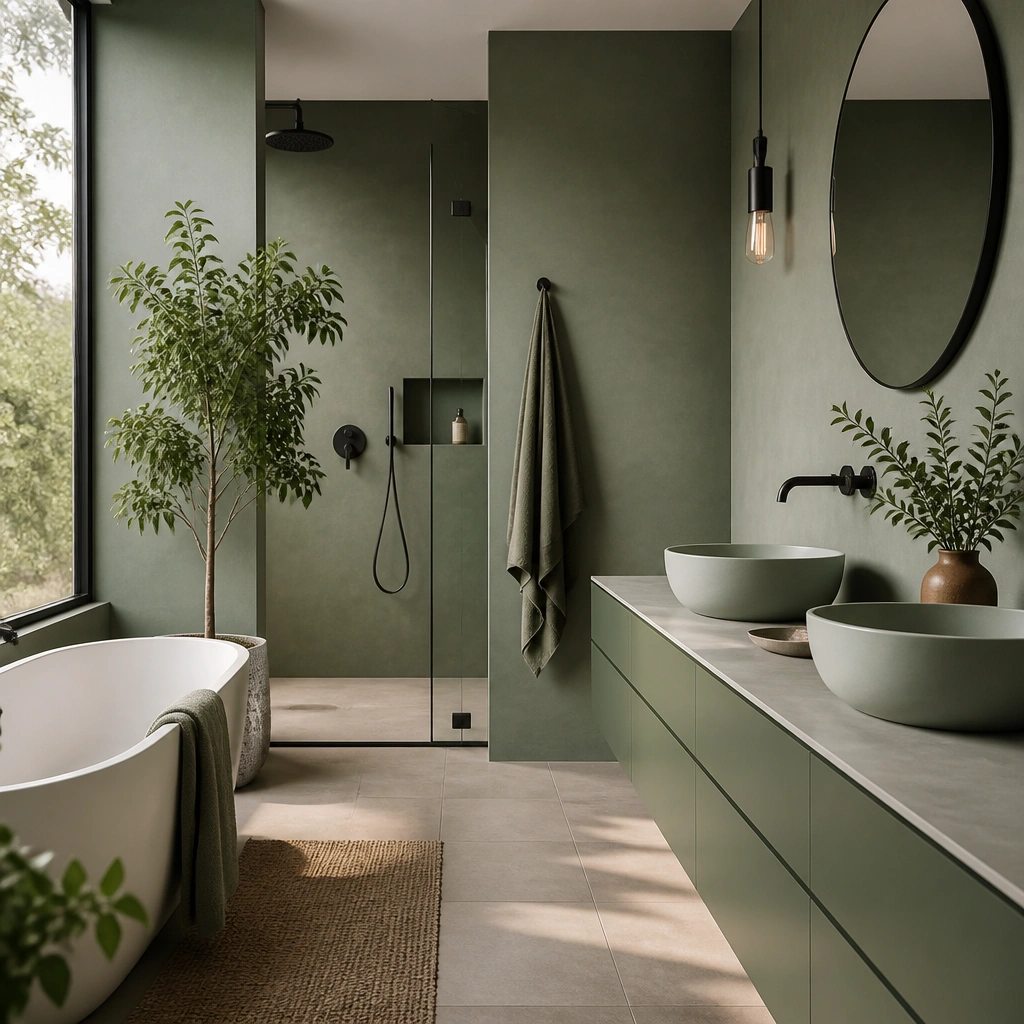
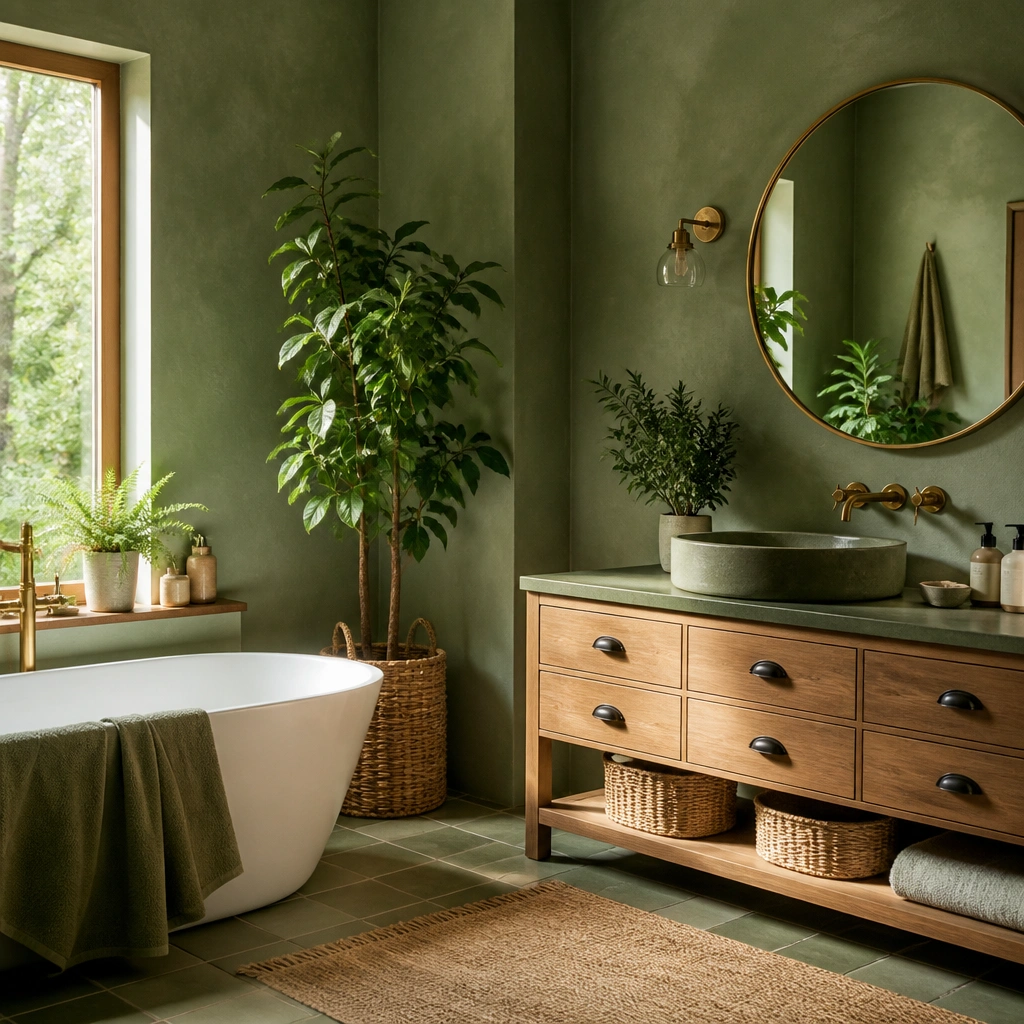
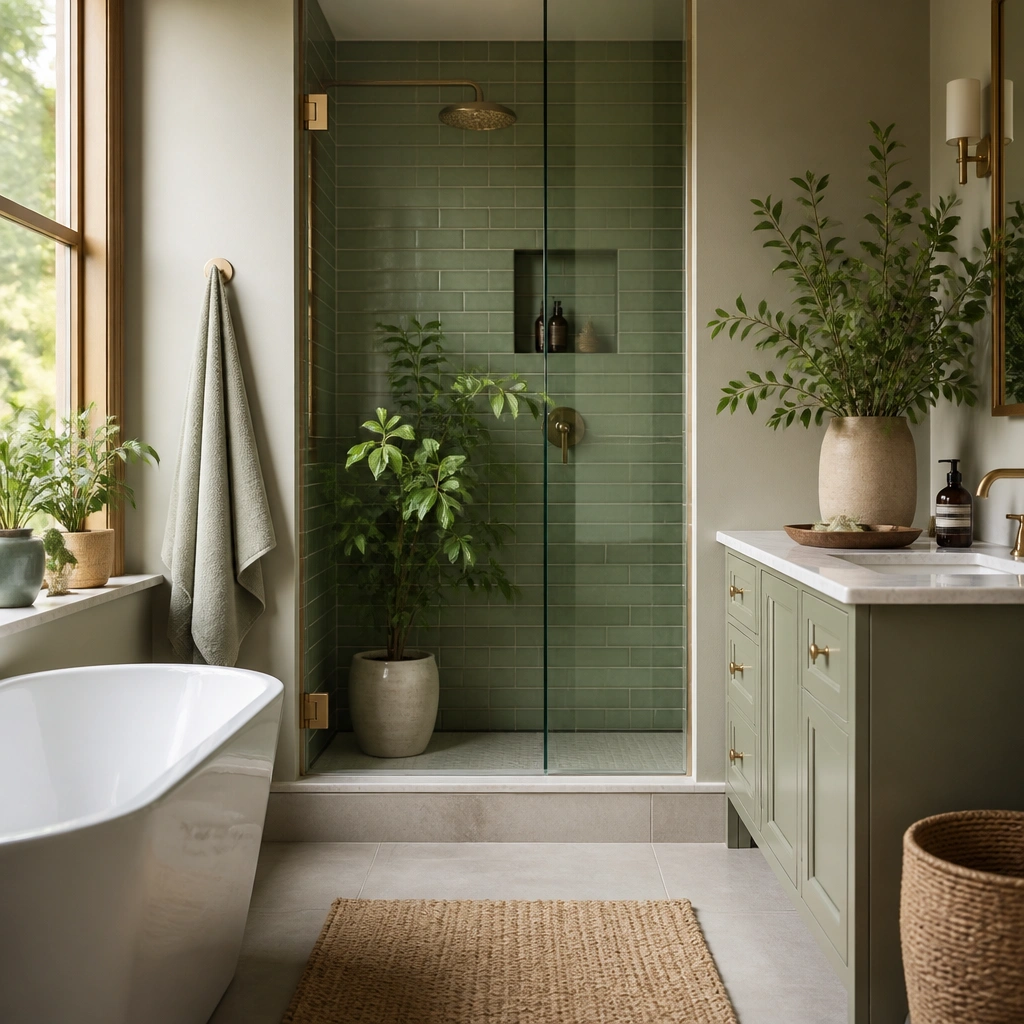
1. Sage eggshell on the long wall with bright white trim
If your bathroom feels tight lengthwise, paint the longest wall a soft sage in eggshell, then keep trim and the ceiling bright white. The key is that sage reads lighter than deep green, so it adds color without making the room look smaller. Eggshell hides wall imperfections better than satin, and it still reflects enough light to keep the space airy. Bright white trim creates a crisp boundary that visually “frames” the room instead of blending everything together. This setup works especially well when you have a windowless bathroom or one small window that doesn’t reach the far end.
Step 1: Choose a sage that leans slightly warm or neutral, and buy wall paint in eggshell plus semi-gloss for trim. Tape off trim lines and cut in with a 2-inch angled brush, then roll walls with a 3/8-inch nap roller for a smooth finish. Step 2: Apply two coats, letting each coat dry fully, then paint trim and door edges in semi-gloss white. Step 3: After curing, add a vanity light so the mirror area gets direct light; green looks best when light hits it, not when it’s only ambient.
Hang a tall mirror on the painted wall so the room “borrows” brightness from the vanity light.
Avoid flat matte green on walls — it eats light in small spaces.
2. Deep emerald half-wall with a glossy white tile band
Step 1: Pick deep emerald paint in satin for the lower half, and decide a height — for most small bathrooms, aim for about 48 inches from the floor to the top of the paint, then tile above that. Step 2: Install 3x6 or 4x8 glossy white subway tile for the band, using white thinset and a bright grout color (bright white or very light gray). Step 3: Caulk the tile edges with a color-matched caulk, then paint the upper walls in an off-white that matches your grout.
Deep emerald can work in a small bathroom if you limit it to the lower half and pair it with a glossy white tile band. The glossy strip catches light and creates a visual horizon, so the room feels grounded instead of boxed in. Keeping the upper walls bright helps the ceiling feel higher, which is the real size hack. This is a great choice if you want drama without losing function, especially with a narrow vanity where you still need the walls to feel light. It also hides scuffs better than you’d think because the tile band takes the hit where splashes happen.
One warningDon’t go full-wall emerald if your bathroom has limited light.
Pro tipUse a bright white grout if you want the tile band to look crisp and visually “clean.”
3. Green tile backsplash that stops at the mirror line
A green tile backsplash that stops around the mirror line gives you color where it matters and keeps the rest of the room light. In small-space small green bathroom ideas small space, this is one of the safest ways to add green without committing to full coverage. Tile is also forgiving: it handles toothpaste splatter and water marks better than paint. Choosing a small-format tile like 2x2 or 2x4 helps the backsplash look intentional rather than like a random patch. If you’ve got a narrow counter, this also keeps visual focus near the vanity where you’ll look most often.
Step 1: Measure the vanity wall area — aim for tile coverage from countertop height up to just above the mirror bottom or around 12-18 inches total height. Step 2: Use a water-resistant tile backer board or confirm your wall is already tile-ready, then set tiles with a notched trowel and leveling spacers. Step 3: Grout with a light green or white grout depending on your tile — then seal the grout if your tile is porous.
Keep the tile pattern simple (straight lay or subtle stagger) so it doesn’t fight the small room’s lines.
Avoid a tall full-height tile wall unless the bathroom gets real daylight.
4. Vertical fluted green glass tiles on one accent strip
Step 1: Pick a strip width that’s about 6-10 inches wide, and run it from about 6 inches above the countertop or tub edge up to near the ceiling. Step 2: Use a glass tile thinset and a grout that matches undertone (light green grout if the tile is mint/sage, white grout if it’s deeper). Step 3: Dry-fit tiles first so you don’t end up with ugly slivers at the edges, then grout and clean immediately to avoid haze.
A slim vertical accent strip of green fluted glass tile adds texture and pulls the eye upward, which makes a small bathroom feel taller. This works when you want green but don’t want to visually “fill” the room. Fluted glass scatters light, so even in low light it looks alive instead of flat. Put it where the eye naturally travels — usually the shower wall, the wall beside the vanity, or behind a towel bar. The strip should be narrow enough that you still get mostly light surfaces around it.
One warningDon’t place a wide accent strip if your bathroom is narrow — it visually compresses the space.
Pro tipUse a matte white surrounding tile so the glass accent reads as texture, not noise.
5. Tall mirror with a thin frame over a shallow vanity
Step 1: Choose a mirror that’s at least 60 inches tall and no more than 24 inches wide for tight bathrooms, with a thin frame (metal or wood) under 1 inch wide. Step 2: Mount so the bottom edge sits around 5-7 inches above the vanity top, then check clearance for faucet handles and any wall sconces. Step 3: If you’re painting green, position the mirror on the green wall so the reflection doubles the color softly.
In a small bathroom, mirror size matters more than mirror style. A tall mirror with a thin frame reflects more of the room’s light and makes the ceiling feel higher, especially when your vanity is shallow. Keep the mirror aligned with the vanity center so the reflection doesn’t look crooked. If your green plan includes painted walls or green tile, the mirror will bounce that color softly across the space instead of leaving it trapped in one corner. This is one of the fastest “small-space small green bathroom ideas small space” upgrades because it changes the perceived volume immediately.
One warningSkip wide, bulky mirror frames — they steal wall space in narrow rooms.
Pro tipAdd a vanity light with two bulbs and place it at mirror height, not ceiling height, for better face lighting.
6. Over-toilet slim cabinet in sage with mirrored door
The space above the toilet is wasted in most small bathrooms, and it’s also the perfect spot for green storage. A slim cabinet with a mirrored door adds two benefits: you get vertical storage for extra toilet paper, small bottles, and cleaning supplies, and you bounce light to make the room feel larger. Sage works especially well because it stays light next to bright whites and doesn’t visually weigh down the top of the room. Keep the cabinet depth shallow so it doesn’t interfere with movement around the toilet. This idea is built for small-space flow: everything stays off the counter.
Step 1: Measure the wall above the toilet — look for a cabinet depth around 6-8 inches and a width that matches your toilet tank width plus a little clearance. Step 2: Mount securely into studs or use proper anchors designed for cabinets, then set the shelf height so taller items like bottles fit without tipping. Step 3: Choose sage with a durable finish and a mirrored door; install the door hardware last so the mirror stays protected during installation.
Put a small bin on the bottom shelf for spare rolls so the cabinet looks organized even when it’s stocked.
Don’t choose a deep cabinet — it makes the toilet area feel cramped.
7. Above-toilet shelf ledge in dark green with open edges
Step 1: Install a shelf ledge about 10-12 inches deep, mounted so the underside clears the toilet lid comfortably (usually around 4-6 inches above the tank top). Step 2: Use a wall bracket system or into-stud mounting, then paint the shelf dark green with a durable enamel or pre-finished cabinet-style finish. Step 3: Style with 3-5 items max — a small tray, a roll holder, and a couple of bottles — so the shelf doesn’t look busy.
A floating shelf above the toilet keeps the footprint small but gives you a place for everyday items that would otherwise clutter the counter. Dark green on the shelf is a nice match if your walls are light, because it creates a clear, grounded spot without covering the whole room. Open-edge shelving also looks lighter than a closed cabinet, which matters in narrow bathrooms. Keep the shelf narrow — you’re aiming for a focused display, not storage overload. This setup is great for small-space small green bathroom ideas small space when you want green but your bathroom already has enough doors and drawers.
One warningDon’t overload the shelf — clutter near the toilet makes the whole room feel smaller.
Pro tipUse matching containers in white or clear glass so the green shelf stays the focus.
8. Corner shower caddy with a green tint back panel
Corner storage is the only storage that doesn’t steal walkway space, and it’s a perfect match for a small green bathroom plan. A corner shower caddy with a green-tinted back panel (or green accessories) adds the color theme where it’s functional. The reason it works is simple: corners are dead space, so you’re adding storage without shrinking the center path. It also keeps bottles off the shower floor, which helps your bathroom look cleaner in a tight room. Choose a caddy that matches your water exposure — stainless or rust-resistant metal with sealed finishes.
Step 1: Choose a corner caddy sized to your shower — measure the corner wall width and pick a model that fits without blocking the shower spray or door swing. Step 2: Install on tile with a proper adhesive system or drill into studs where possible, then add the green accessory panel or pick green shower items that coordinate. Step 3: Keep bottles grouped by height so the caddy stays easy to reach — reserve the top shelf for shampoo, and the lower shelf for face wash.
Match the caddy metal finish to your towel bar or faucet so the green theme feels intentional.
Avoid placing caddies on curved glass or weak adhesive spots where they pull away over time.
9. Green contact paper inside vanity drawers and cabinet doors
Step 1: Pull out drawers and clean the inside surfaces with degreaser, then measure each panel and cut contact paper with a sharp blade. Step 2: Apply slowly from one edge, smoothing with a plastic squeegee to avoid bubbles, and wrap around corners cleanly. Step 3: Add non-slip drawer liners on top if your green paper is too slippery, then reinstall everything and use small bins to keep items from mixing.
This is one of the best budget moves for small-space small green bathroom ideas small space because it adds green without touching your floor plan. Lining drawers and the inside of cabinet doors with green contact paper makes storage feel designed, and it hides the visual mess that usually shows through open drawers and towel shelves. Choose a matte or subtle textured contact paper so it doesn’t look shiny and cheap. It also helps with grip for small items like cotton pads and hair ties. The effect is quiet but powerful: your bathroom looks calmer because the inside surfaces match the theme.
One warningDon’t line over grime — loose edges will lift fast in bathrooms.
Pro tipUse a darker green inside drawers and a lighter green for cabinet doors so the contrast looks intentional.
10. Wall-mounted sink with green cabinet below
Step 1: Confirm your wall structure and plumbing rough-in, then pick a wall-hung sink with a mounting bracket rated for your weight. Step 2: Install the sink first, then build or mount the matching green vanity cabinet front panel to cover plumbing while keeping the floor visible. Step 3: Use a slim countertop or a narrow shelf lip if you need storage, and seal around the sink edges with mildew-resistant caulk.
A wall-mounted sink is a space trick because it clears the floor, and that makes the room feel bigger even if the bathroom is the same size. Pair it with a green cabinet below that stops at the same footprint as the sink — you get a visual anchor without adding bulky legs or extra furniture. Choose a medium sage or muted green so it doesn’t fight with tile grout lines. This idea works best when your plumbing can be adjusted or already supports a wall-hung setup. If you can do it, it’s one of the cleanest ways to make a small bathroom look more open.
One warningAvoid a cabinet that hides too much — you want the floor clearance to stay visible.
Pro tipKeep the cabinet face simple with flat doors — fewer lines read cleaner in small rooms.
11. Green peel-and-stick backsplash panels behind the toilet
Step 1: Clean the wall thoroughly and let it dry completely, then measure the area behind the toilet tank and base. Step 2: Dry-fit the panels and cut around any outlets or pipe edges with a sharp utility knife. Step 3: Apply panels starting from a straight reference line, press firmly along edges, and seal around the highest water-prone edges with a thin bead of silicone caulk if needed.
Behind the toilet is where small bathrooms hide the most visual distractions: plumbing, old paint, and the “blank wall” that makes the room feel unfinished. Peel-and-stick backsplash panels in green create a clean backdrop and make the toilet area feel styled, not neglected. This is especially good if you’re renting or you can’t tile the whole bath. Choose panels that look like real tile — small grid patterns, subtle texture, and matte finish — so it doesn’t look like temporary decor. The payoff is that the room feels more complete without shrinking storage or floor space.
One warningDon’t apply over paint that’s peeling or glossy — adhesion will fail.
Pro tipMatch the green undertone to your shower tile grout so the bathroom looks cohesive.
12. Small-format green mosaic floor with light grout
If you want the green theme to feel like it belongs to the whole room, use it where your eyes already land: the floor. Small-format green mosaic tile works in tight spaces because the grout grid breaks up the surface and helps the room feel more textured and dimensional. Use light grout (white or very pale green) to keep the floor from looking heavy. This also helps visually with narrow bathrooms because the floor pattern gives your eye movement instead of a single flat block. The trick is choosing a green that reads close to a neutral when it’s wet — sage or moss works better than neon.
Step 1: Measure the floor and pick a mosaic tile with a manageable sheet size so it’s easy to cut at the edges and around the toilet. Step 2: Install with thinset and spacers, then keep grout lines consistent — mosaic looks sloppy when spacing varies. Step 3: Choose light grout, apply carefully, and wipe haze thoroughly; seal grout if the product recommends it for moisture.
Use a matte floor sealer after grout cures so the tile doesn’t look slick or uneven.
Avoid dark grout with dark green mosaic in tiny bathrooms — it makes the floor feel smaller.
13. Green glass shower door panel and clear hardware
A subtle green tint in the shower door panel adds color without filling the whole bathroom with solid surfaces. In small-space small green bathroom ideas small space, this is a clever move because glass keeps lines open and clear the floor visually. Choose a green tint that’s faint enough to read as “light green” rather than tinted sunglasses. Clear hardware (chrome or brushed nickel) keeps the look airy. The result is that the shower area feels part of the palette, while the rest of the bathroom stays visually open.
Step 1: If you’re replacing the shower door, choose tinted glass panels in a light green tone and confirm your door width matches the opening. Step 2: Install the door using the manufacturer’s track and hardware, leveling carefully so the panel sits straight — small errors show in glass. Step 3: Pair with a simple shower niche or minimal caddy so the tinted glass remains the main green element.
Keep towels and bath mats in off-white or warm gray so the tinted glass doesn’t clash.
Don’t go for a dark tinted door if the bathroom has weak lighting.
14. Slim towel ladder with sage towels and wall-mounted hooks
Towel storage is where small bathrooms get messy fast, so a slim towel ladder plus wall hooks is a practical green strategy. Pick a ladder that’s narrow enough to sit beside the vanity or near the door without blocking the swing of the door. Use sage towels to tie the color theme in, but keep them folded or rolled so the ladder reads neat even when it’s in plain view. Wall hooks handle the “one towel you’re using” situation so the ladder stays for extras. This keeps circulation clear and makes the room look put together.
Step 1: Choose a ladder width around 16-20 inches and anchor it securely to studs or use correct wall anchors rated for the ladder’s weight. Step 2: Install wall hooks at two heights — one for a robe or hand towel, one for a small washcloth — so daily items don’t end up on the counter. Step 3: Style with 4-6 towels total: two folded on upper rungs, two rolled on lower rungs, and keep one hand towel on the wall hook.
Use matching towel sizes so the ladder looks intentional instead of random.
Avoid storing wet towels on the ladder without airflow — it looks messy and smells.
15. Green grout lines on white subway tile for a clean, bigger feel
If you’re working with white subway tile, switching to green grout lines is a high-impact change that doesn’t require changing the tile layout. The grout lines create a subtle pattern that reads as detail, which keeps a small room from feeling flat. Choose a light green grout that matches your sage palette so it looks cohesive rather than loud. This idea works best when your bathroom is already bright, because green grout will still show clearly. It’s also a smart move if you want “green bathroom” energy without painting — fewer coats, less mess.
Step 1: If you’re tiling new or regrouting, remove old grout completely and clean the tile faces so grout bonds and doesn’t smear. Step 2: Mix and apply the light green grout, forcing it into joints with a grout float, then wipe tile faces with a damp sponge in small circles. Step 3: Seal grout after curing if your grout recommends it, and keep a microfiber cloth handy for final haze removal.
Pick grout color samples and compare them next to your vanity light — grout color changes under warm bulbs.
Don’t pick a neon green grout — it looks harsh in tight bathrooms.