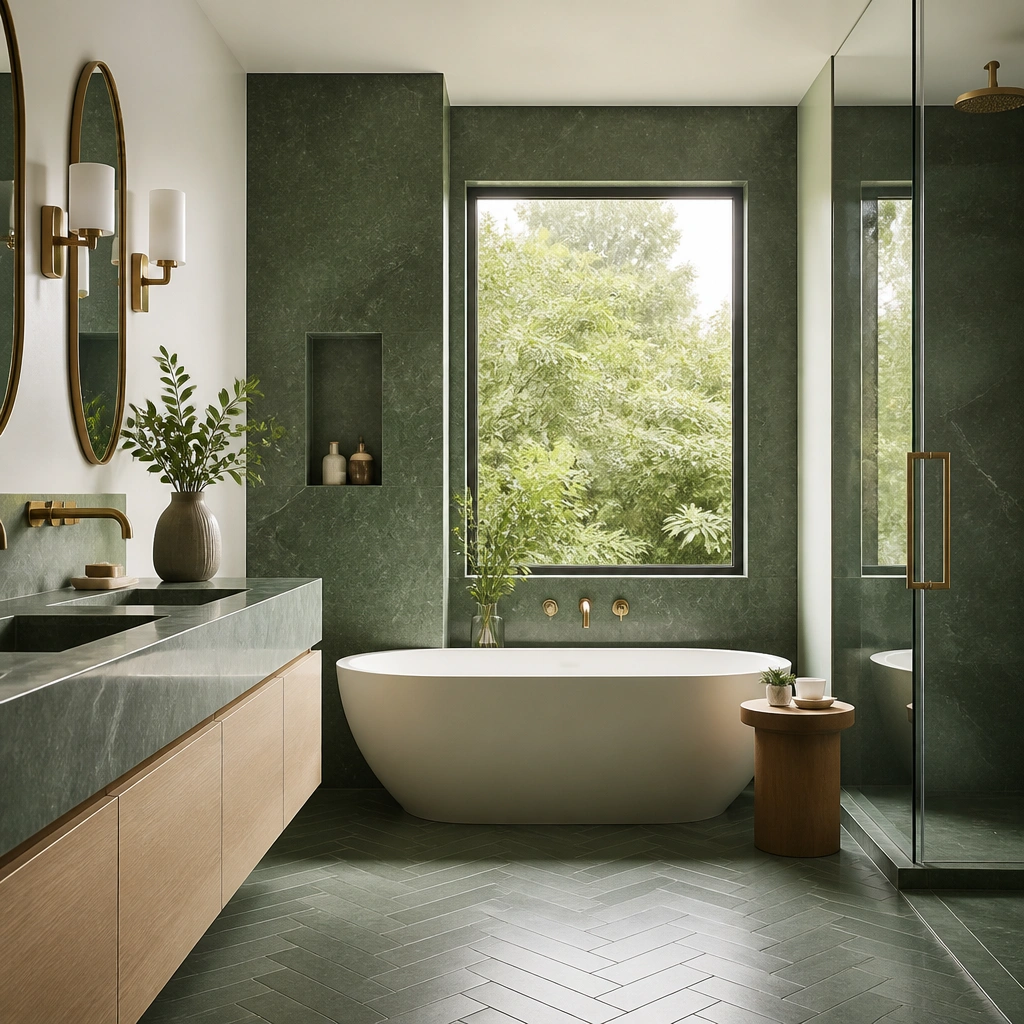
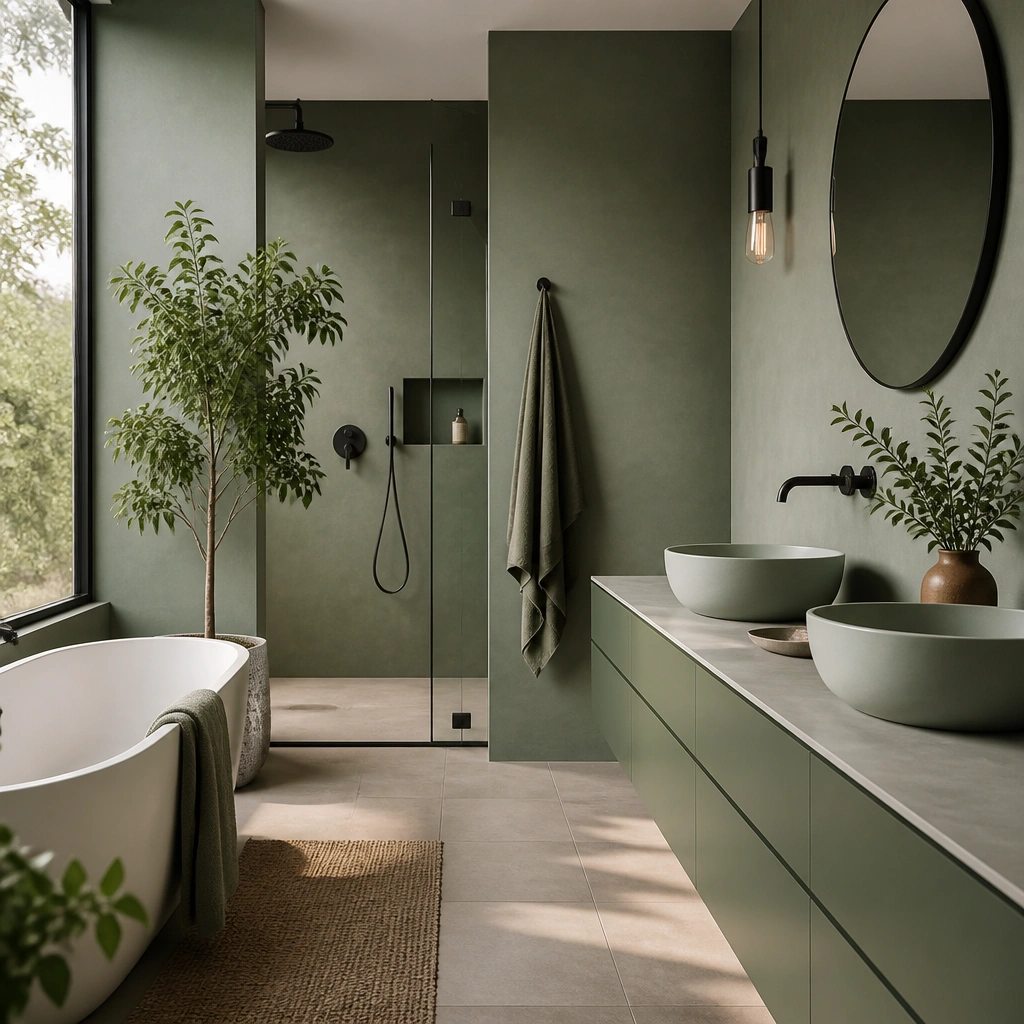
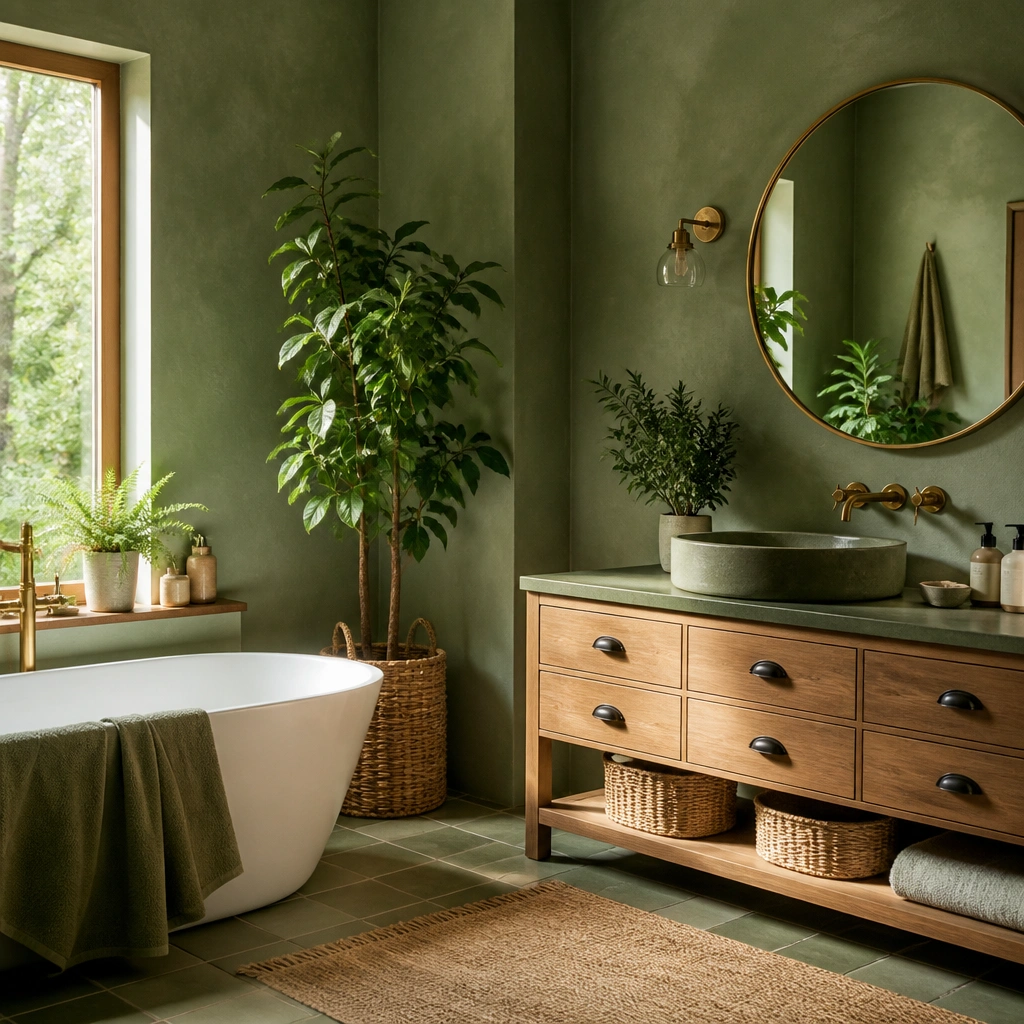
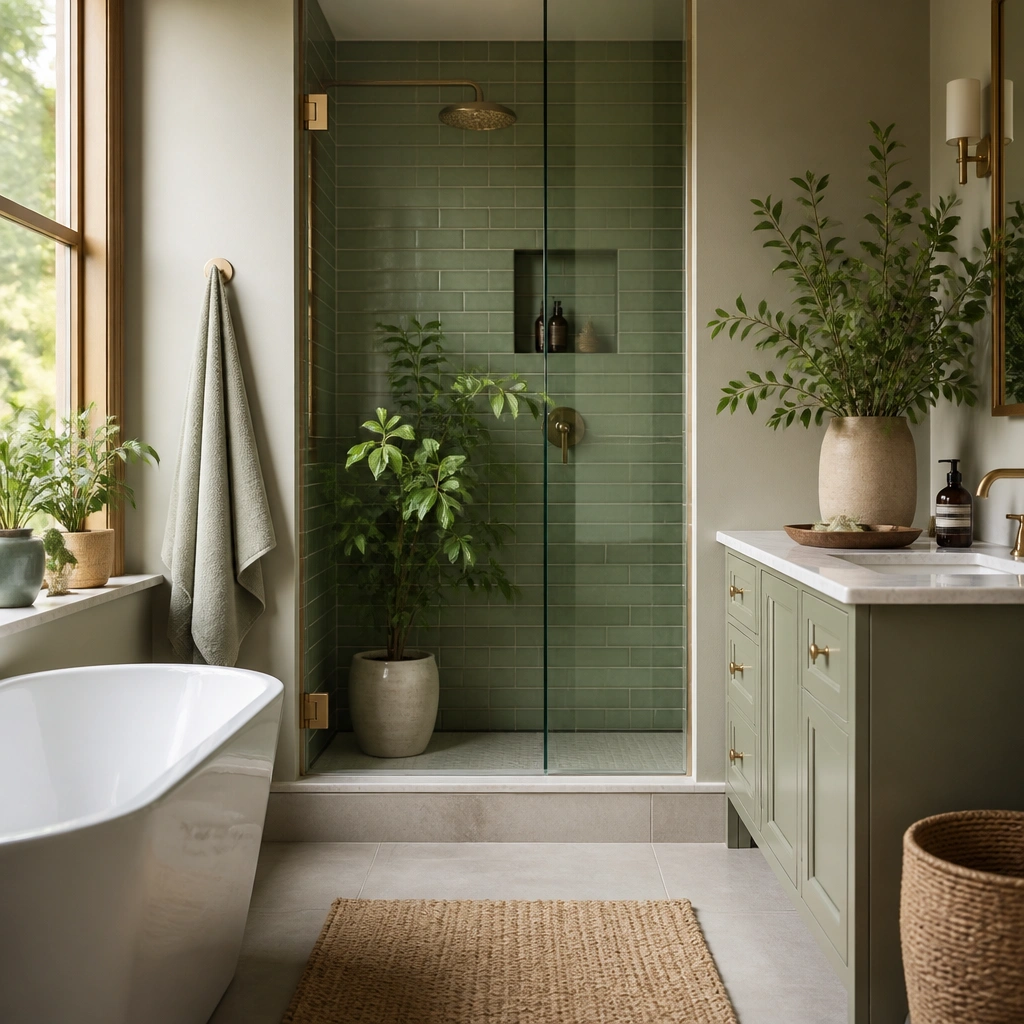
1. Sage towel ladder and matching bath mat set
If you want beginner-friendly green bathroom ideas for beginners that look styled fast, start with textiles. Sage reads fresh in small bathrooms because it sits between green and off-white, so it doesn’t overpower low light. Use a towel ladder or over-the-toilet rack in a simple metal finish like brushed nickel or matte black, then hang two towels in the same sage tone. Add a matching bath mat with a similar undertone so the green feels coordinated instead of scattered. This works especially well when you cannot paint, because textiles are the easiest way to introduce green without wall prep.
First, choose one sage shade: look for a “gray-green” label or a tone that looks like softened mint under bathroom light. Then buy two towels (hand towel and bath towel) plus one bath mat in the same shade family, aiming for similar fabric weight — terry for towels and low-pile or rubber-backed for mats. Finally, place the ladder/rack where towels will be visible when the door opens, not tucked behind the toilet. Cost stays low because you are buying fabric, not fixtures — expect roughly $40-90 depending on towel quality.
Pro tipGo for waffle-weave hand towels if your bathroom gets steamy; they dry faster and look crisp longer.
One warningAvoid mixing sage with a bright kelly green — the undertones clash and make the room look accidental.
2. Peel-and-stick green tile decals for the shower splash zone
A small green bathroom often looks flat because the eye has nothing textured to land on. Tile decals give you that “real tile” look without grout, demo, or waterproofing work. Choose small-scale patterns in muted greens — think moss or olive with white grout lines — because tiny repeats stay forgiving and hide uneven surfaces. Apply them only to the shower splash zone (the area that gets wet), and keep the rest of the wall neutral. This delivers beginner-friendly green bathroom ideas for beginners that still look designed even if your walls are not perfectly smooth.
Start by cleaning the wall with a degreasing bathroom cleaner and letting it fully dry; peel-and-stick fails over soap film. Then measure the splash zone height — a common target is about 18-36 inches from the showerhead side where water hits — and plan your decal layout on the floor first. Press each sheet firmly from center outward, smoothing with a plastic squeegee or old credit card. Finally, seal the edges with a clear silicone caulk only where decals meet corners or trim if your system recommends it; do not caulk over the whole sheet.
Pro tipUse a level and mark a pencil line for the first row, then build upward from that line so the pattern stays straight.
One warningDo not apply directly over textured or flaky paint — it will lift at the edges within weeks.
3. One green accent wall in matte sage behind the vanity
If you want the biggest visual payoff with the least work, paint one wall in matte sage behind the vanity. This placement matters because mirrors reflect the wall color, so the green spreads across the room without you painting the whole bathroom. Matte paint hides wall imperfections better than satin, which is a big deal in older bathrooms with patchy drywall. Pair it with a white vanity top and simple brass or brushed nickel hardware so the green looks calm, not loud. This is one of the most beginner-friendly green bathroom ideas for beginners because you can stop after one wall and still feel “done.”
First, patch and sand any dents, then wipe the wall with a damp cloth and let it dry completely. Prime with a bathroom primer if you have stains, prior oil-based paint, or glossy surfaces, and let it dry per the can. Then roll two thin coats of matte sage — use a small roller for walls and a 2-inch angled brush for edges — drying time is usually 1-2 hours between coats. Finally, tape off trim carefully and remove painter’s tape while the last coat is slightly tacky to avoid peeling.
Pick a mirror frame finish before you paint; it determines whether sage reads warmer (cream undertones) or cooler (gray undertones).
Avoid glossy green on a bumpy wall — it shows every ripple and makes touch-ups obvious.
4. Green vanity makeover with a bonding primer and cabinet paint
Vanities take the most visual space in a bathroom, so green here makes the whole room feel intentional. For beginners, the safest approach is repainting the vanity cabinet and leaving the top alone if it is in good shape. Use a durable cabinet paint in a satin or eggshell finish — it wipes clean and still hides small brush marks better than high-gloss. Choose a green that matches your lighting: if your bathroom has warm bulbs, go for olive or deep sage; if it’s cool, use a gray-green. Pair with simple hardware in brushed nickel or oil-rubbed bronze so the green reads polished.
Start by removing doors and drawers if possible and labeling them with tape so you reinstall correctly. Clean the surfaces with a degreaser, scuff-sand with 220 grit, then apply a bonding primer made for glossy or previously finished cabinets. Paint with a foam roller for smooth panels and a brush for edges, doing two coats with light sanding between coats if the finish feels rough. Reattach hardware after the paint cures — usually 24-72 hours depending on product — and reinstall doors the same day you can be careful and avoid dents.
Pro tipTake off the doors and paint them flat; you get fewer drips and a smoother finish in less time.
One warningDo not skip primer — green paint over slick surfaces chips and peels faster than you want.
5. Dark green shower curtain with a white waffle liner
A shower curtain is a cheat code for green without committing to paint. Dark green (bottle green or deep forest) gives strong color even in small bathrooms, but it can look heavy if you go all-dark on everything. The fix is a white waffle liner or sheer liner that keeps light moving and prevents the space from feeling closed in. If your bathroom has chrome fixtures, deep green looks especially sharp with silver hardware and a white sink top. This is beginner-friendly because you can swap it in minutes and change your mind later.
First, measure your shower rod length and curtain drop so the curtain puddles slightly — aim for 1-2 inches above the floor for a tidy look. Then choose a dark green curtain with a heavier fabric weight so it hangs straight, plus a separate white liner that you clip or tie. Use tension/rod rings that match your hardware finish to avoid visual mismatch. Finally, wash and hang it as soon as you open it; wrinkles show in a small bathroom.
Pro tipAdd one matching green accessory — a soap dispenser or cup — so the curtain color doesn’t feel random.
One warningAvoid a curtain that is too short; it makes the ceiling feel lower and the room look unfinished.
6. Green glass soap dispenser and toothbrush holder set
Small-space bathrooms often fail because the counter looks bare or cluttered in the wrong colors. Green glass accessories give you color that looks intentional and stays small enough to fit any budget. The glass also catches bathroom light, so the green reads even in dim rooms. Choose one shade — emerald, forest, or muted olive — and keep everything else neutral: white countertop, chrome or brushed nickel fixtures, and a simple tray. This works well for beginners because no tools, no mess, and you can swap pieces whenever you want a different green mood.
Pick a set with the same glass tone and similar finish for the pump or base, so it looks like one family. Then place them on a tray sized for your counter — a common approach is a 10-14 inch tray that keeps items from spreading. Finally, keep the number of items low: soap dispenser, toothbrush holder, and maybe one small cup for cotton swabs. Cost is usually $20-60 for the set depending on glass weight and brand.
If your green looks too dark, add a white microfibre hand towel nearby; it lifts the whole counter visually.
Avoid mixing green accessories with different undertones, like mint on one piece and olive on another.
7. Matte green contact paper on the vanity drawer fronts
Contact paper is the easiest entry point for green bathroom ideas for beginners because it is forgiving and reversible. Drawer fronts are flat, so you can get clean edges without fighting corners like you would on a full cabinet. Matte green contact paper hides fingerprints and small surface imperfections better than glossy film. Choose a leaf-moss or sage green with a subtle texture if your bathroom light is harsh — it looks less “sticker-like.” Pair it with your existing hardware so the green reads as part of the furniture, not an add-on.
Start by cleaning the drawer fronts with soap-free cleaner and letting them dry fully; any residue makes edges lift. Measure each drawer front and cut contact paper with a sharp craft knife, leaving a 1/8-inch margin so you can trim after applying. Apply slowly from one edge, smoothing as you go with a plastic squeegee to avoid bubbles. Finally, trim along the drawer edges with a knife and press the corners firmly; do not use heat guns unless the product instructions say it’s safe.
Use a hair dryer on low to help the film conform around tiny curves, but keep the heat gentle.
Avoid applying over peeling or chalky varnish — the film will lift with the old finish.
8. Green bath rug runner in a geometric weave
If your bathroom is small, floor color can look bigger than wall color because it frames the space you walk into. A green rug runner with a geometric pattern adds energy without repainting anything. Choose a mid-tone green (sage, eucalyptus, or olive) so it works with both warm and cool lighting. Look for a low-pile rug with a non-slip backing so it does not shift when wet feet hit it. This is beginner-friendly because you can buy one piece, place it, and the room instantly looks finished.
Measure the area outside the sink or near the shower — a common size is 20x32 inches for a runner that covers the main wet-foot zone. Then choose a rug that has white or cream lines to tie back to your walls and towels. Lay it down and check it against door swing; trim is not ideal for most rugs, so pick the right size. Expect $25-70 depending on material and backing.
Match one accent color in the rug (often cream or black) with a small item like a waste bin or mirror frame.
Avoid high-pile rugs that trap water; they look messy quickly in humid bathrooms.
9. Green framed mirror border with removable vinyl stripes
A mirror is a green amplifier in a small bathroom because it doubles the color you place near it. Instead of painting, use removable vinyl stripes or a thin peel-and-stick border along the mirror edge. Keep it narrow — about 1-2 inches — so you get the green effect without blocking the mirror. This approach is forgiving because you can reposition before it sticks and remove it later if you want a different look. Pair the border with green towels or a soap dispenser so the mirror doesn’t feel like a separate project.
Clean the mirror frame and glass edge, then dry completely; fingerprints stop adhesion. Measure the mirror perimeter and cut vinyl into strips, or use pre-cut border rolls if you can find the right width. Apply one side at a time, starting with the top edge, smoothing as you go with a credit card so the line stays straight. Finally, press down along corners firmly and test the edges with a fingernail to confirm they’re sealed.
Choose a matte green vinyl if your mirror frame is already glossy; it looks more layered and less like tape.
Avoid wide borders — they visually shrink the mirror and make the bathroom feel tighter.
10. Olive-green wall shelves with white planters
Wall shelves are a clean way to add green without touching the plumbing zone. Olive-green shelves bring a warm, natural tone that pairs well with wood accents and white sinks. The trick is to keep the shelf styling light: a couple of white planters or a ceramic tray, not a clutter pile. In small bathrooms, open shelves also help the room feel less boxy because you are not covering walls with large items. This is beginner-friendly because installation is straightforward with the right anchors and you get instant color.
Pick floating shelves in olive or paint your own shelves using a small brush and foam roller, then let them cure fully. For mounting, locate studs if possible; if not, use drywall anchors rated for the shelf weight plus your decor weight. Level the shelf before screwing it in, then install one side first and confirm the level before finishing the screws. Keep decor items under 2-3 inches tall if your bathroom is very small, so the shelf does not visually crowd the mirror.
Pro tipUse a simple white planter plus one green candle or bottle — repetition makes the look feel intentional.
One warningAvoid heavy decor like large ceramic jars; shelves look fine until the load sags and the green line tilts.
11. Green lighting upgrade with a warm white bulb and frosted shade
Green can look muddy when the bathroom light is too cool. Before you buy new paint or decor, tune the lighting so green reads clean. Use a warm white bulb around 2700K and pair it with a frosted or diffused shade so you get even light across the vanity and mirror. This makes sage and olive look like actual color instead of gray. If you already have green elements, lighting is the beginner-friendly move that improves everything you already own.
First, check your bulb color temperature; aim for 2700K warm white and an LED bulb rated for bathroom fixtures if your current fixture is enclosed. Then choose a shade or cover that diffuses light — frosted glass or a fabric shade — so you do not get harsh hotspots on the wall. Install the shade, then turn on the light and view the green towel or paint under that lighting for 10 minutes to see how undertones shift. Cost is usually $10-40 for bulbs and $20-80 for a shade depending on fixture size.
Pro tipIf your green looks too gray, warmer bulbs usually fix it without changing any decor.
One warningAvoid daylight 5000K bulbs; they turn sage into something washed-out fast.
12. Green shower curtain rings upgrade with matching tape edge
This is an easy way to add green without repainting or drilling. Swap to matte green shower curtain rings and pair them with a thin strip of green painter’s tape on the top hem so the curtain looks finished, not temporary. Choose rings in a deep olive or muted forest so they read green even in bathroom lighting that can look yellow. It helps beginners because the changes are reversible and you can correct gaps in minutes. Put it in a rental or a bathroom with stubborn wall color — the green shows up where your eye naturally lands when you walk in.
Step 1: Measure your shower rod width and count rings — aim for one ring per 3 to 4 inches of curtain width. For a standard 72-inch wide curtain, start with 18 to 22 rings. Buy matte green rings that clip over the rod and a shower curtain in white or soft cream with a weighted hem. Step 2: Hang the curtain first, then pull the top hem flat and apply a 1/4-inch strip of green painter’s tape along the inside edge of the hem where it meets the rod line. Press hard with a fingernail to seal the tape, then remove the tape slowly once you’re happy with the straight line and the curtain hangs evenly. Cost is low: rings are usually $10 to $25 and tape is a couple bucks; effort is about 20 minutes.
Use a frosted or matte green ring finish so it doesn’t look shiny next to bathroom humidity. If your curtain has a plastic grommet top, match the ring color to the grommet color line for a cleaner top edge.
Don’t pick neon green rings — they look harsh in bathrooms and make the whole setup look mismatched.