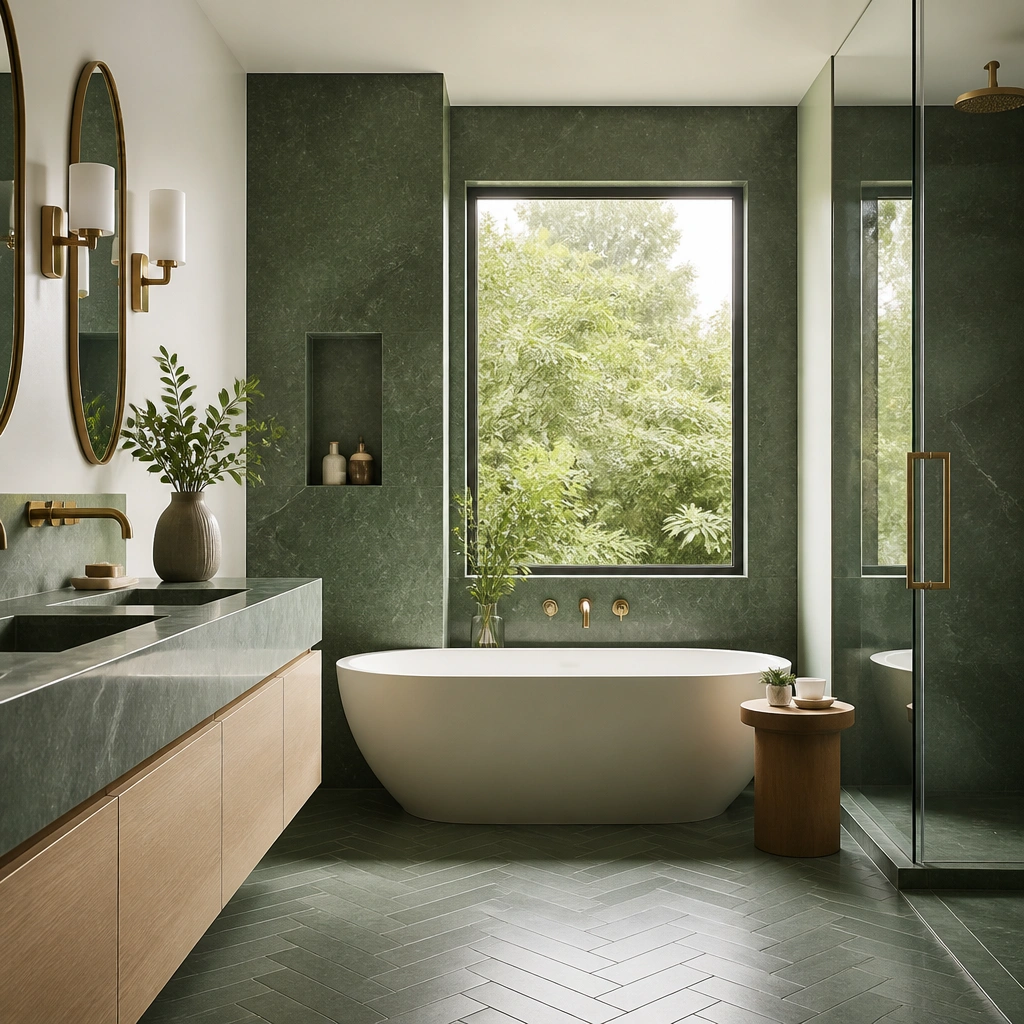
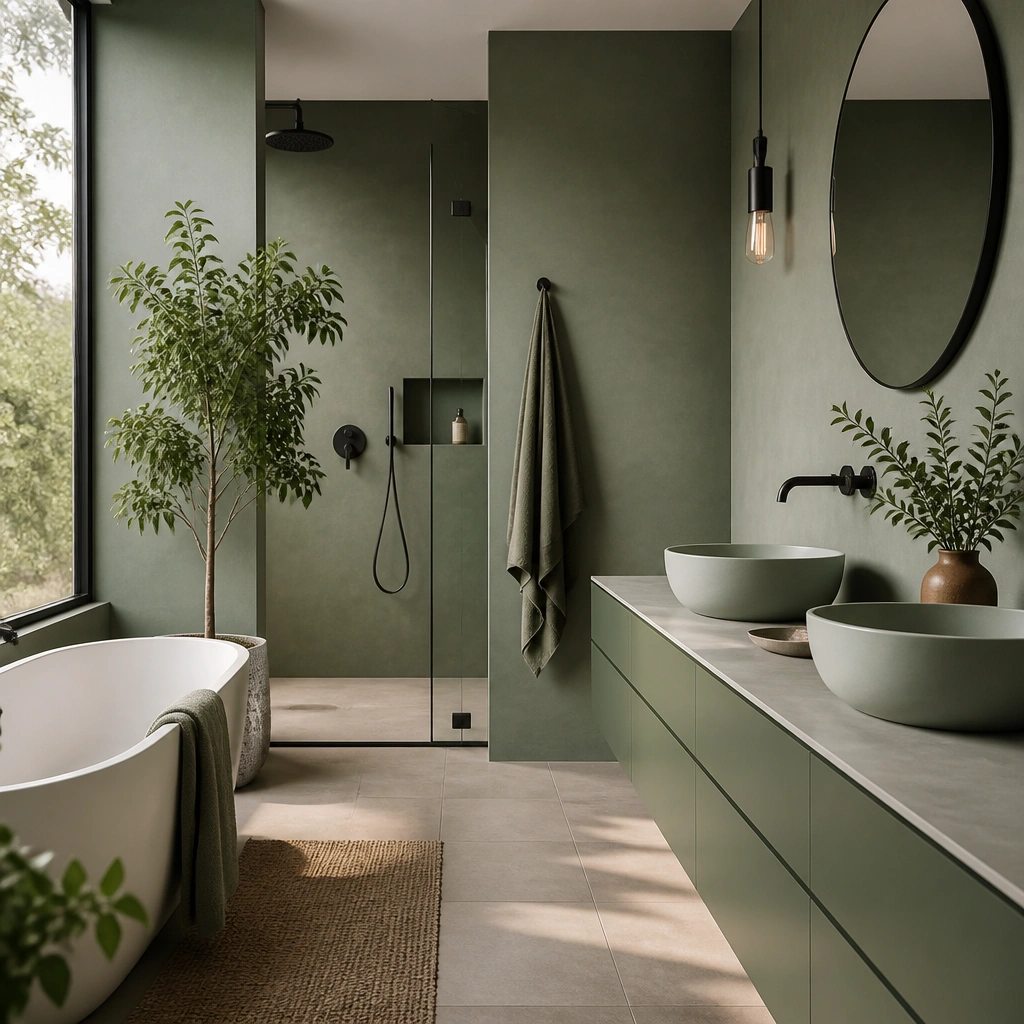
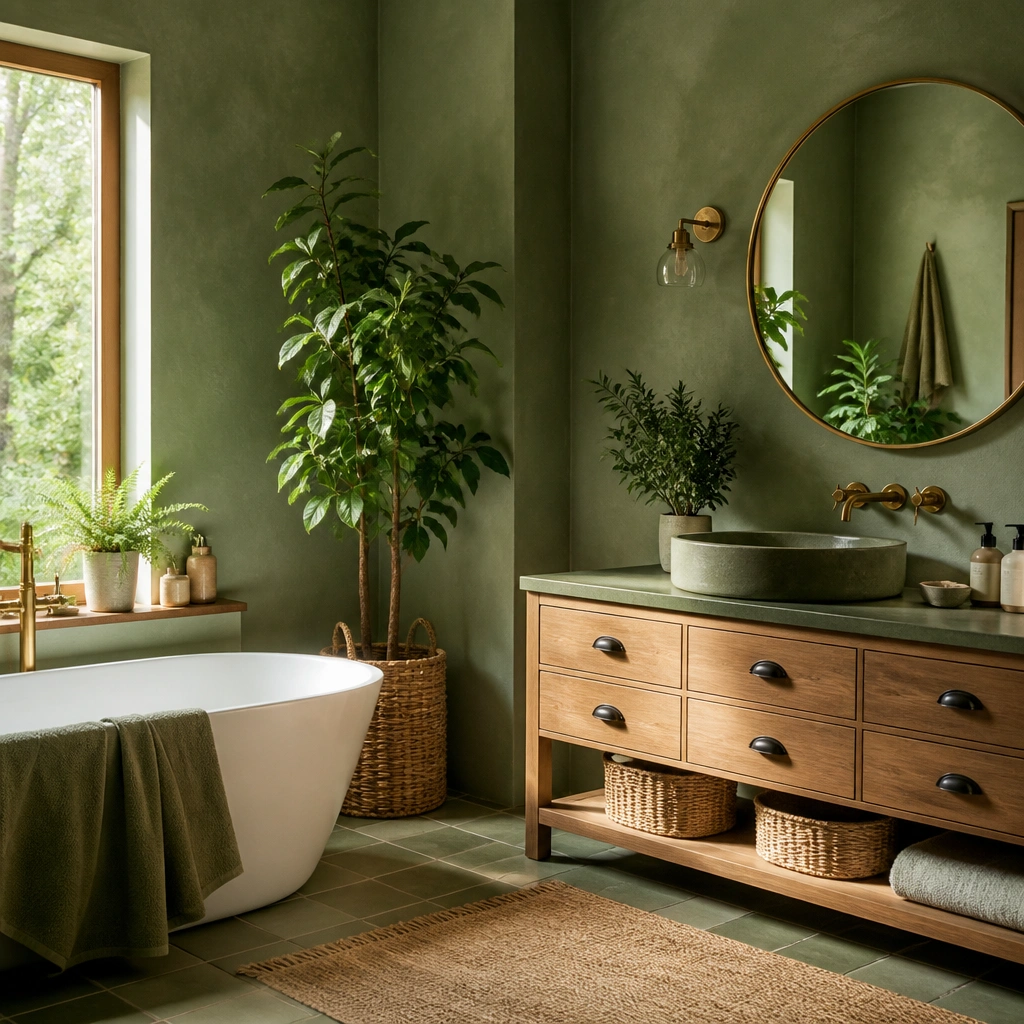
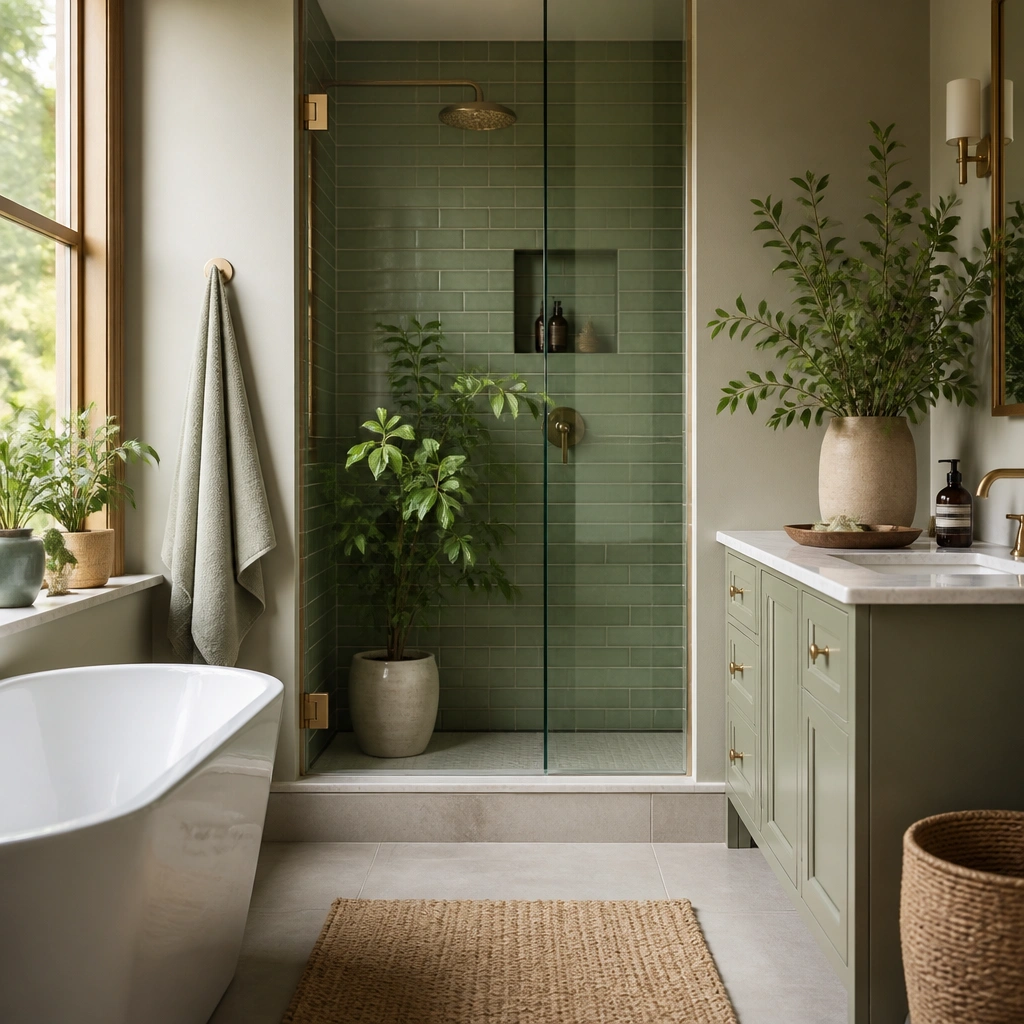
1. Sage vanity front + warm white walls
Go for sage on the vanity because it’s the easiest green that reads calm, not loud. Pair it with warm white walls so the sage doesn’t turn gray in bathroom light. Brass pulls and a brass faucet add a soft glow that makes the green feel like it belongs, not like a repaint. Keep the countertop bright — white quartz or a light marble-look laminate — so the sink area stays crisp. This setup is great when your bathroom is narrow and you want the main visual anchor to be the vanity, not the floor or shower.
Start by choosing a sage tone that leans slightly warm, not blue. Paint the vanity cabinet or buy a sage-finished one; match pulls and faucet in the same metal family (brass is the most forgiving). Then paint the walls warm white in satin so the surface wipes clean; use a light caulk line around the mirror and trim for a sharper look. Finally, add white towels and a textured mat so the green doesn’t feel flat.
Hang the mirror so its bottom edge sits about 5-7 inches above the counter for a taller, cleaner look.
Don’t pick a cool, blue-green sage and pair it with stark bright white — it reads icy in steam.
2. Mint half-wall with a simple wainscot trim
Mint half-wall styling gives you a green hit without making the whole room feel smaller. The trim line creates a visual break that makes the room look organized and taller. Keep the upper wall a creamy white so the mint stays fresh and doesn’t look dark. Choose a matte or eggshell paint on the upper wall, but use at least satin on the half-wall area because it gets splashes. This is ideal for powder rooms and compact bathrooms where you want charm and structure fast.
Pro tipUse a 2-inch angled brush for crisp trim edges — brush marks show more on mint than on darker colors.
Measure your walls and mark a straight horizontal line about 36-40 inches from the floor for the half-wall. Install simple wainscot trim or a narrow chair-rail style molding, then caulk and paint it white first. Paint the lower half mint in satin, and keep the upper wall creamy white in eggshell. Finish with a mirror centered over the sink and a towel bar mounted so it doesn’t overlap the trim line.
One warningAvoid thick, ornate trim — it crowds a small room and fights the mint for attention.
3. Green tile shower niche with white subway around it
A shower niche is the perfect place to add green because it’s framed and intentional. Use white subway tile for the main shower walls, then make the niche a deep green — think forest or emerald — so it looks like a little piece of jewelry. The contrast makes the bathroom feel designed, not random. Keep grout light (warm white) so the subway grid stays clean. This works especially well when your bathroom is small and you want the shower to look architectural instead of plain.
Pick a green tile for the niche that has a little sheen or texture, like glazed ceramic or stone-look porcelain. Plan the niche size — a common, photogenic setup is about 12 inches wide by 18 inches tall — and set it at eye level. Tile the niche first, then build out the surrounding shower walls with white subway. Use a white grout that matches the trim or caulk lines for a crisp finish, and seal if you’re using natural stone-look tile.
Add a small shelf or glass soap dish in the niche color family so the niche stays cohesive in photos.
Don’t choose a green tile that’s too close to your wall paint — it will blur together and lose the “feature” effect.
4. Olive floor tile + crisp white walls
Olive flooring is one of the most aesthetic green bathroom ideas because it grounds the whole room without needing a full remodel. The color reads earthy and warm, especially with natural light or warm bulbs. Keep the walls bright and clean — pure white or warm white — so the olive tile becomes the star. Choose a vanity in walnut, oak, or a light wood tone to keep the palette natural. This is a great option when you can’t change much besides flooring and want the green to feel permanent.
Choose olive tile in a finish that can handle water, like porcelain with a matte or satin glaze. Install in a simple layout: 12x24 rectangles laid straight, or small square tiles with a consistent grout line. Use light grout (warm white) to prevent the floor from looking dirty or heavy. Then paint walls warm white in satin and add a dark mirror frame or matte black hardware to sharpen the edges.
Use a runner mat in off-white or oatmeal to keep the olive from looking cold when the floor is wet.
Avoid glossy olive tile — it shows every splash and looks messy fast.
5. Dark emerald wallpaper on one wall
Wallpaper is the fastest way to make green feel designer, especially in small bathrooms where one wall is all you need. Choose an emerald tone that has a subtle pattern — damask, botanical linework, or small-scale texture — so it looks intentional even when the room is busy. Keep the rest of the bathroom simple: white vanity, light grout, and a plain mirror. If you have limited space, wallpaper on the wall behind the sink gives the biggest payoff because it’s centered in most views. It also hides minor wall imperfections that paint will show.
Pro tipUse a satin white paint on trim and ceiling so the wallpaper reads crisp instead of dingy.
Pick a peel-and-stick or traditional vinyl wallpaper rated for bathrooms if you can. Clean the wall, then prime if the surface is glossy or patchy. Apply the paper to a single wall where you’ll see it from the doorway; keep the pattern aligned at the mirror center. Finish with white trim and caulk lines so the wallpaper edge looks built-in.
One warningDon’t put dark wallpaper on the entire room — it shrinks the space and makes lighting problems worse.
6. Green glass backsplash behind the sink
A green glass backsplash adds sparkle without taking up floor space, which is why it’s so good for small bathrooms. Go with a jewel green mosaic (emerald or bottle green) so light bounces around and makes the counter area look high-end. Pair it with a white countertop and simple hardware so the glass pattern stays the focal point. This works even if your walls are neutral because the backsplash is a clear, framed zone. It’s also easier to change later than painting or re-tiling full walls.
Measure the backsplash area between the vanity and wall — usually about 18-24 inches wide and 10-16 inches tall. Choose a mosaic sheet size you can handle, like 12x12 sheets, and dry-fit them to plan grout lines. Install with a thinset or appropriate adhesive for glass tile, then grout with a light, clean white. Seal grout if the product requires it, and wipe off haze right away to keep the green glossy.
Keep grout lines narrow if the tile allows it — tighter lines look more expensive in small spaces.
Don’t pick a dark backsplash with a dark countertop — the sink zone turns visually heavy.
7. Olive paint + matte black fixtures
Olive paint looks best when you give it contrast. Matte black fixtures make olive feel intentional and stylish, not flat. Choose an olive that reads green in daylight and warm in evening light — it should look like a grounded color, not a gray. Keep the ceiling and trim white so the room doesn’t feel swallowed. This combination works in bathrooms with good ventilation where you can maintain clean surfaces; the matte black also hides small water spotting better than shiny chrome.
Paint a single full wall behind the mirror or all walls if the room has decent light; use satin paint for wipeable surfaces. Install or swap to matte black fixtures: faucet, shower trim, towel bar. Use a white or light wood vanity so black doesn’t dominate the view. Finish with a round mirror with a black frame or a thin black border for a clean silhouette.
Use warm bulbs (2700K) — it keeps olive from going muddy.
Avoid silver fixtures with olive paint — the palette looks mismatched and dated.
8. Forest green ceiling paint
Painting the ceiling forest green is a small-space trick that looks bold in photos while not covering the whole room. The ceiling color frames the space and makes the walls feel cleaner by comparison. Keep the walls bright white so the green reads like a design choice, not a dark drop-ceiling. Brass lighting or a brass mirror frame softens the drama. This is especially good if your bathroom already has a nice shower tile or flooring you don’t want to change.
Pro tipIf you have a fan light, paint around the housing carefully — a sloppy edge shows immediately against dark green.
Prep the ceiling: scrape loose paint, patch cracks, then prime if needed. Use a bathroom-rated ceiling paint with mildew resistance, and pick forest green that’s not too blue. Paint in two thin coats with a roller meant for smooth ceilings, then cut edges with a brush. After drying, install or update lighting so it doesn’t cast ugly shadows on the green.
One warningDon’t choose a ceiling green that’s darker than your existing mirror frame — it can look like a stain.
9. Green marble-look porcelain on the wet wall
Marble-look porcelain in green gives you movement and luxury without the maintenance of real stone in a small bathroom. The key is placement: use it on the wet wall or the wall behind the vanity so the pattern reads like veining, not randomness. White grout keeps the veining crisp and stops the surface from feeling busy. Pair with plain white fixtures and a light vanity to keep the room bright. This works when you want aesthetic green bathroom ideas that look high-end, even if you’re limiting the tile area to one wall.
Pick a tile format that suits your wall size — 12x24 is easier to align and looks smooth in small spaces. Plan the layout so the pattern centers at the mirror height; do a dry-fit with spacers to avoid lopsided seams. Install wet wall tile with thinset, then grout with a white that matches caulk lines. Seal if the tile product recommends it, and finish with a clean silicone bead at corners.
Use a narrow trim or schluter edge where tile meets drywall so the marble-look doesn’t end in messy cuts.
Avoid mixing multiple marble-look patterns — it makes green feel chaotic fast.
10. Green subway tile with warm white grout
Green subway tile is classic, but the aesthetic comes from the grout choice. Warm white grout makes green look richer and more vintage, while stark white grout can push it cooler and harsher. Use a soft green like sage or pale eucalyptus for small bathrooms so the tile doesn’t darken the room. Pair with a simple mirror and light countertop to keep things clean and photogenic. This is a smart choice if you want a tile look that photographs well from multiple angles because subway lines are predictable.
Pro tipSeal grout after it cures if the product recommends it — it keeps green from staining around the edges.
Choose a green subway tile with a consistent glaze sheen; order extra for cuts. Install in a standard stagger pattern, usually 1/3 offset, and use spacers for even lines. Use warm white grout and apply in thin passes, then wipe with a damp sponge to keep the grout clean in the corners. Finish with caulk where tile meets trim so it looks built-in.
One warningDon’t use gray grout with pale green tile — the whole look turns dusty.
11. Green Turkish-tile style half-wall (budget-friendly peel-and-stick)
If you want the “aesthetic green bathroom ideas” look without taking on full tiling, do a half-wall with peel-and-stick patterned tile. Choose a green-and-cream pattern that reads like Turkish tile, with repeating motifs that won’t look random in a small room. Keep the upper wall plain white so the pattern doesn’t fight your mirror and accessories. The half-wall placement also protects the wall from water splashes. This setup looks great in photos because it frames the sink area with a strong, decorative border.
Clean and smooth the wall — peel-and-stick fails on glossy or bumpy surfaces. Measure the half-wall height, usually 36-40 inches, and mark your level line. Start in the center under the mirror line for symmetry, then work outward to keep motifs balanced. Press firmly section by section and trim edges with a sharp utility knife; seal seams with a clear waterproof caulk where the tile meets trim.
Choose a pattern that has enough white space — it makes green feel lighter and keeps the bathroom from looking cramped.
Don’t apply over peeling paint — the tile will lift and curl around corners.
12. Green linen shower curtain with a white mat and brass rings
A shower curtain is the cheapest way to get a full-room green mood instantly. The aesthetic comes from fabric and styling: choose a green linen-texture curtain that drapes in soft folds, not a stiff plastic look. Pair it with brass curtain rings and a simple rod for warm contrast. Keep the rest bright: white tile or neutral walls, light towels, and a white or cream bath mat. This is ideal for renters or anyone who can’t change tile but wants a cohesive green bathroom look for photos and day-to-day use.
Pro tipIron or steam the curtain before hanging — crisp folds look intentional and photograph better.
Measure your tub/shower width and add 10-14 inches for fullness. Install a tension or wall-mounted rod so the curtain hangs without touching the floor, leaving about 1/2 inch clearance. Use a liner behind it if you need water protection, then hang the linen curtain over the liner for layered depth. Add a matching green bath mat or a green hand towel so the curtain doesn’t feel like a random accessory.
One warningDon’t choose a curtain that’s too dark with bright white walls — it can feel harsh and heavy.
13. Smoky green tiles + warm oak shelves
Smoky green tiles look sophisticated when you add warm wood. The green reads moody and spa-like, and the oak shelves bring softness so the room doesn’t look like a showroom. Use a light base — white sink, white countertop, or light tile — so the shelves and green wall become the layered focal points. Keep shelf styling minimal: two or three items max in similar tones. This works in small bathrooms because shelves add function without taking up floor space, and the green wall makes them look styled.
Choose a smoky green tile with a satin finish so it doesn’t glare. Install it behind the sink or along one wall at a height that fits your mirror and shelves — often from counter height up to around 48-60 inches. Mount floating oak shelves with a level — use studs where possible. Finish with a white vessel or undermount sink and install matching wood or wood-toned accessories.
Mount shelves so the bottom shelf edge aligns with the top of the vanity backsplash — it creates a clean visual rhythm.
Don’t overload shelves with mismatched containers — smoky green makes clutter look louder.
14. Green and white check tile on the floor
A green-and-white check floor is one of the most photogenic looks because it creates a strong pattern even in a tiny bathroom. Choose checks that are small enough to feel cozy, like 2x2 or 3x3, and keep the green a lighter sage or mint tone. Pair with plain white walls and simple fixtures so the floor pattern does the talking. Add a dark mirror frame or matte black hardware to sharpen the edges and keep the look modern. This setup shines when your walls are already neutral and you want the floor to be the aesthetic moment.
Pro tipChoose a bath rug with a solid color picked from the green tile — it ties the floor to the rest of the room.
Pick check tile in a consistent size; 2x2 is easiest for small layouts. Install straight or with a subtle grid alignment, keeping grout lines straight — use spacers and re-check every few rows. Use light grout to keep the pattern crisp. Then paint walls white in satin and choose simple accessories: white towels, a plain soap dispenser, and a dark framed mirror.
One warningAvoid large tiles with wide grout in check patterns — the floor can look uneven in small bathrooms.
15. Emerald wallpaper behind the mirror with a statement frame
This is a targeted wallpaper trick: put wallpaper only in the zone behind the mirror so the green looks intentional and framed. Choose emerald with a subtle pattern so it looks dimensional when light hits it. Then go one step cleaner: a statement mirror frame in brass or gold makes the wallpaper feel like a planned feature wall. Keep the rest of the room white or cream with simple hardware. This works well when you want aesthetic green bathroom ideas that look expensive but you’re only changing one area.
Pro tipUse a slim mirror frame — chunky frames make small wallpaper panels feel cramped.
Measure the mirror width and plan a wallpaper panel that extends 4-6 inches beyond the frame on each side. Apply wallpaper to that wall section only, using a level line for straight seams. Install the mirror so it covers the panel edges or trims — you want clean overlap, not exposed wallpaper borders. Paint nearby walls white in satin so the wallpaper doesn’t fight with matte finishes.
One warningDon’t pick a busy wallpaper pattern if your vanity already has strong detailing.
16. Green tile wainscot plus solid-color top wall
Tile wainscot gives you the structure of classic bathrooms with a modern green twist. Use green tile on the lower half, then keep the upper walls a solid clean white so the room stays bright. The tile should be small and tidy, like 2x4 or 3x6 pieces, with straight grout lines. This makes the green look designed even if your bathroom has older trim or a basic layout. It’s a great choice for small spaces because the tile wainscot reads like architecture, not clutter.
Pro tipChoose a tile that has a slight sheen — it helps green look richer without making the room darker.
Pick your wainscot height — 36-42 inches is the safe range for photos and functionality. Install a thin tile ledger board if needed, then tile from the line downward with consistent spacing. Use light grout for a crisp line and finish with caulk where tile meets baseboard and trim. Paint the upper wall in satin white for wipeability, then add matching towels and a simple framed mirror.
One warningAvoid textured tile on the wainscot if you hate scrubbing — grout lines will trap water spots.
17. Green bathtub surround with white tile and a matte black drain cover
If your bathroom has a tub, the surround is the place to make green feel intentional. Use green tile or a green-painted surround panel, then keep the walls around it white so the tub zone stands out. A matte black drain cover and hardware add a modern anchor and help the green look less retro. This is a strong aesthetic green bathroom idea because it frames the tub like a focal architectural element. It also works for small bathrooms because the tub is already the biggest object — you’re just giving it a better color story.
Pro tipMatch the green finish to the hardware metal family — if you go black, keep all small metal pieces black.
Decide how much of the surround you want — a common look is green tile on the vertical surfaces up to about 48-60 inches, with white on adjacent walls. Use waterproof board and proper tile adhesive if tiling; for paint, use a bathroom-rated waterproof system meant for wet areas. Keep grout light and consistent so the color reads clean. Finish with matte black accessories (drain cover, towel bar, and maybe the mirror frame) so the palette stays tight.
One warningDon’t mix green tones on the tub surround and walls — one green family looks designed; multiple greens look accidental.
18. Sage peel-and-stick tile floor with a green towel ladder
Peel-and-stick tile floors can still look high-end if you keep the pattern tight and the palette simple. Choose a sage tone that reads light and calming, not gray. Pair with a white vanity and bright walls so the floor becomes the gentle green base. Add a green towel ladder or leaning rack in a matching shade so the room feels cohesive. This is great for renters or anyone who wants an aesthetic green bathroom ideas look without committing to a full floor remodel.
Prep the floor thoroughly: clean, de-grease, and make sure it’s flat with no bumps. Lay the tile starting from the center of the room to keep the pattern balanced, and cut edges carefully with a sharp blade. Use grout-look seams if the tile has them, and seal edges if your product recommends it. Then add a towel ladder in a matching sage fabric or painted metal so the floor doesn’t look disconnected from the rest of the bathroom.
Choose a bath mat with a solid color that matches the green floor — it makes the floor look intentional.
Skip poor prep — uneven subfloors show through and make the pattern look crooked.
19. Green vanity mirror cabinet with frosted glass doors
A green mirror cabinet is a photo-friendly way to bring green into the bathroom without clutter. Frosted glass doors soften what’s inside and keep the mirror area looking clean, even when you’re storing everyday items. Choose a muted green like sage or moss so the frosted glass looks calm, not harsh. Pair with brass hardware and a white sink so the green stays the hero. This setup is ideal when your bathroom is small and you need storage while still looking styled.
Pro tipUse one matching green container inside the cabinet so the frosted glass reads coordinated, not random.
Pick a mirror cabinet width that fits your vanity — leave about 1-2 inches of gap on each side so it doesn’t crowd the room. Choose a muted green finish and frosted glass doors if you want the clean look. Install at standard height so the mirror center lands around 60-65 inches from the floor. Then match the faucet and towel bar metal to the cabinet hardware for a cohesive frame.
One warningDon’t install it too low — small bathrooms look cramped when the mirror cabinet sits close to the sink.
20. Moss green paint + white subway behind the toilet
The wall behind the toilet is often ignored, which makes it a perfect place for an aesthetic green bathroom idea that still feels intentional. Paint it moss green and add a small strip of white subway tile directly behind the toilet tank for a clean, built-in look. The green gives mood, while the subway strip keeps the area from looking heavy. Brass or warm metal accessories make the moss feel spa-like. In small bathrooms, this combo photographs well because it creates a strong focal zone around the toilet.
Pro tipKeep the tile strip level with the top of the tank so the whole zone looks straight in photos.
Paint the wall moss green in satin, using painter’s tape to protect trim and keep the line sharp. Tile a strip behind the toilet — around 12-18 inches tall — with white subway pieces and light grout. Install toilet paper holder and towel bar in the same metal family as your faucet. Finally, add a simple toilet brush cover in a neutral so it doesn’t fight the green.
One warningAvoid painting the entire bathroom moss if your light is weak — it can make the space feel dim.
21. Smoked-glass cabinet door + moss trim vanity wall
If your bathroom feels “green” in paint only, this gives it a layered, gallery-style green look without repainting the whole room. The trick is pairing smoked-glass cabinet doors with a moss-green trim strip around the vanity wall so the green reads as intentional design, not just color. Use warm white walls and keep the hardware matte brass or aged brass so the green stays soft instead of harsh. Smoked glass also hides clutter and makes the mirror-and-vanity area look cleaner in photos, which is the whole point of aesthetic green bathroom ideas. This works best in small bathrooms where you want green to show up in a focal spot, not everywhere.
Step 1: Paint or install a moss-green trim band around the vanity wall at 48-54 inches from the floor, keeping it centered with the mirror. A practical height is about 6 inches tall for the trim strip, then match the same width on both sides of the vanity so it looks framed. Step 2: Replace open shelving with a vanity cabinet that has smoked glass doors, or add smoked-glass inserts behind existing cabinet frames. Use a matte black or aged brass pull set, and keep the interior shelf color either white melamine or warm oak so the smoked glass has contrast. Step 3: Install a warm white backsplash or tile just behind the sink if you need to protect the wall — 3x6 or 4x4 tiles in satin finish look crisp next to the darker glass; expect about 1 weekend of work and a moderate DIY effort.
Hang the mirror so its bottom edge lands around 70-72 inches from the floor, then center the moss trim band to the mirror, not the sink. The symmetry makes the green feel designed even from across the room.
Avoid using glossy green paint or shiny trim — it reflects bathroom light and makes the whole vanity area look messy instead of styled.