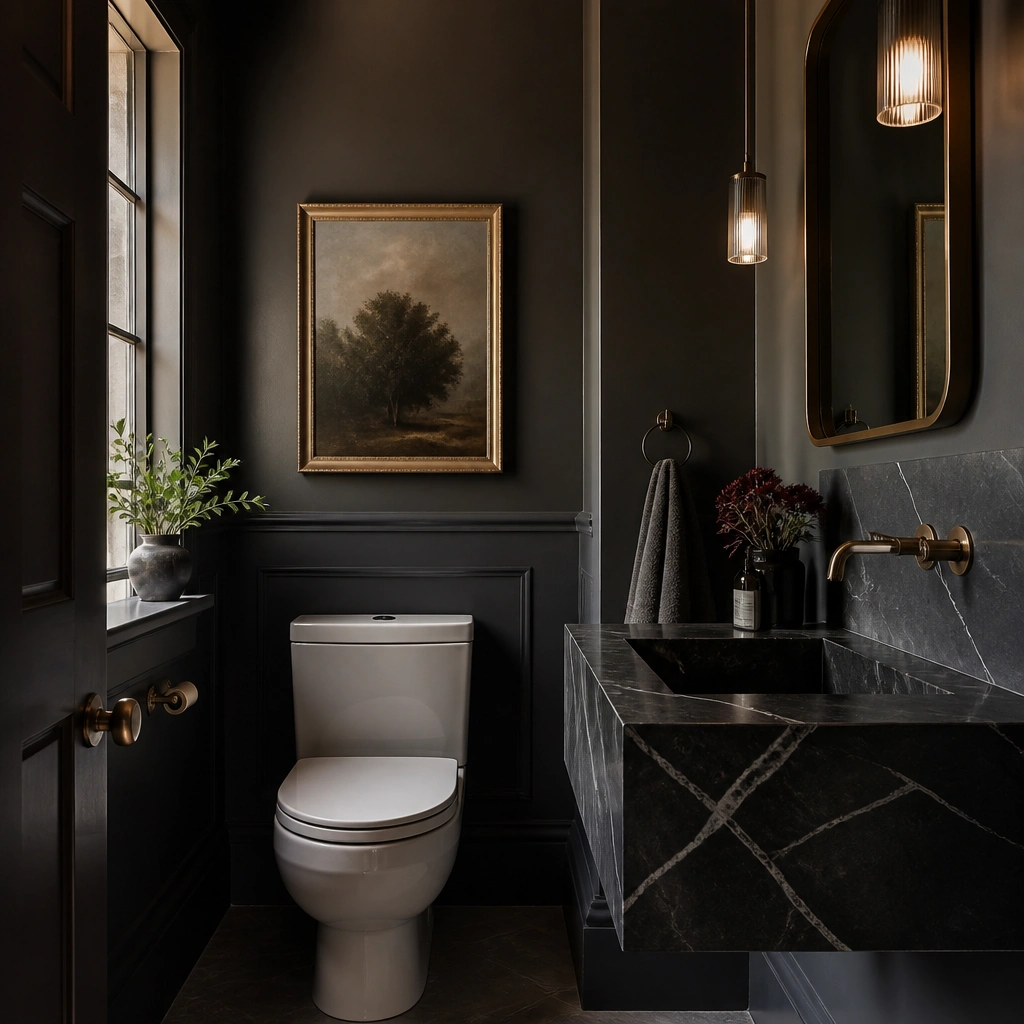
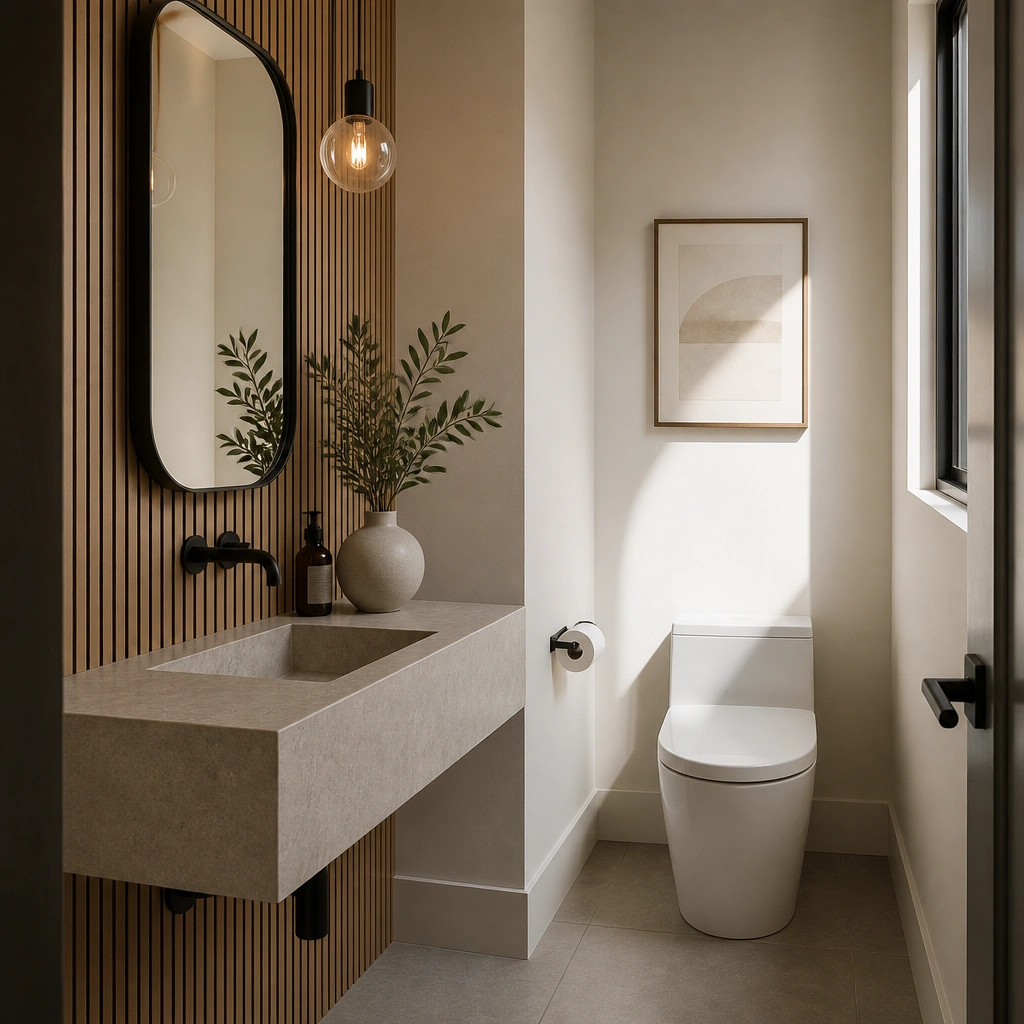
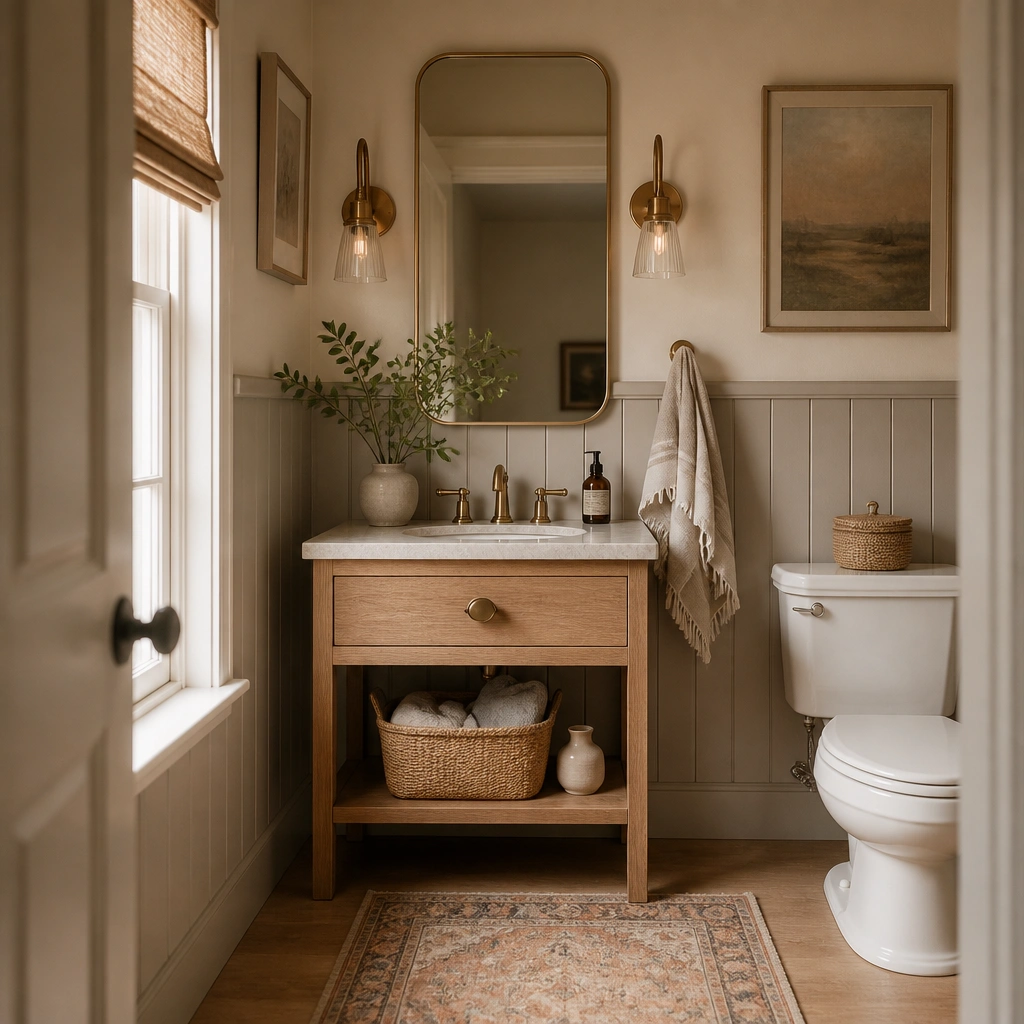
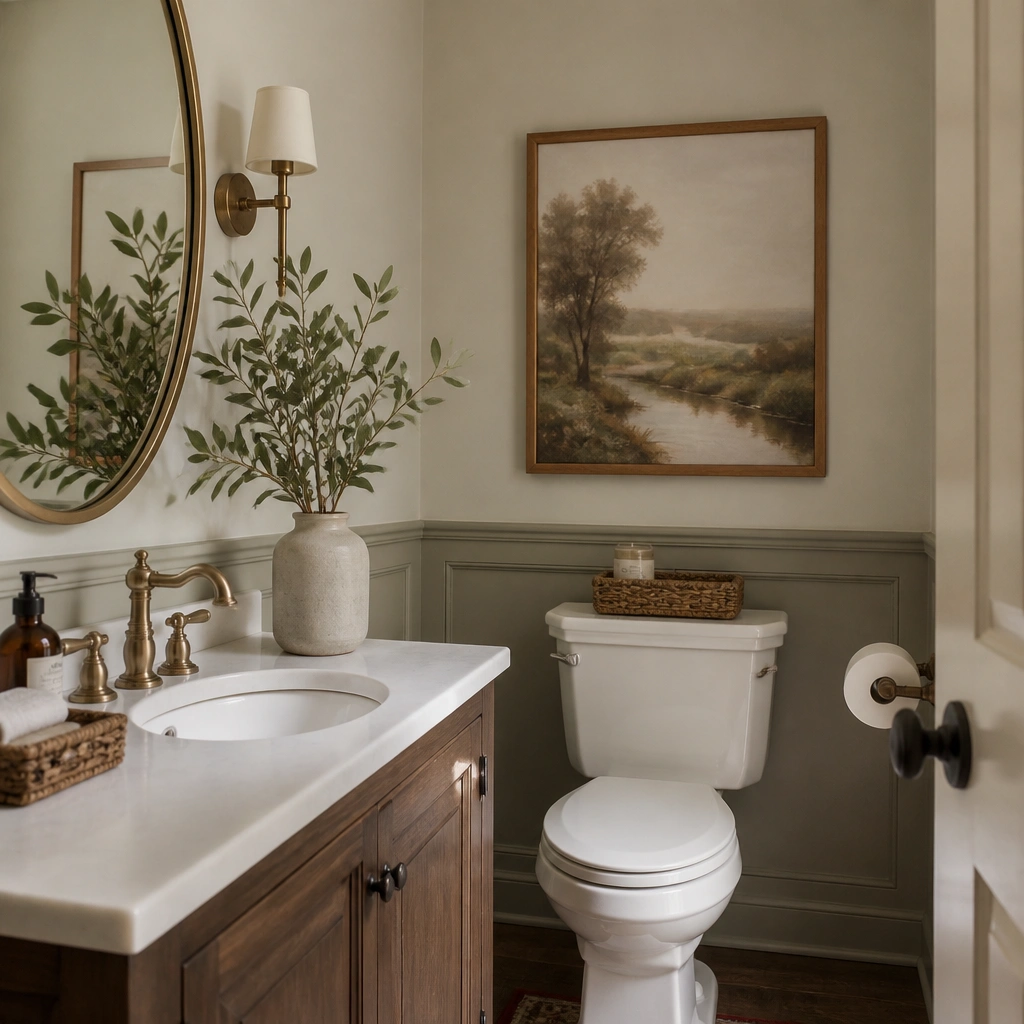
1. Matte black vanity light with a warm white bulb swap
In a half bath, the lighting finish changes how every surface reads — paint, mirror, even the countertop. A matte black vanity light makes a builder mirror and cabinet look intentional without touching the plumbing. Pair it with a warm white bulb (2700K) so the whites stay creamy instead of blue. This works best when your mirror is simple and rectangular, and your walls are a light neutral or soft greige.
Pro tipMatch the light finish to your towel ring or toilet paper holder so the room looks designed.
Start by turning off power at the breaker and confirming your existing fixture has the same mounting box size. Replace the fixture with a matte black 2-light or 1-light vanity bar sized for the mirror width — aim for the fixture to be about 75-85% of the mirror’s width. Install the new light, then swap in 2700K bulbs. Budget is usually $60-140 for the fixture plus $8-20 for bulbs.
One warningDon’t use daylight bulbs (5000K) — they make cheap paint and white counters look gray.
2. Renter-friendly peel-and-stick backsplash in a subway pattern
A backsplash gives you a “real renovation” look because the eye catches it every time you wash your hands. Peel-and-stick subway tile is one of the best budget half bathroom ideas on a budget because it covers the worst-looking area — the gap behind a sink — fast. Choose a tile with a thin grout-line look (not heavy, chunky grout) so it feels like a clean, modern install. It’s especially good for tiny half baths where a full wall tile job is too costly.
Pro tipUse a trim piece at the edges (even a simple white caulk line) so it looks finished, not “stuck on.”
Clean the wall with degreaser and let it dry fully so the adhesive bonds. Measure the backsplash area between the vanity and the bottom edge of the mirror, then cut tiles with a sharp utility knife and straightedge. Apply starting at the center line so the pattern stays straight, then press each tile firmly for 30-45 seconds. Plan on $25-60 for materials depending on coverage and tile size.
One warningDon’t apply over glossy paint or dusty walls — the tiles will lift at the corners.
3. Wallpaper panel behind the mirror using a straight-cut seam
Wallpaper behind the mirror creates instant focal-point drama without covering the whole bathroom. A single centered panel looks crisp and expensive because you control the seam and keep the rest simple. Choose a small-scale pattern or a solid textured look so the tiny room doesn’t feel crowded. This works best when the vanity is plain and the walls are neutral — you’re adding one strong layer right where your eyes go.
Pick a wallpaper with removable adhesive if you rent, or a standard peel-and-stick style if you want easier removal. Measure the wall area behind the mirror and aim for a panel that reaches about 6-10 inches above the mirror frame and 4-8 inches below it. Cut the paper so the seam sits at the centerline, then smooth with a plastic scraper. Budget is $40-120 for enough to make one panel and handle mistakes.
Use a foam roller to press the paper edges — it helps the seams disappear.
Don’t choose a large busy pattern — it overwhelms a half bath and makes the room feel smaller.
4. White quartz-look contact paper for the vanity top
If your vanity top looks dingy or dated, contact paper is the fastest budget fix that still looks like an intentional surface. A quartz-look pattern with subtle veining reads like stone from a few feet away, which is exactly how people judge a small bathroom. Stick to a white base with gray veining so it works with matte black, brass, or bronze fixtures. This is perfect for renters or anyone who doesn’t want to replace the whole vanity.
Pro tipDo a test strip first on the underside edge so you know how the pattern aligns.
Remove the sink if you can, or mask around it carefully if you can’t. Clean the top with isopropyl alcohol, then cut the contact paper slightly oversized and smooth from the center outward. Use a heat gun or hair dryer to help corners and edges conform, then trim with a fresh blade. Expect $20-45 for a roll depending on thickness and brand.
One warningDon’t stretch the vinyl — it will ripple near the sink and around corners.
5. Upgraded mirror frame with peel-and-stick molding strips
A builder mirror often looks cheap because it has no depth or it’s too thin visually. You can add a custom-looking frame by installing molding strips around the mirror perimeter, then painting them the same color as your hardware. This idea works because it changes the mirror from “object” into “design element.” Choose a matte finish (black, warm white, or brushed bronze look) so it doesn’t glare in a small room.
Pro tipKeep the frame thickness consistent on all sides — uneven frames look sloppy fast.
Measure the mirror outer edges and buy peel-and-stick molding strips that match the mirror size. Clean the mirror frame area thoroughly, then apply strips in a rectangle that leaves 1/4-1/2 inch of mirror border visible. Press edges hard and let adhesive set per instructions. Paint the molding if needed using a bonding primer and a satin topcoat; budget is about $25-70 for materials.
One warningDon’t cover the mirror’s sensor or any clips that affect mounting.
6. New faucet in a matching finish without replacing the sink
Changing the faucet is one of the most noticeable upgrades for the money because it sits right at hand height. A modern single-handle faucet in a consistent metal finish makes the sink, mirror, and hardware feel like they belong together. Go for a finish like brushed brass, matte black, or oil-rubbed bronze so it pairs cleanly with common towel bars and toilet paper holders. This is ideal when your vanity top and cabinet are fine but the hardware looks dated.
Pro tipReplace the drain pop-up if it’s older — mismatched drain finishes make the faucet upgrade look half-done.
Turn off the water shutoffs and confirm your faucet type (single-hole, 3-hole spread, or widespread). Choose a faucet that matches your existing holes to avoid extra drilling. Install with plumber’s tape and a new supply line if the old one looks kinked or brittle. Budget is usually $80-200, but it’s still cheaper than a full vanity replacement.
One warningDon’t reuse crusty old supply lines — leaks are the worst-case outcome in a tiny bathroom.
7. Two-tone paint trick: dark lower wall, light upper wall
Two-tone paint makes a half bath look designed because it adds structure without adding clutter. Pick a deep color for the lower half (navy, charcoal, or forest green) and keep the upper wall light and warm (cream or soft greige). This works especially well with white vanities and chrome or black hardware because the contrast is clear. The room feels taller and more intentional when the color break is placed correctly.
Mark a horizontal line at about 36-42 inches from the floor for a typical half bath vanity height, or set it at the top edge of the vanity splash zone if that’s easier. Tape carefully with painter’s tape and paint the upper first, then the lower with a satin finish for durability. Use a mini roller for crisp edges and remove tape while paint is still slightly wet. Plan for 1-2 gallons depending on wall size; budget is $60-120 for paint and supplies.
Use satin or semi-gloss on the lower half — it cleans better when the space is small.
Don’t pick a dark color that’s too cool-toned — it can make beige walls look dirty.
8. Matte white wall shelves in a tight corner
Storage that looks built-in makes a half bath feel calmer and bigger. Floating shelves are cheap, and matte white keeps the look light. Put them near the door or above the toilet only if you can reach without bumping your head. This idea solves the common problem of countertop clutter — extra bottles, spare rolls, and random items that make the room feel chaotic.
Pro tipStyle with only 2-3 items per shelf: a pump soap, a small tray, and one folded towel.
Choose shelves that are 12-18 inches long and mount at eye level or slightly above the toilet tank height. Use a stud finder and mount brackets into studs; if no stud, use proper drywall anchors rated for the shelf weight. Paint or buy shelves in matte white so they match trim. Budget is $25-80 depending on shelf size and bracket type.
One warningDon’t overload shelves — half baths look messy fast because the space is small.
9. Toilet paper holder upgrade to matte black bar style
Hardware makes a half bath look finished even when everything else is budget. A matte black bar-style toilet paper holder with clean lines looks modern and hides scuffs better than shiny chrome. It’s also a low-effort change that doesn’t require plumbing work. This is best when you already have black elements like a light fixture or mirror frame — it ties the scheme together.
Pro tipMatch the screw heads and plate color to the finish — cheap holders look worse when the hardware doesn’t match.
Remove the old holder and measure the hole spacing on the wall. Buy a replacement that matches the same hole pattern if possible; if not, patch and repaint or patch with spackle and touch-up paint. Install using the included screws and a level so the bar looks straight. Budget is $20-45 for the holder.
One warningDon’t mount it too high — keep the roll within easy reach when seated.
10. Oil-rubbed bronze towel ring with matching hook
If your half bath has an awkward wall spot, a towel ring plus one small hook gives you practical storage without taking space. Oil-rubbed bronze looks warmer than black and pairs nicely with brass accents, wood, or creamy paint colors. The ring is the right choice when you don’t have much counter or when you want guests to see it immediately. This is a cheap way to make the room feel organized and intentional.
Pick a towel ring kit that includes the mounting template or measure hole spacing from the old fixture if replacing. Install the ring about 34-40 inches from the floor for easy towel grabbing. Add a single matching hook near it for a robe or hand towel. Budget is $25-70 total for both pieces.
Hang a hand towel that matches the wall tone — white towels pop, but beige towels look softer with bronze.
Don’t mix too many metal finishes — two is fine, three starts to look random.
11. Dark walnut stick-on vinyl floor tiles for a small bath
Floors anchor the whole room. In a half bath, you can get a big visual change by covering tired vinyl or worn tile with stick-on vinyl floor tiles that mimic wood grain. Choose a darker walnut tone because it hides dirt and scuffs better than pale wood prints. This idea solves the problem of “the bathroom looks old” even when the sink and walls are updated.
Clean the floor thoroughly and remove any wax or residue so adhesive sticks. Lay out a dry grid first and start from the center or the longest wall so cut pieces are at edges. Press each tile firmly and use a roller across the surface. Budget is $60-160 depending on square footage and tile quality.
Keep grout lines simple — a straight plank look reads more realistic than busy patterns in small spaces.
Don’t install over uneven bumps — adhesive tiles telegraph every ridge.
12. Framed art print with a thick mat and 1-inch frame
Art in a half bath should be sized like it belongs to the wall, not like it’s a decorative afterthought. A thick mat and a 1-inch frame create depth without needing a fancy frame shop. Choose artwork with one dominant color that matches your paint or hardware, like charcoal line art on warm white. This works best when you have a blank wall beside or above the toilet and you want a quick style direction.
Pro tipUse a matte finish frame or matte print — gloss reflects bathroom lighting and makes the art look cheap.
Measure the wall space above the toilet or to the side, then pick a frame that covers about 2/3 of that width. Use a print that’s at least 10x14 inches if the wall is small, and keep the mat width around 2-3 inches for a clean border. Hang at about 56-60 inches from the floor to the center of the frame. Budget is $35-90 for a frame and print.
One warningDon’t hang art too low — it crowds the mirror and makes the room feel off.
13. Budget vanity mirror upgrade with a round frame
A round mirror instantly softens the angles in a small half bath. It also makes the space feel less like a hallway closet because the shape is different from the usual rectangle builder mirror. Choose a simple frame in matte black or warm brass so it matches your lighting and hardware. This idea is great when you want a change that’s obvious from the doorway but you don’t want to rip out walls or plumbing.
Measure your current mirror width and choose a new round mirror that’s within 2-3 inches of the existing width so the wall opening or mounting holes don’t become a bigger project. If you’re mounting over existing holes, pick a mirror with a wide frame or mounting plate. Install with the included anchors and level carefully so the mirror sits centered above the sink. Budget is $60-180 depending on frame finish and diameter.
Center the mirror over the sink, not over the cabinet — it looks more balanced.
Don’t go too large — a giant mirror in a half bath can make the space feel crowded.
14. Skirted trash can and matching bath accessories in one color
This is the boring part that makes the room look finished. A skirted trash can hides the ugly shape and gives the floor a cleaner line, which matters in small half baths. Matching accessories in one color — like matte black or warm white — reduce visual noise. This works best when your countertop is small and you need a place for essentials without clutter.
Pro tipChoose one texture — smooth ceramic or matte metal — so the set looks intentional.
Pick one color system and buy the basics: a skirted trash can, a soap dispenser, and a toothbrush holder. Place the trash can near the vanity or under a side shelf where the sightline from the door hits it. Keep everything matte or satin so it doesn’t look mismatched under bathroom lighting. Budget is $30-80 for the set depending on size.
One warningDon’t mix shiny chrome with matte black accessories — the shine mismatch jumps out.
15. Small peel-and-stick wall decals for a clean botanical vibe
Decals sound temporary, but the right ones look like design details when you use them sparingly. Put a few botanical branches around the mirror corners or along a side wall, not across the whole room. This creates a style layer that doesn’t cost much and doesn’t require painting. It’s best for people who want “pretty” without committing to wallpaper patterns.
Clean the wall and plan placement by taping the decal pieces first. Use the mirror as your center reference so the branches frame it evenly. Press with a squeegee and rub firmly at edges so they adhere. Budget is $15-40 for a decal pack that covers a small area.
Use the same color as your hardware if the decals include multiple tones — it ties the look together.
Don’t apply decals over textured or uneven paint — edges lift and look messy.
16. Replace cabinet knobs with simple ceramic pulls
Knobs are tiny, but they change how the vanity reads. Ceramic pulls in white or soft cream look clean and give a cottage-modern vibe without needing new cabinetry. If your vanity doors look dated, swapping hardware is one of the cheapest “style by style” moves. This works best when your vanity cabinet is a simple color and you want the bathroom to feel brighter.
Pro tipChoose pulls with a satin finish, not glossy — glossy chips and looks cheap fast in humid bathrooms.
Measure the existing knob hole diameter and spacing between holes. Buy ceramic pulls that match or that have an adapter plate if you need to cover old holes. Remove old hardware, insert new screws, and tighten snugly without stripping. Budget is $12-35 for a pair or set depending on how many doors/drawers you have.
One warningDon’t reuse long screws if the new pulls are thicker — you can crack vanity doors.
17. One bold runner rug in a washable neutral
A rug makes a half bath feel less like a utility room, but only if it’s the right size and washable. Choose a runner that sits centered in front of the vanity or sink area, not tucked randomly near the toilet. Pattern helps hide water splashes, and neutral tones keep it from fighting your paint. This is a budget way to add softness and warmth when your floors are cold or glossy.
Measure the open floor space in front of the vanity and pick a runner that leaves about 6-10 inches of clearance around it. Use a non-slip rug pad if the floor is smooth tile or vinyl. Choose a machine-washable rug so you can clean it without replacing it. Budget is $30-90 for the rug and $10-25 for the pad.
Match the rug’s undertone to your paint — warm walls + cool gray rugs look off.
Don’t use a pile rug that traps moisture — it starts to smell in a small bath.
18. Thin wood floating ledge as a towel bar alternative
If you hate the look of a bulky towel bar, a thin floating ledge gives you a flat place for folded towels and it visually lightens the wall. Use a narrow wood strip in a warm tone like light oak or walnut, then seal it with matte water-based polyurethane. This works when you have a narrow wall beside the toilet and you want storage without adding another metal fixture. It’s also a good match for bathrooms with wood accents.
Pick a ledge that’s about 24-30 inches long and 3-5 inches deep. Sand lightly, then seal with matte polyurethane and let it cure fully. Mount into studs with two or three brackets depending on length and weight. Budget is $20-60 for wood and sealant plus $15-35 for brackets.
Keep towels folded the same direction so the ledge looks styled, not crowded.
Don’t mount it too high — it should be reachable without climbing on the toilet.
19. Budget vanity mirror light bar using plug-in sconces
If wiring is a headache, plug-in sconces can frame the mirror without touching the electrical box. Two matching plug-in lights on either side of a mirror give even illumination for shaving and makeup, and they look intentional. Choose matte black or brushed brass finishes for a cohesive metal story. This works best when your mirror is centered and you have enough wall space on both sides.
Measure the mirror height and choose sconces that place the light bulbs around eye level — typically 60-66 inches from the floor to the bulb center. Use a cord cover or route the cord neatly along trim. Mount with the included template and anchors, then plug in and adjust angle. Budget is $70-160 for two sconces and covers.
Use 2700K bulbs so the lighting doesn’t turn your vanity area yellow-gray.
Don’t place sconces too far from the mirror edge — you’ll get uneven shadows on the sink.
20. Faux tile paint job with painter's tape grid
You can get a tile look without tile cost by painting a small grid behind the sink. It’s not as durable as real tile, but in a half bath where water splash is limited, the look holds up surprisingly well. Use a crisp white or soft cream base and a contrasting “grout” line color like light gray. This idea works when your budget is tight and you want a clean, architectural feel around the sink area.
Pro tipUse a semi-gloss paint on the painted “tile” area so it wipes clean.
Clean the wall and prime if needed, then paint the base color and let it dry fully. Tape a straight grid with painter’s tape — for small tile vibes, use 4x4 or 3x6 inch spacing depending on wall width. Paint grout lines with a small roller or brush, then remove tape while paint is slightly tacky. Budget is $25-70 for primer, tape, and paint.
One warningDon’t rush the tape removal — tearing paint ruins the grout-line edges.
21. New shower-curtain-style fabric shower liner as a window treatment
If your half bath has a window, a lightweight window treatment changes the whole vibe for cheap. A curtain liner-style fabric in a warm neutral creates privacy and softens harsh daylight without buying custom shades. Pick a fabric that hangs straight and doesn’t look see-through when the bathroom lights are on. This works when you have bare blinds or a cheap plastic shade and you want a warmer, more finished feel.
Measure the window width and add 2-6 inches for fullness, then measure height from rod to sill. Buy a ready-made curtain panel in a neutral tone or a fabric panel and hem it. Use a tension rod if you rent, or install brackets on the wall if you own. Budget is $18-60 depending on fabric size and rod type.
Hang it just above the window so light reflects upward and the room feels taller.
Don’t choose a super thin fabric that turns transparent at night.
22. Toilet tank cover trim with peel-and-stick trim molding
A plain toilet tank is a visual block in a half bath. Adding trim lines around the tank top and sides creates a “panel” look that makes the toilet blend into the decor instead of looking like a separate object. Peel-and-stick trim molding is cheap and fast, and it lets you match your wall trim color. This is best when your bathroom has plain walls and you want more structure without painting the whole room again.
Clean the tank surface and measure the tank face so you can cut molding strips to fit without overlapping curves. Apply strips in a simple rectangle frame and add one small horizontal line if the tank top is flat enough. Press firmly and use caulk or touch-up paint at any edges if needed. Budget is $15-40 for trim and paint.
Use the same color as your mirror frame or light fixture — it ties the tank into the design.
Don’t cover textured surfaces that trap dust — trim lifts and looks uneven.
23. Painted cabinet base with new liner inside drawers
If your vanity cabinet is tired but not falling apart, paint plus a drawer liner makes it feel new. Paint the cabinet base in a durable semi-gloss or satin, then line drawers with a washable liner so everything stays neat. This works because the cabinet is where you stash toiletries and the mess hides until the door opens. In a half bath, that doorway moment is a big part of how guests judge cleanliness.
Pro tipUse painter’s tape to mask hinges and keep paint lines sharp around the door edges.
Sand the cabinet lightly, clean, then use bonding primer before paint. Choose a paint made for cabinets or trim so it doesn’t chip when you slam doors. Replace or add drawer liner in a neutral tone, cutting to fit the drawer bottom. Budget is $80-180 for primer, paint, sanding supplies, and liner.
One warningDon’t skip primer — furniture paint without bonding primer peels at the edges.