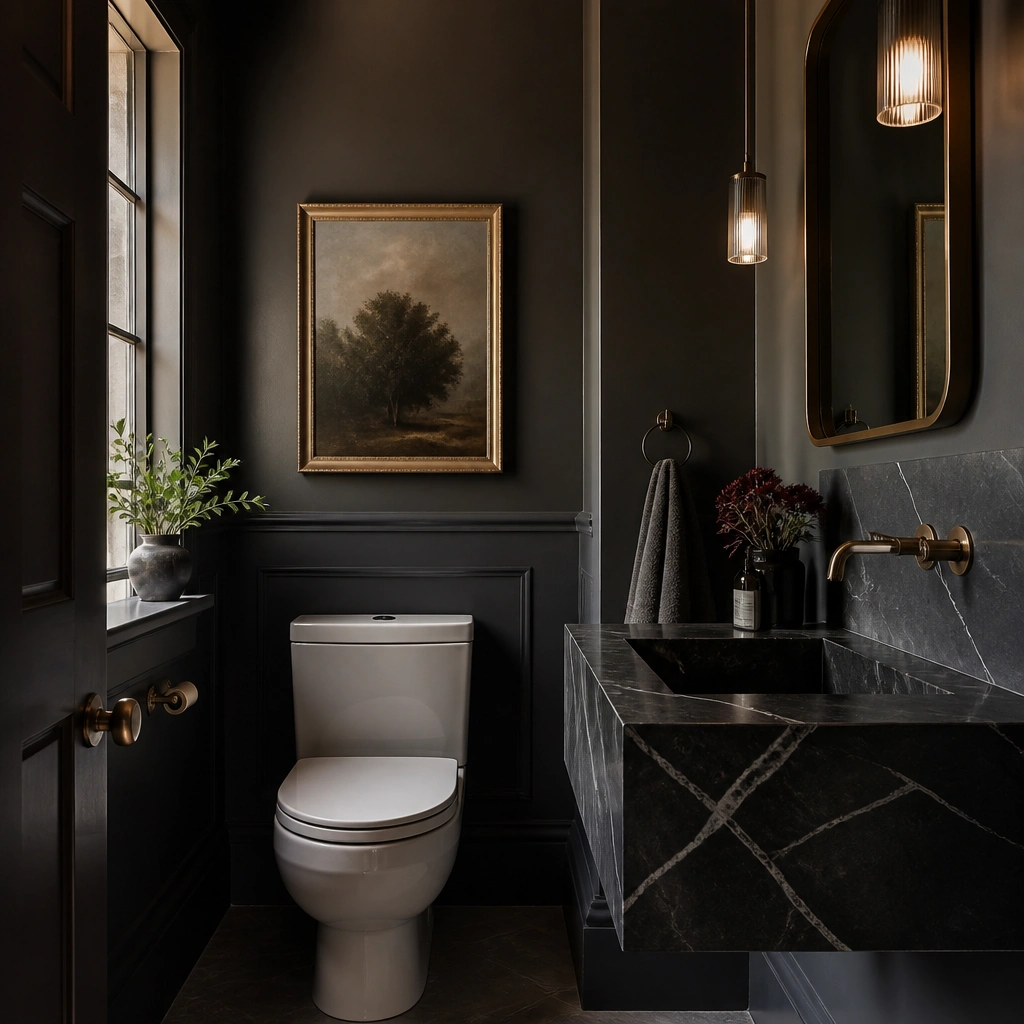
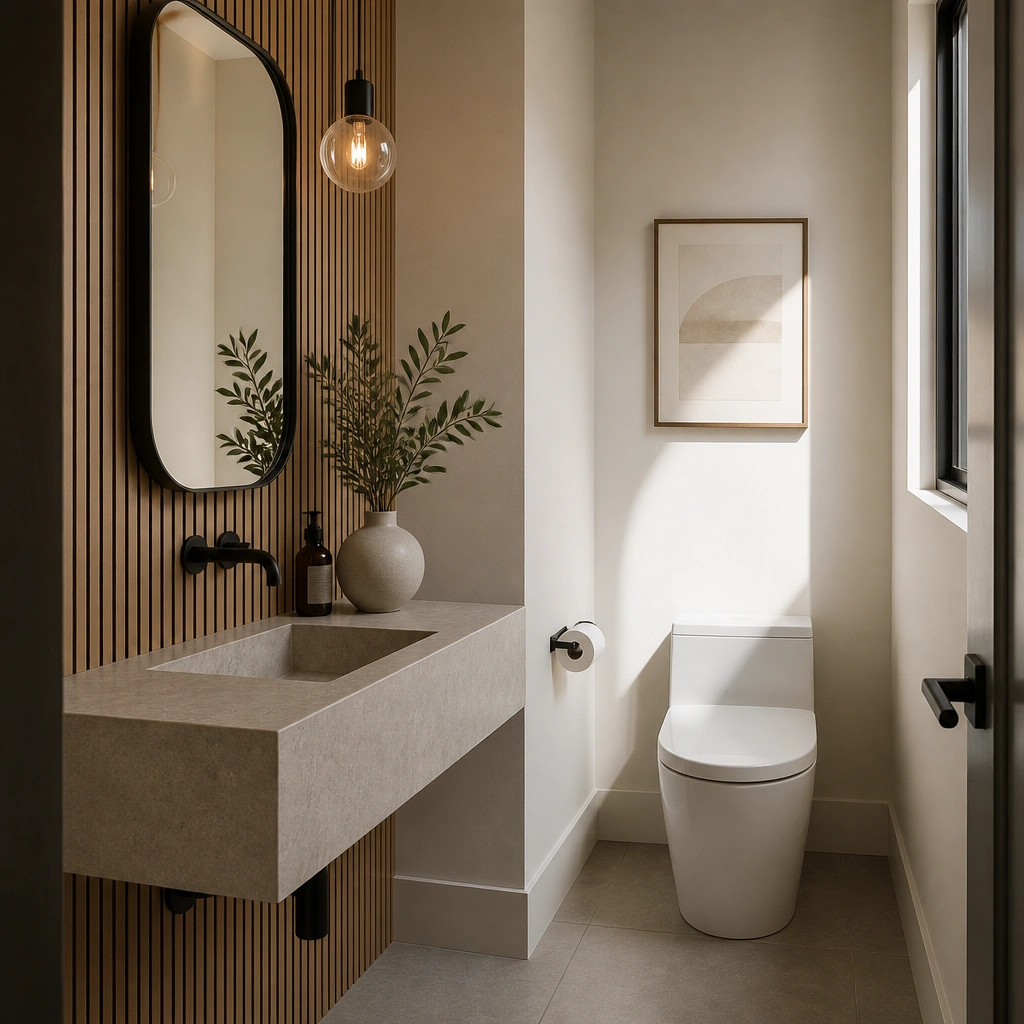
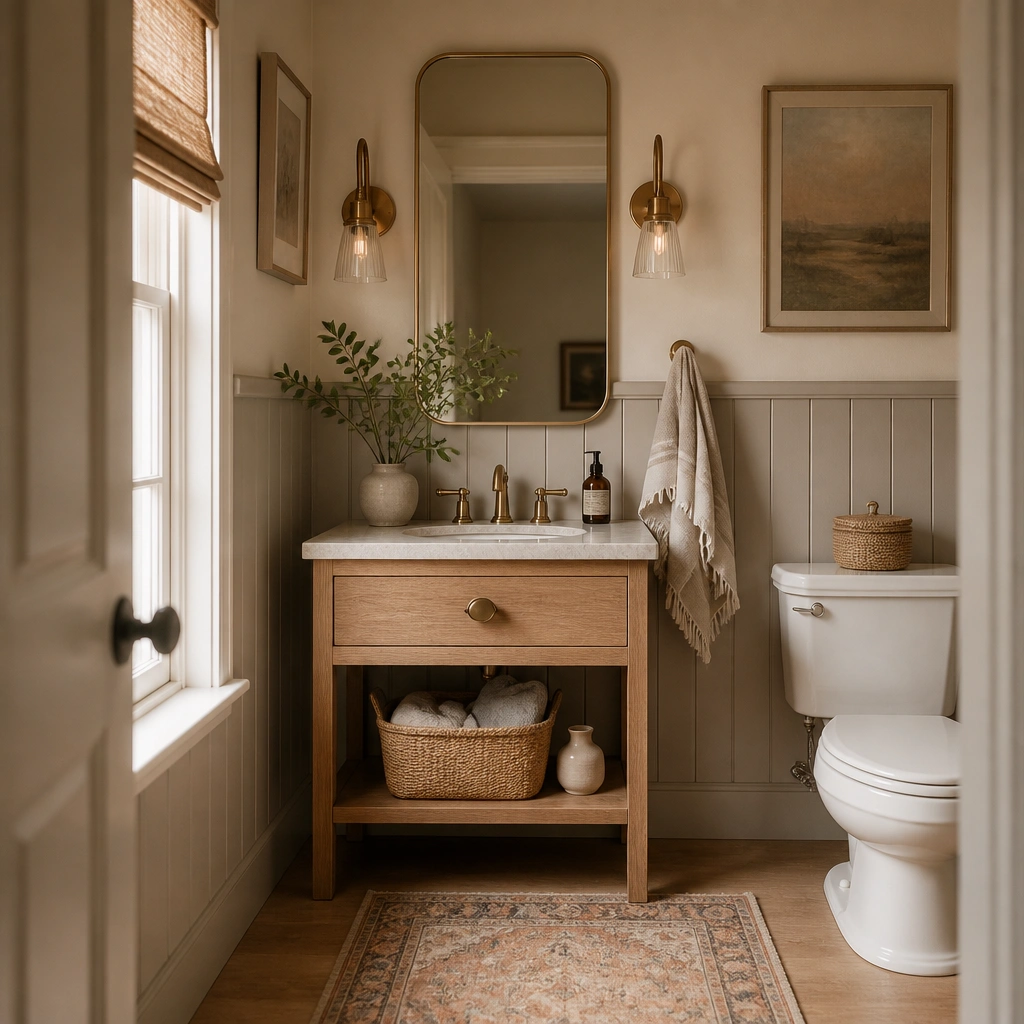
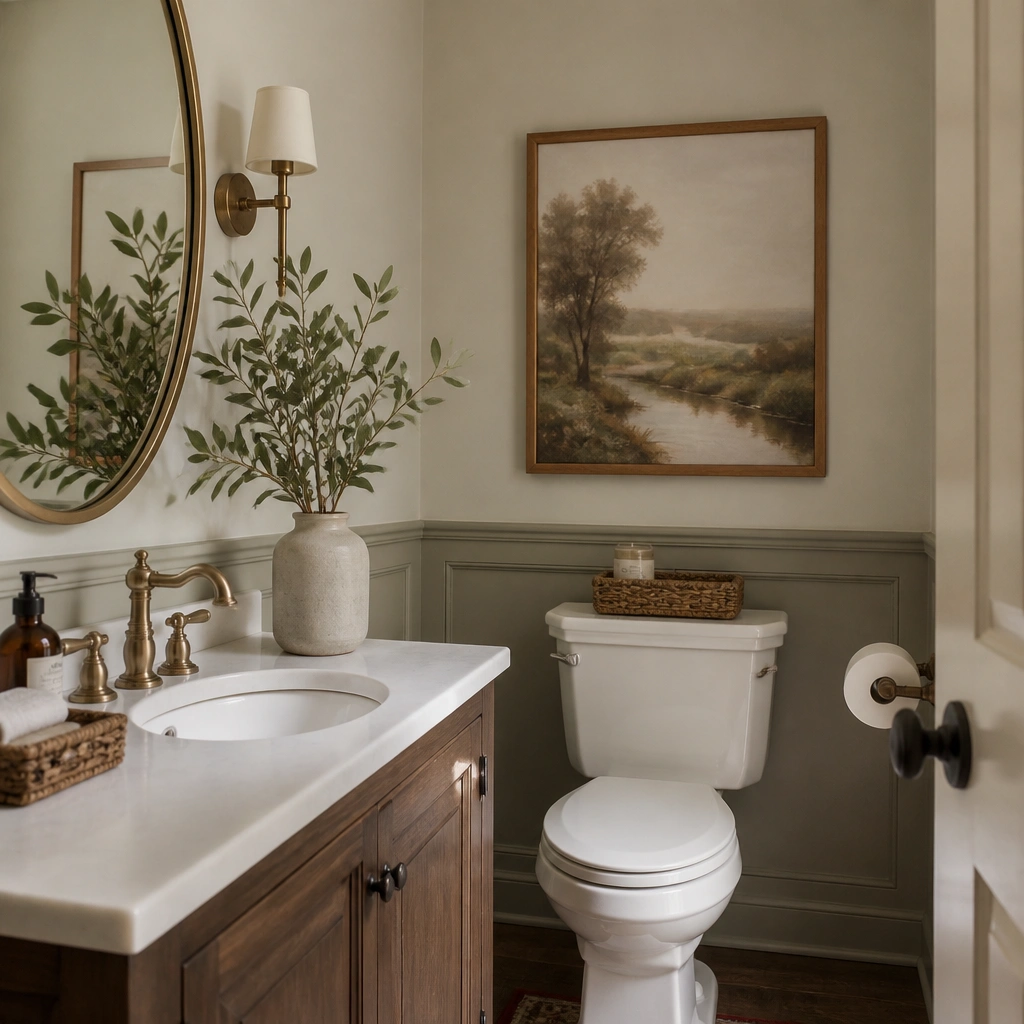
1. Peel-and-stick wallpaper behind the toilet (no full-room commitment)
This is the easiest way to add pattern without touching plumbing or tiling. The wall directly behind the toilet is usually the most visible blank area, and it’s also a contained surface, so beginners can measure and apply carefully without worrying about every wall in the room. Choose a small-scale pattern or a subtle texture so it doesn’t fight with busy towels or a patterned rug. Stick to one color family — like cream and sage, or white and gray — so the room still feels clean even with limited decor skills.
Start by measuring the width and height of the wall section behind the toilet tank, not the entire bathroom wall. Purchase peel-and-stick wallpaper with a repeat that you like, then dry-fit a test strip on the wall to check alignment and lighting glare. Clean the surface with a degreaser wipe, then apply the first strip using a level line so the pattern stays straight. Smooth with a plastic squeegee, trim with a sharp utility knife, and let it set for 24 hours before you press edges again.
Pro tipIf your wallpaper has a busy repeat, center the pattern on the toilet tank so it reads intentional from the doorway.
One warningAvoid applying wallpaper over dusty drywall — it lifts later and looks patchy around the edges.
2. Paint the vanity cabinet doors a deeper shade (keep the top white)
A half bath usually has a small vanity that dominates the lower half of the room. Painting only the cabinet doors gives you a major visual change while keeping the countertop bright and easy to clean. Choose a color that matches your hardware — matte black doors look sharp with chrome or black faucets, and soft espresso looks great with brass. This approach also solves a common beginner problem: the room looks “flat” because everything is the same white-on-white tone.
Remove the cabinet doors and hardware if possible. Lightly sand the door faces with 220-grit sandpaper, wipe with a tack cloth, then prime with a bonding primer made for glossy surfaces. Spray or roll on a cabinet-grade paint in your chosen color and let it cure per the can instructions. Reinstall hardware and doors after the paint is fully dry, then add a new set of matching knobs or pulls if the old ones look worn.
Use satin or semi-gloss on cabinet doors — flat paint scuffs too easily in a bathroom.
Don’t paint over shiny hardware residue or skip primer — the finish peels where your hands touch most.
3. Swap the mirror for a simple frame in the same metal as your faucet
A mirror controls the whole feel of a half bath because it reflects light and sets the style tone. For beginners, a framed mirror is the cleanest upgrade: it hides builder-grade edges and makes the room look finished without adding extra clutter. Match the mirror frame metal to your faucet or light fixture so the room looks coordinated. Go for a simple rectangle or soft-arched shape — nothing ornate — because small rooms can get visually busy fast.
Measure the width of your current mirror and the space between the countertop and the ceiling. Buy a mirror that is about 2/3 the width of the vanity and leaves 5-7 inches of clearance from the top of the sink. If the old mirror is glued, you’ll need to cut through caulk carefully or replace the mounting method — start by removing the mirror frame trim if it exists. Install the new mirror using the included mounting brackets, then caulk the edges lightly for a neat, water-resistant finish.
Choose a mirror with an anti-fog coating if the bathroom is used frequently — it keeps the glass looking clear.
Avoid mirrors that are too small — a tiny mirror makes the whole vanity look off-scale.
4. Replace the vanity light with a 3-bulb vertical bar style
Lighting is the fastest way to make a half bath feel more expensive, and it’s beginner-friendly when you choose a plug-in or hardwired fixture with clear instructions. A 3-bulb vanity light gives even illumination across the mirror so you don’t get harsh shadows on your face. Pick a metal finish that matches your faucet and towel bar — brushed nickel, matte black, or brass — and stick to clear glass shades if you want a brighter look. This idea also fixes the common issue where the bathroom feels dingy because the bulbs are too cool or dim.
Turn off power at the breaker. Remove the old fixture and take photos of the wiring, then compare wire types to the new fixture instructions. Choose bulbs in the 2700K-3000K range and a brightness around 800-1100 lumens for a small space. Install the new fixture base to the electrical box, connect wires by color or labeled connectors, then attach glass shades and tighten screws.
Pro tipSwap old bulbs for LED 2700K immediately — it changes the whole color of your walls and towels.
One warningAvoid daylight 5000K bulbs — they make beige walls look gray and skin tones look harsh.
5. Install a narrow floating shelf for one styled item + daily essentials
A floating shelf adds storage without taking up floor space, which matters in half baths where everything gets crowded. Keep it narrow and place it above the toilet or beside the vanity so you’re not blocking the mirror view. Style it with just two categories: one everyday item (soap or hand lotion) and one decor object (a candle or small plant). This solves the beginner problem of countertop clutter — it’s easier to maintain when the “home base” is at eye level.
Pick a shelf size that fits your wall: 16-24 inches wide and 5-7 inches deep is a safe range for beginners. Mark stud locations with a stud finder, then use a level to trace mounting points. Install shelf brackets with a drill, then attach the shelf board. Add a small tray or basket to group items so you can keep the look tidy in 30 seconds.
Pro tipChoose a shelf finish that matches your hardware — even a simple white oak look makes black fixtures feel intentional.
One warningAvoid mounting without finding studs — drywall-only shelves pull away and start sagging.
6. Towel bar upgrade to a longer bar (36-inch rule for small spaces)
Towels look better when the bar is long enough for a full fold, not a cramped half-roll. In a half bath, a longer towel bar also visually widens the wall area and makes the space feel less cramped. Pick a bar that matches your faucet finish, and choose a simple straight style for a clean beginner look. This is one of the easiest changes you can do with basic tools and it instantly improves the “lived-in” feel.
Measure the wall space where the bar will go and aim for a bar length around 18-24 inches, depending on your vanity width. Install the bar so the towel hangs at about 36 inches from the floor to the top of the folded towel. Mark mounting hole locations, drill pilot holes, then screw into studs or use proper anchors rated for the weight. Hang a towel and check sight lines from the doorway before you fully tighten.
Pro tipUse two hand towels and rotate them — it keeps the color looking fresh and avoids damp towel smell.
One warningAvoid placing the bar too high — towels end up touching the sink splash zone and look messy fast.
7. Matte black accents: new faucet + matching drain cover
If your half bath feels stuck in “builder beige,” changing metal accents is the quickest reset. Matte black is forgiving because it hides minor water spots and looks crisp against white sinks and pale walls. Pair a faucet swap with a matching pop-up drain cover or drain assembly cover so the sink area looks intentional. This method is also good for beginners because you can work in one zone — the sink — instead of redoing everything.
Check your current faucet type (single-hole, widespread, or centerset) and pick a replacement labeled for your configuration. Turn off the water supply, remove the old faucet, and clean the mounting area. Install the new faucet with fresh plumber’s tape on threaded connections and tighten evenly. Finish by replacing the drain cover or pop-up assembly so the metal tones match exactly.
Pro tipBuy the replacement drain cover in the same finish, not “close enough” — mismatched drains look sloppy in small bathrooms.
One warningAvoid reusing old rubber seals — they leak quietly and stain the cabinet base.
8. High-contrast floor runner in a simple size (18x30 or 20x32)
A floor rug is one of the few decor moves that changes the whole room while staying beginner-friendly and reversible. In a half bath, choose a runner size that fits the traffic path — too wide and it crowds the toilet base, too small and it looks like an afterthought. A high-contrast pattern (black/cream, navy/white) adds structure and makes the bathroom look “finished” even if the walls are plain. Make sure it has a non-slip backing so it stays put when the door swings open.
Measure from the back wall near the toilet to the doorway area so you know how much runner length fits without blocking movement. Pick a common beginner-friendly size like 18x30 inches or 20x32 inches. Choose a rug with a thin profile (about 1/4 inch) so the toilet area doesn’t feel cramped. Add a non-slip rug pad if the backing doesn’t feel grippy, then vacuum edges so it lays flat.
Pro tipMatch the runner pattern colors to one other element — towel color, mirror frame, or the art print.
One warningAvoid thick shag or deep pile — it traps moisture and looks worn quickly in bathrooms.
9. One large framed print instead of lots of small art
Beginner art walls fail when there are too many pieces competing for attention. A single large framed print anchors the wall and makes the bathroom look intentional, especially above the toilet where there’s often a blank spot. Choose a print with a clean border or a white mat so it doesn’t fight your wallpaper or paint. Keep colors limited: one dark tone and one light tone works well in small half baths.
Measure the blank wall area above the toilet or between the vanity and mirror. Choose a frame size that leaves about 6-8 inches from the top of the toilet tank and about 2-4 inches from nearby trim. Use a level to mark the centerline, then hang using two screws into studs if possible. If studs aren’t available, use wall anchors rated for the frame weight and avoid hanging heavy frames on drywall alone.
Use glass or acrylic that resists smudges — fingerprints show on bathroom art fast.
Avoid tiny prints — they look lost in a room with bright lighting and hard surfaces.
10. Faux-wood contact paper on the inside of the vanity drawers
If your half bath looks messy even when it’s clean, it’s often because drawer surfaces show wear or stains. Lining the inside of drawers with faux-wood contact paper makes the storage area look finished and hides small imperfections. It also gives you an easy “warmth” move without changing walls or floors. This is low effort and high payoff because nobody needs tools beyond scissors and a smoothing card.
Measure the inside dimensions of the drawer bottom and sides, then add 1 inch extra on each edge for trimming. Clean the surface with rubbing alcohol so the adhesive sticks. Peel a small section at a time and apply while smoothing to avoid bubbles. Trim the edges with a sharp blade, then test-slide items to make sure nothing catches.
Pro tipUse a smoothing tool and press along corners — bubbles show more in drawers than on walls.
One warningAvoid lining over damp or waxy surfaces — it lifts at the edges within weeks.
11. Shiplap-look peel-and-stick panels on one wall section
Shiplap-look panels add texture and a “built-in” feel without the carpentry. In a half bath, you don’t need to cover every wall — one vertical or horizontal panel section behind the toilet or on a side wall is enough. Pick a light, warm white so it doesn’t make the room feel smaller, and keep grout lines subtle. This works for beginners because the panels are modular and you can correct small mistakes as you go.
Choose a peel-and-stick panel width that matches your wall layout, then measure your target area. Clean the wall thoroughly and let it dry completely. Start with a straight reference line using a level, apply the first panel edge, then butt subsequent panels to match the pattern. Trim at edges with a utility knife, then seal around outlets or trim gaps with a thin bead of paintable caulk if needed.
Keep the panel height to the top of the toilet area, not the ceiling — it looks intentional and is easier to align.
Avoid starting crooked on the first panel — small misalignment becomes obvious across a short bathroom wall.
12. Add a simple beadboard wainscot effect with pre-primed strips
Beadboard wainscot gives you a classic half-bath look and it’s forgiving for beginners if you use pre-primed, paint-ready strips. The lower half gets visual structure, and the upper half stays lighter, which makes the room feel taller. Use a moisture-friendly paint and keep the beadboard color close to white so it doesn’t clash with your towels or rug. This idea also hides wall imperfections because the panel lines distract from small dents and uneven paint.
Decide your height line first — a common beginner-friendly choice is 36 inches from the floor for the top of the beadboard. Measure the wall length and calculate how many strips you need, then buy corner trim pieces. Install with finishing nails or construction adhesive plus nails, starting from a level line. Fill nail holes with wood filler, sand smooth, caulk gaps, then paint the beadboard and the upper wall in separate coats.
Pro tipUse a satin paint for beadboard and a matte or eggshell for the upper wall to avoid glare on textured areas.
One warningAvoid painting beadboard before filling nail holes — the bumps show under bathroom lighting.
13. Create a 'clean countertop' setup with a tray and one refillable soap
Countertop clutter is the fastest way a half bath looks unfinished. A single tray forces everything into one shape and keeps the sink area tidy even when you’re busy. Pair it with one refillable pump soap and one small item holder for cotton swabs or wipes. This works for beginners because it doesn’t require matching complicated decor — the tray unifies the look instantly. Choose a tray in a finish that matches your bathroom metals, like matte black, brushed brass, or light wood.
Pick a tray size that covers most of the clutter zone on the countertop, usually around 10-14 inches long for a small sink. Clean the countertop thoroughly, then place the tray centered in your usable area. Add a pump soap and one small organizer, leaving a gap so the items don’t crowd the mirror reflection. If your countertop is crowded, remove extra items first — this setup should look sparse, not packed.
Pro tipWipe the tray daily and swap to a new soap bottle label if yours looks faded — it keeps the whole bathroom reading fresh.
One warningAvoid mixing too many heights and materials — it looks chaotic in a small space.
14. Upgrade cabinet hardware: pulls and knobs in one metal finish
Hardware is small, but it’s visible every time you open the door, and it changes the style language of the whole vanity. If you’re not ready to paint, hardware is the beginner move that still makes a big difference. Choose pulls and knobs in a single finish — matte black for modern, brushed brass for warm, or chrome for clean and neutral. This also solves the beginner issue of mismatched hardware that makes a bathroom look “stuck in the past.”
Measure the existing hardware spacing and screw hole size so you don’t buy the wrong fit. Remove one knob or pull, then bring it to the store or compare to the product’s size chart. Install new hardware by aligning screws and tightening evenly, not over-tightening. If the old holes don’t match the new hardware, use wood filler to cover holes and touch up paint before reinstalling.
Pro tipUse a hardware template or masking tape grid to mark holes — it prevents crooked pulls.
One warningAvoid “close” metal finishes — brushed brass + polished nickel looks mismatched in small bathrooms.