1. Blush wall paint with warm white trim
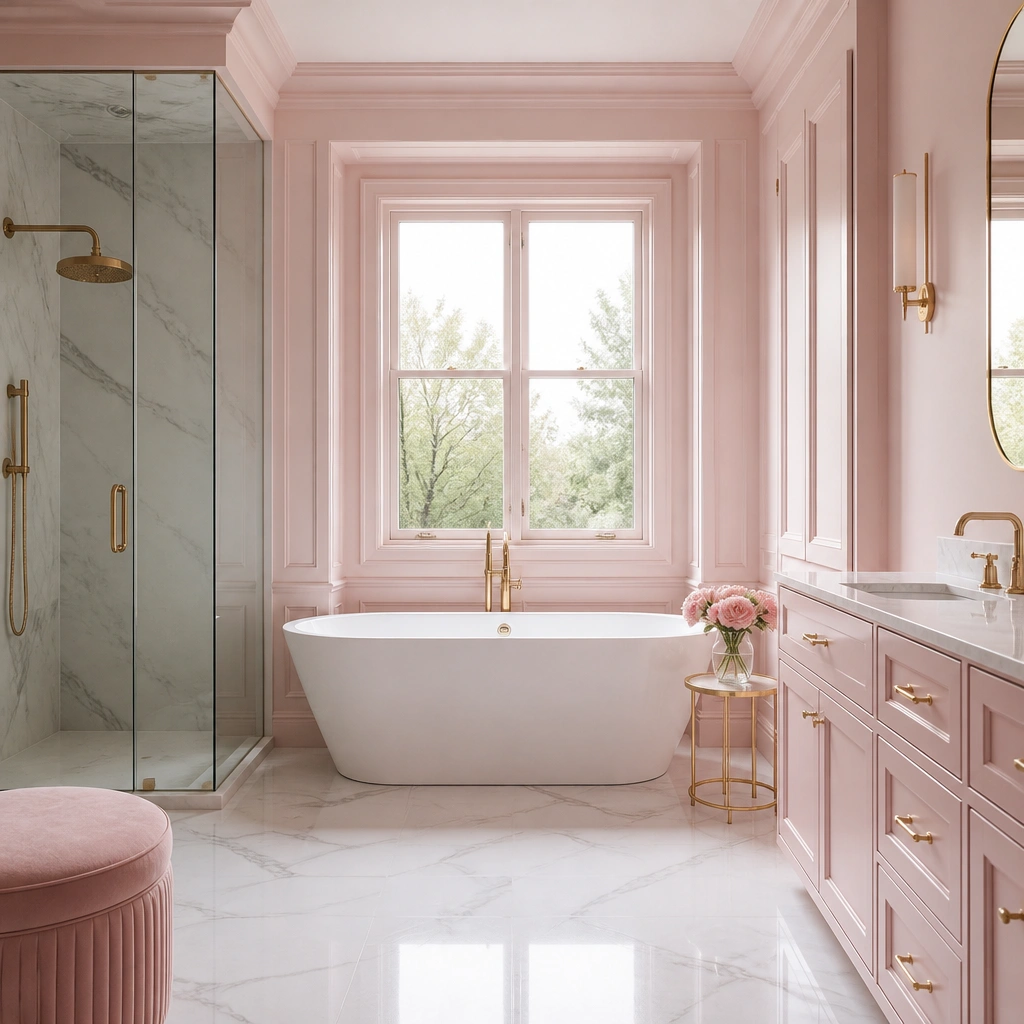
If your bathroom feels plain or dated, paint is the fastest beginner-friendly way to make pink look intentional. Go for a blush pink that leans slightly warm, then keep trim and ceiling in warm white so the room doesn’t feel icy. This combo flatters most skin tones in mirrors and makes everyday items like a white toothbrush cup look crisp. It also hides minor wall texture issues better than very pale whites, which matters in older bathrooms. Use satin or eggshell on the walls for wipeable durability around splashes.
Pro tipBring your towels or bath mat to the paint store and match undertones, not just the shade name on the card.
Start by cleaning the walls with a degreasing bathroom cleaner and letting them dry fully. Tape off trim and edges, then use a primer if you’re covering dark colors or patchy stains. Roll on two coats of blush pink satin/eggshell, letting each coat dry as directed on the can, and cut in edges with an angled brush. Finish with warm white on trim and ceiling, then remove tape while paint is still slightly tacky so edges stay sharp.
One warningDon’t paint over glossy trim without scuff-sanding — the pink will peel or look patchy.
2. Peel-and-stick pink backsplash behind the sink
For renters or anyone who hates demolition, a peel-and-stick backsplash gives you pink impact without risking the whole wall. Choose a pink that mimics soft tile — think dusty rose or blush with subtle speckles — so it looks “designed” even when the room is small. The backsplash sits at eye level, so it’s the perfect beginner move when you want the room to feel fresh but you’re not ready for painting the entire bathroom. It also solves the common problem of blank, boring wall space behind the sink.
Pro tipUse a level to draw a light pencil line before you stick the first row — crooked corners show up fast in bathrooms.
Start by wiping the wall with rubbing alcohol where the backsplash will go, then measure the sink wall width and height so you can plan for full panels. Cut the film with a sharp utility knife and straightedge, and test-fit a section before removing the backing. Apply from the top down, smoothing with your hand or a plastic squeegee to push out bubbles. Seal edges with a thin clear caulk only where the backsplash meets trim or around the faucet area if needed.
One warningDon’t apply over textured grime or old adhesive residue — it will lift in wet spots.
3. Pink shower curtain + matching bath mat set
This is the simplest beginner-friendly pink bathroom ideas for beginners because you can change the look without committing to walls. A blush shower curtain adds color exactly where the eye lands, and a matching bath mat makes the floor feel intentional. Choose a fabric curtain with a weighted hem so it hangs straight and doesn’t cling to you in the shower. If your bathroom has bright white tile, pink looks especially clean and modern with soft blush tones. Keep the rest neutral — white towels and a simple light fixture — so the pink reads as a cohesive color story.
Start by measuring the shower rod length and curtain drop — aim for the curtain to skim just above the floor when closed so it doesn’t pool water. Pick a curtain with a weighted hem and rust-resistant grommets, plus a bath mat that’s the same pink family. Hang the curtain with liner clips or hooks that glide smoothly, then place the mat so it sits centered in front of the shower — usually 12-18 inches from the opening. Wash and dry the curtain once before final styling so it hangs properly.
Add two matching towel rings or hooks in the same metal finish as your curtain rings for a “pulled together” look.
Skip thin, clingy curtains — they make pink look wrinkled and cheap.
4. Small pink vanity makeover with peel-and-stick hardware labels
If you want pink but your walls are stuck in neutral, focus on the vanity — it’s the biggest visual block at sink height. Paint the vanity a muted blush or dusty rose using a bonding primer, then swap hardware to make it feel updated instead of “painted.” The beginner-friendly part is that a vanity has small surfaces, fewer corners than walls, and you can remove doors/drawers for cleaner edges. Pink on the vanity also makes white countertops look brighter and reduces the “all white, no warmth” problem.
Pro tipChoose satin or semi-gloss for vanity paint — it wipes clean around toothpaste and water spots.
Start by removing knobs and drawer pulls, then clean the vanity with a degreaser and sand lightly to dull the finish. Prime with a bonding primer, then roll or brush on two coats of cabinet paint in blush or dusty rose, letting it cure between coats per the label. Reattach hardware after the final coat is fully dry. If you’re nervous about alignment, lay a strip of painter’s tape on the door and mark hole positions with a pencil before drilling.
One warningDon’t skip primer — glossy or laminate finishes reject paint and peel.
5. Blush towel ladder and color-matched soap pump
This is the “fast refresh” option when you can’t paint, can’t drill, or don’t want to commit to a permanent change. A blush towel ladder or wall-mounted rack brings vertical color and keeps towels from turning your bathroom into a pile. Pair it with a color-matched soap pump and a small matching tray on the counter, so pink shows up in multiple spots without overwhelming the room. It works especially well in bathrooms with patterned tile or bold wallpaper elsewhere because you’re adding color in a controlled way.
Pro tipPick one metal finish for every visible hardware piece — towel ladder screws, ring hooks, and faucet — so pink feels intentional.
Start by choosing a towel style you’ll actually use — folded hand towels look neater than hanging bath towels in small spaces. Place the ladder or rack near the sink, usually 30-48 inches above the floor depending on your height and reach, then anchor it with wall hardware if it’s not freestanding. Add a pink soap pump and a small tray, then keep the rest of the countertop white or light neutral. Aim for two pink pieces total at minimum — towels plus one accessory is enough.
One warningDon’t mix three different pinks (hot pink, blush, and rose) in the same bathroom.
6. Pink wallpaper only behind the toilet or vanity
Wallpaper scares beginners, so use it where mistakes are easiest to hide: behind the toilet tank or behind the vanity where you can trim clean lines. A dusty rose wallpaper with a subtle pattern or small scale looks upscale without demanding perfect alignment across the whole room. This approach gives you a pink “frame” around key fixtures and avoids the common issue of pink walls feeling too loud in a small bathroom. If you choose a peel-and-stick wallpaper, it’s more forgiving when you need to reposition.
Pro tipUse a damp cloth to wipe away adhesive squeeze-out right away — tiny smears show up on matte pinks.
Start by measuring the wall area behind the toilet or vanity and check the wallpaper repeat size so the pattern matches at seams. Clean the wall and let it dry, then cut the first strip with an extra 1 inch on each side for trimming. Apply from the top down, smoothing with a plastic tool, and use a sharp blade at the edges to remove excess. Press seams firmly and trim around the toilet base or vanity edges after installation.
One warningDon’t wallpaper over peeling paint — it will crack the moment the wall flexes.
7. Pink ceramic canisters with a white countertop tray
If you want pink bathroom ideas for beginners with zero mess, style the counter. Pink ceramic canisters look cohesive when you keep them all the same finish, like a matte glaze or satin ceramic. Put them on a white countertop tray so your pink doesn’t scatter across the counter. This fixes the beginner problem of “I bought pink things but it looks random.” You also get practical organization: cotton rounds, Q-tips, and bath salts stay contained and easy to grab.
Pro tipMatch the tray material to your metal finish — white ceramic and brushed nickel look great together.
Start by clearing the sink and countertop, then wipe it clean so the tray sits flat. Choose three canisters max — cotton rounds, Q-tips, and a small container for hair ties or spare soap. Add a white tray that’s wide enough to create a clear border around the canisters, then place the tallest container in the back. Group items by use so you’re not reaching across the tray every morning.
One warningSkip mixed finishes like glossy canisters plus matte tray — it reads messy.
8. Pink-tinted glass or acrylic accessories near the light
Pink doesn’t have to be on the walls to feel fresh. Small pink-tinted glass or acrylic accessories near the vanity light catch highlights and make the color feel airy instead of heavy. This is a great beginner move for bathrooms that already have strong tile or wallpaper, because you’re adding color through reflective surfaces. Choose muted rose or blush-tinted glass so it looks sophisticated and doesn’t turn neon in bright bulbs. It also helps you test pink without buying a whole set of matching textiles.
Pro tipUse warm light bulbs (2700K) if your pink looks too gray — cool bulbs can make blush read dusty.
Start by picking one accessory category — toothbrush holder, soap dish, or a tumbler — and match the tint to your towels or shower curtain. Place it where it will catch light, usually within a few feet of the vanity mirror, so it looks intentional. Keep the rest of the counter in white or clear — no additional pink pieces needed. Wipe with a microfiber cloth to prevent smudges that show up on tinted surfaces.
One warningDon’t choose clear neon pink acrylic — it looks harsh under bathroom lighting.
9. Pink vanity mirror frame with a simple shape
A mirror frame is an easy way to introduce pink while keeping the rest of the bathroom neutral. A simple mirror shape — oval, round, or a clean rectangle — makes the pink feel like part of the design, not a random accessory. Choose a blush or dusty rose frame in a finish that matches your hardware, like brushed metal or a painted wood look. This works especially well for beginners because you can swap the mirror without painting and you get instant impact every time you look in the bathroom. It also visually brightens the space by reflecting light off the walls.
Pro tipAdd a simple wall sconce on one side of the mirror and match its finish to the frame so the pink looks “built-in.”
Start by measuring the mirror width and the space above the sink — aim to keep the mirror centered and leave a few inches of clearance from the ceiling or cabinet top. Choose a frame finish that matches your faucet or towel bar — brushed nickel with cool pink, brass/champagne with warm pink. Hang it at about eye level — roughly 65-70 inches from the floor to the center of the mirror — then adjust based on your height. Use the included mounting template if the mirror comes with one, and drill only if you’re comfortable.
One warningAvoid oversized frames that extend too close to the ceiling — they make small bathrooms feel cramped.
10. Pink accent rug with a washable, grippy backing
A rug is the easiest way to add pink while controlling comfort underfoot. Go for a washable rug in blush or dusty rose with a grippy backing so it doesn’t slide when the floor gets wet. This solves the beginner issue of pink looking too “hard” if you only use paint or accessories — fabric softens the room. Place it where you’ll actually step, like in front of the sink or the shower entrance. Keep surrounding items neutral to let the rug set the tone and make the bathroom feel warmer.
Pro tipIf your floor is light, pick dusty rose instead of pale blush — it shows fewer stains and reads cleaner.
Start by measuring the footprint — leave a few inches of space around the rug edges so it doesn’t bunch near the door. Choose a rug labeled washable and with a non-slip backing, then test placement before you commit. Place it so the front edge sits just in front of the shower threshold or sink area, usually 18-24 inches wide in small bathrooms. Shake it out weekly and wash as the care label states.
One warningSkip rugs with thin backing — they slide and make the bathroom feel unfinished.